some of you might have seen the video of my first one. https://www.youtube.com/watch?v=h71LulqUw3o
It is still working but after cosplaying with it for a while i noticed some things that could benefit from improvements, that is the reason i made this one.
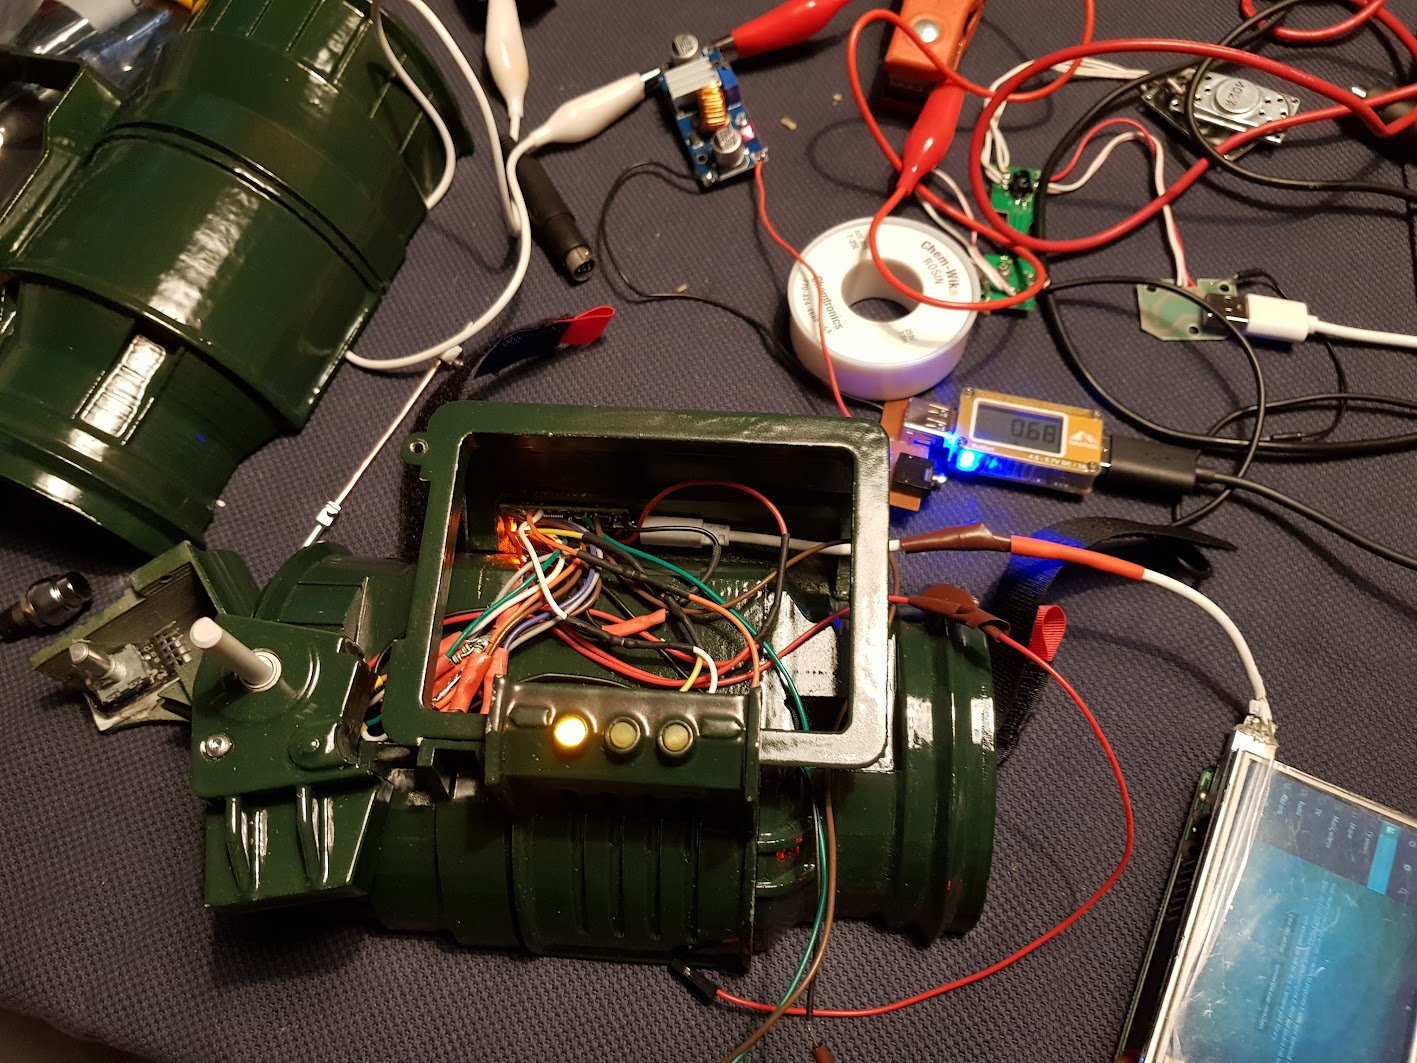
Things i changed on the print
- I stretched the bottom enclosure a bit to make more room for my lower arm
- I made the main body thicker for the Raspberry pi
- i fused 2 parts on the left side, i found it easier to do it that way.
- i made some vent holes below the yellow buttons
- The print finish: I used XTC3D to make it more smooth
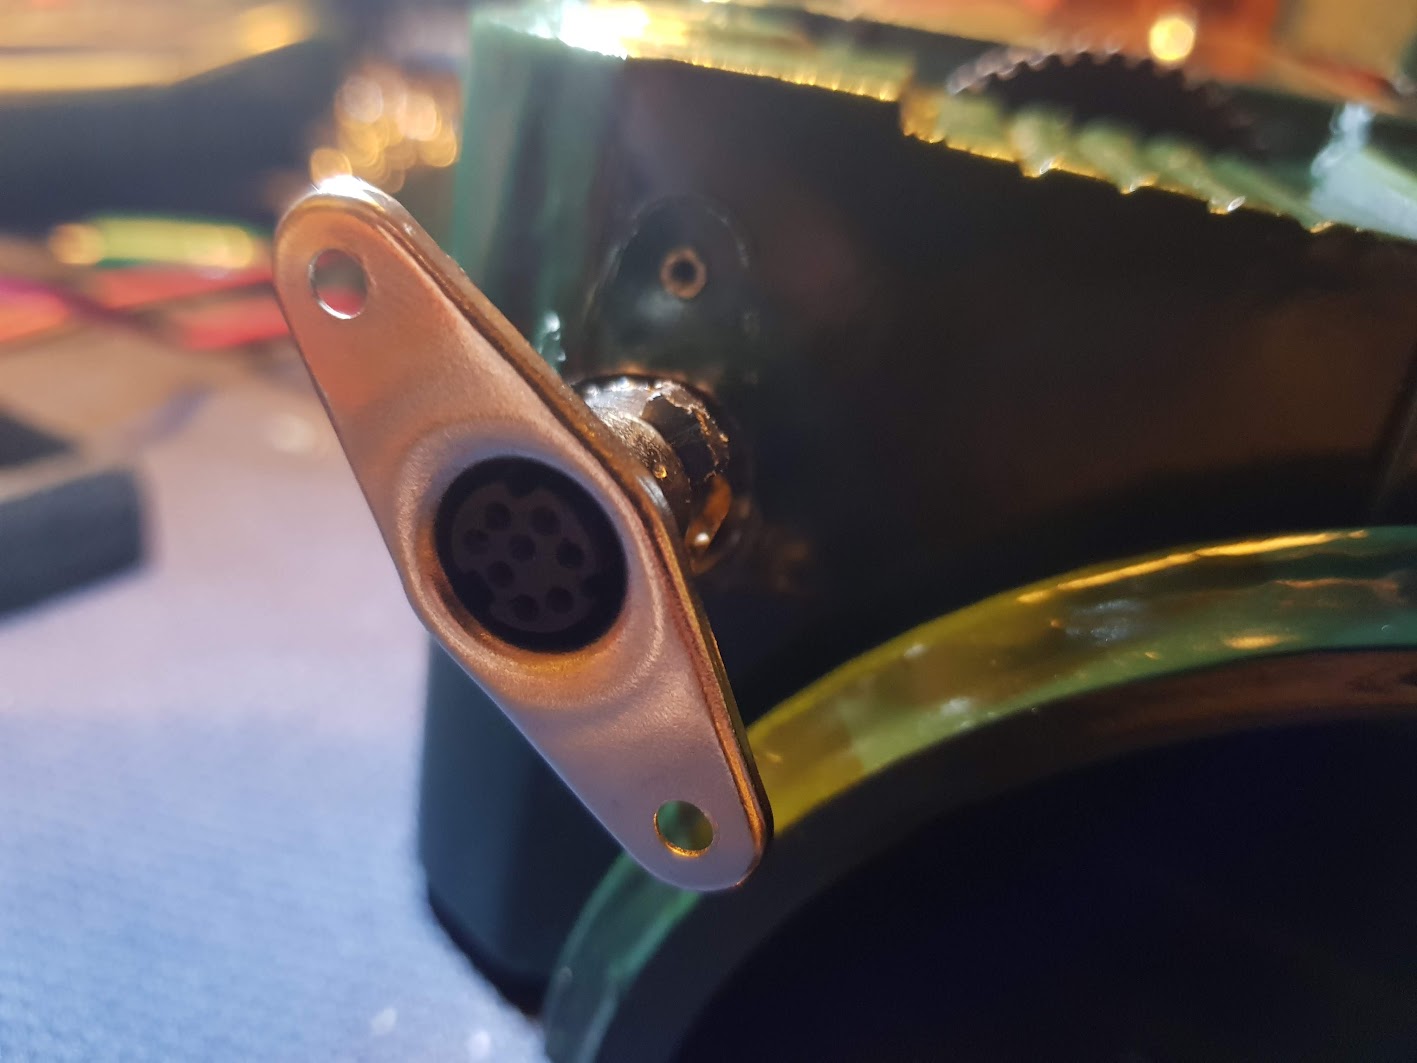
- Added a detachable Cable: I added a detachable cable for the power and added a USB extension in to it.
you don't know how important an USB port is when you don't have one
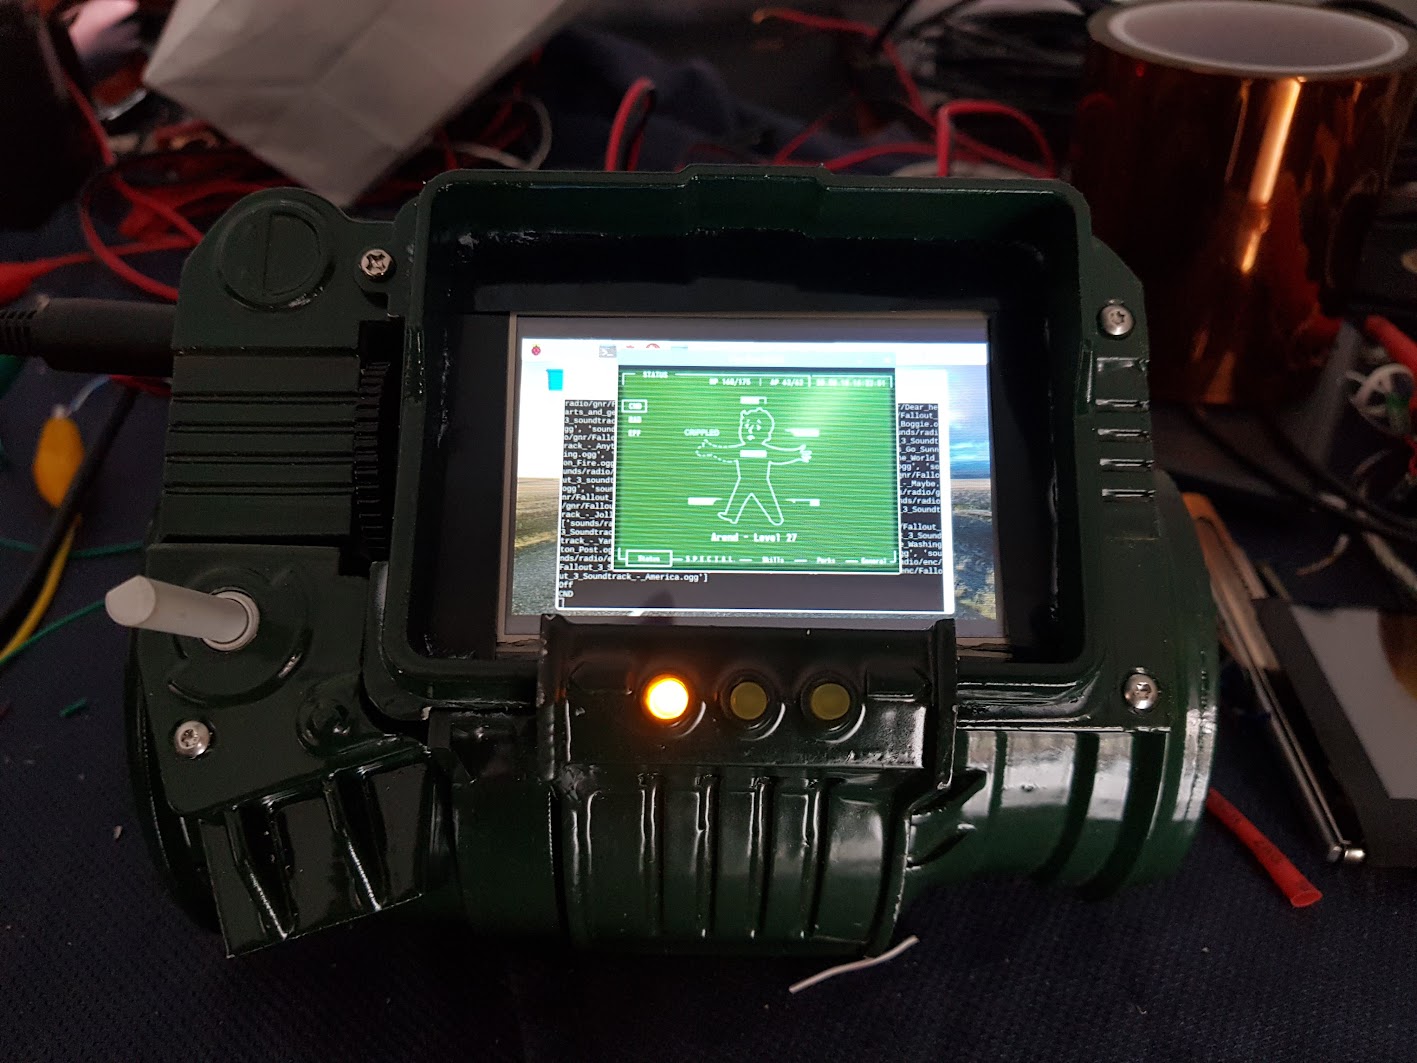
- Changed the screen: i put in a 3,5" HDMI screen in it that runs of 5V, before i had a composite rear view screen in it for cars
- changed to a Raspberry Pi 3 instead of the Raspberry Pi 2
i use the Arduino as a keyboard and mouse for the switches and scroll wheel.
There are other ways to do it, but i found this easier and better to control with debugging.
i do my "programming" on windows and running the same software on Linux can give you headaches, so less things to bite you in the ass the better
For power i use a powerbank that can deliver 12V of power in conjunction with a buck regulator that can at least deliver 3 amps of power.
i used car usb adapters before, but i had some that where running quite hot.
I didn't make a tutorial, but i have some photo's that show a bit of a build progress. i hope this can give some inspiration to some of you who also want to try this.