The HP45 printhead usually contains a water based ink. For different uses it is possible to refill an HP45 printhead with another fluid. In this guide the process of refilling a printhead will be given step by step.
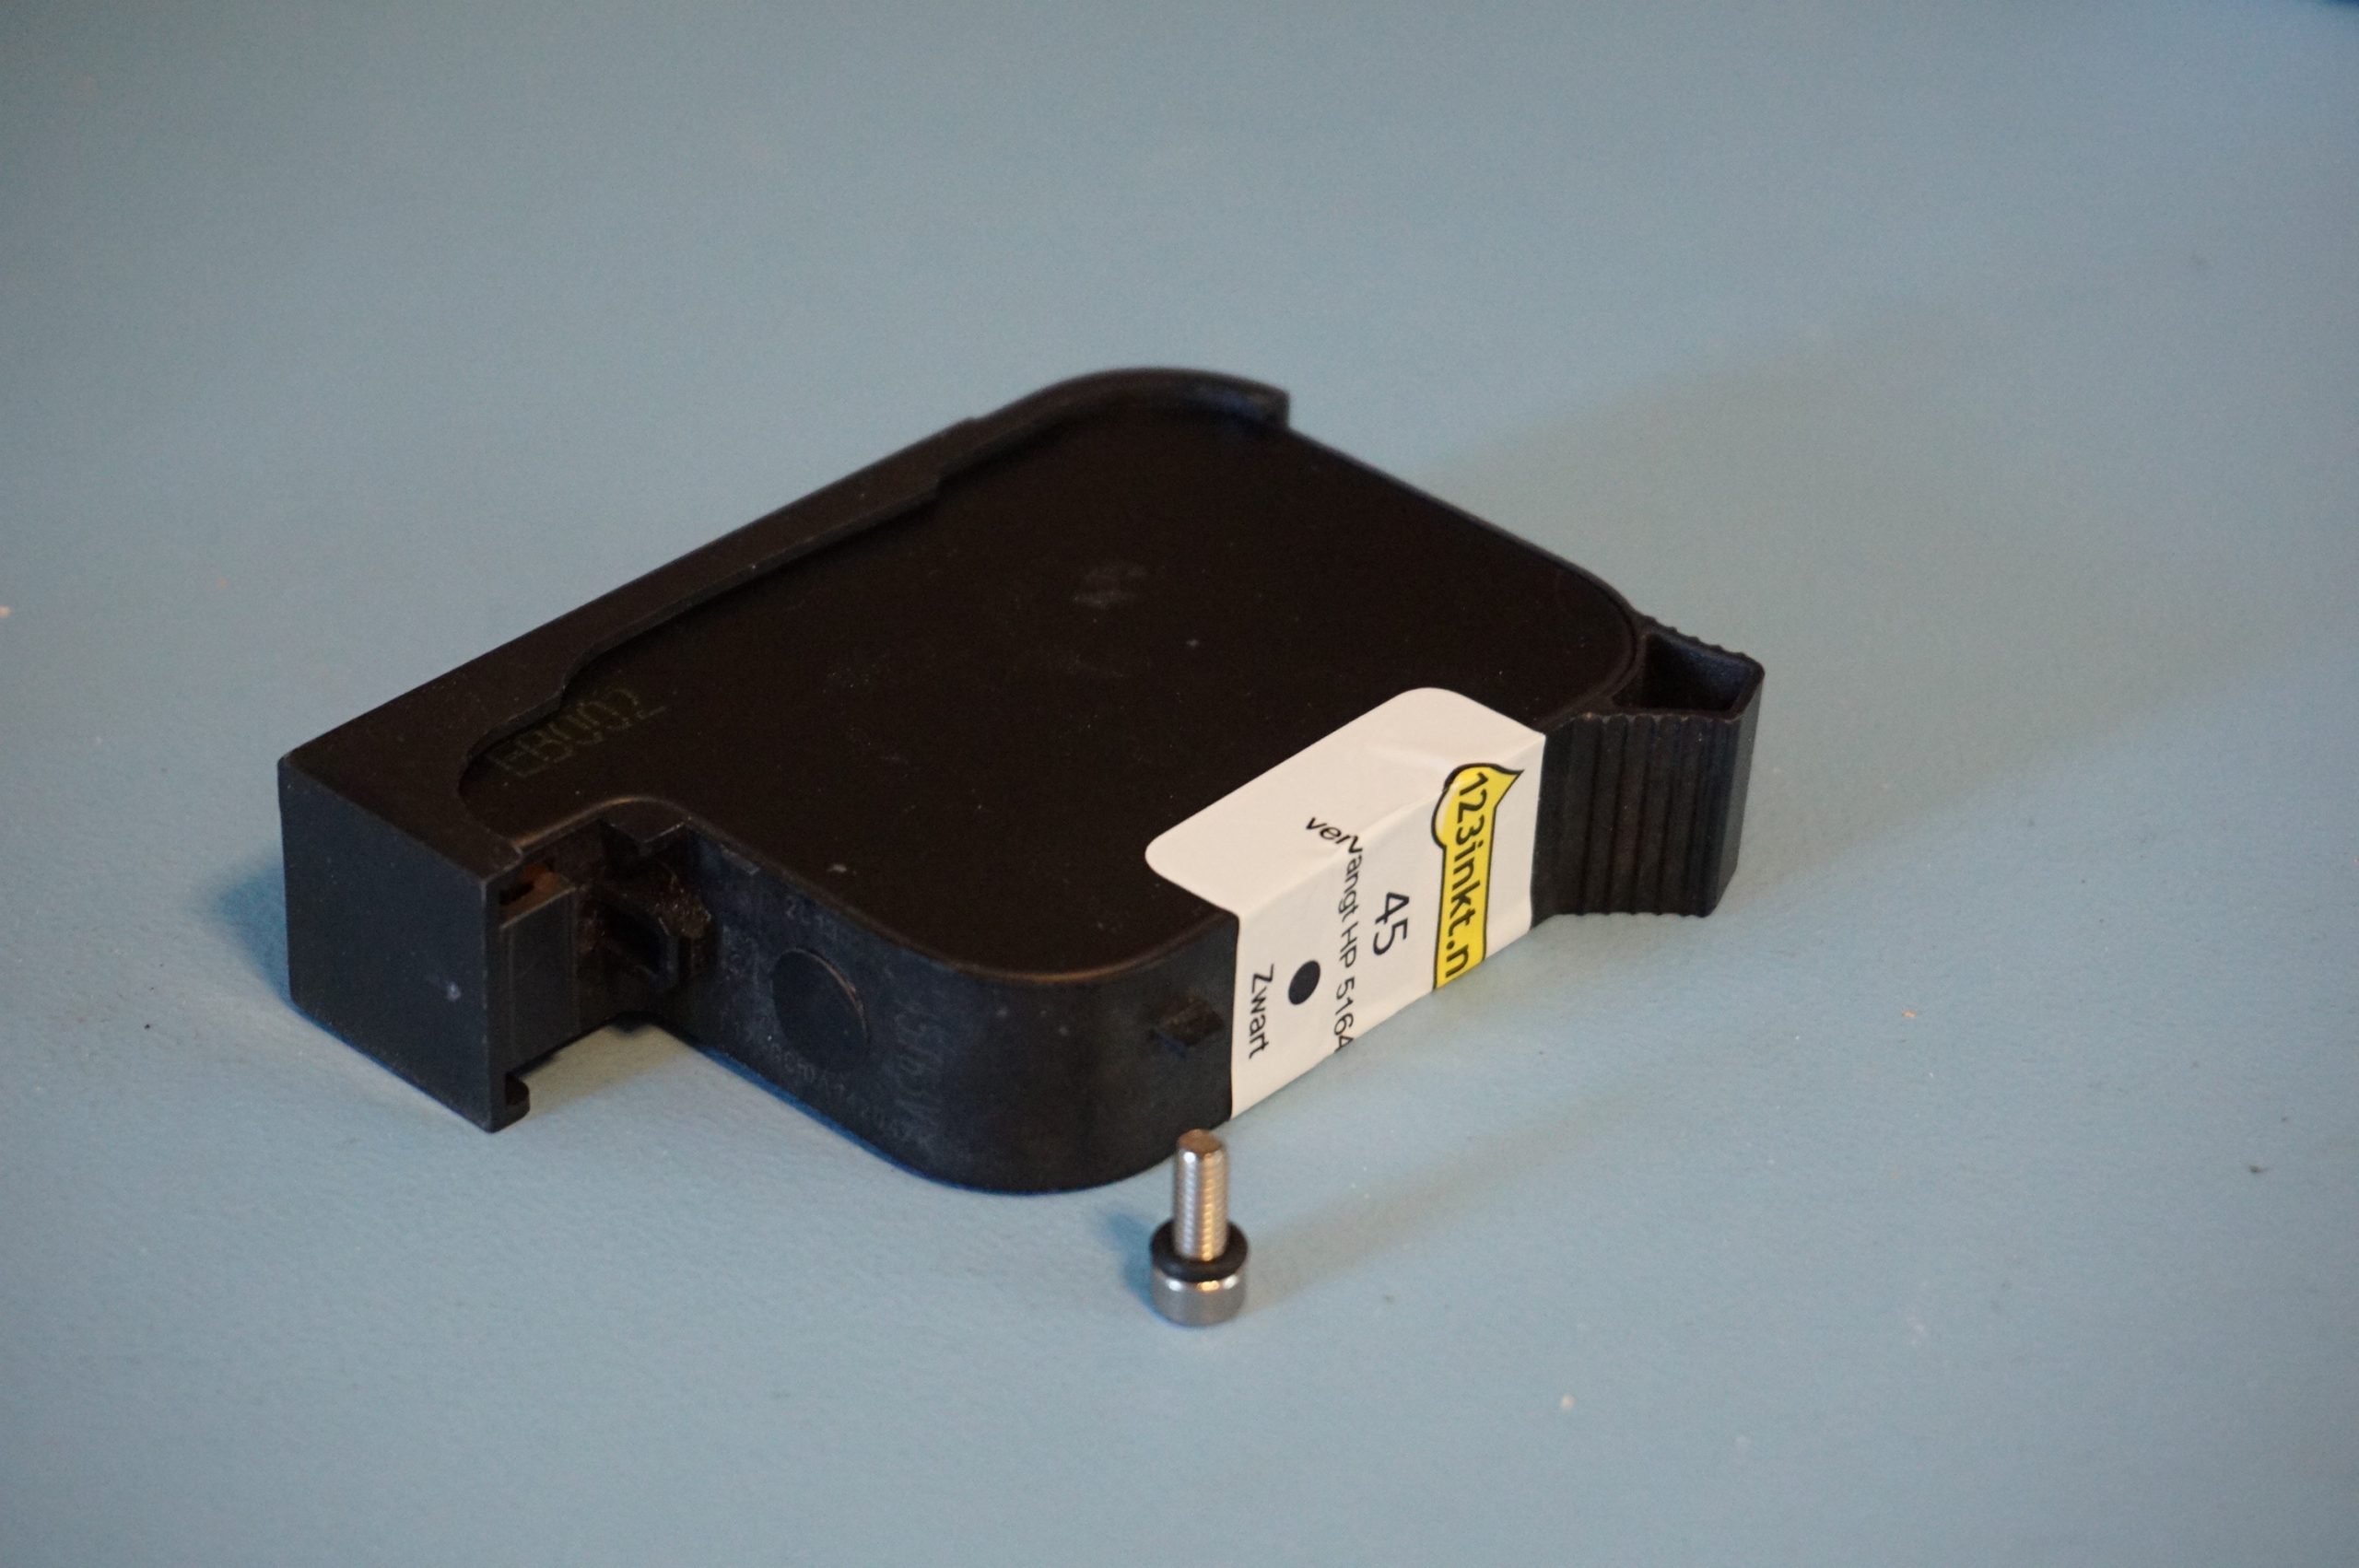
Anatomy of an HP45 printhead
The HP45 printhead is a bubble-jet printhead. This means that the printhead uses a resistor in the nozzle to super-heat a bit of the binder in a chamber to flash vaporize it. This bubble of vapor presses the rest of the ink out of the nozzle. Each nozzle has a diameter of roughly 25-35 microns.
The nozzles sit underneath the printhead, in 2 rows of 150 nozzles with a 4mm gap in between. The electrical contact with the nozzles is made with 52 contacts on the back of the printhead.
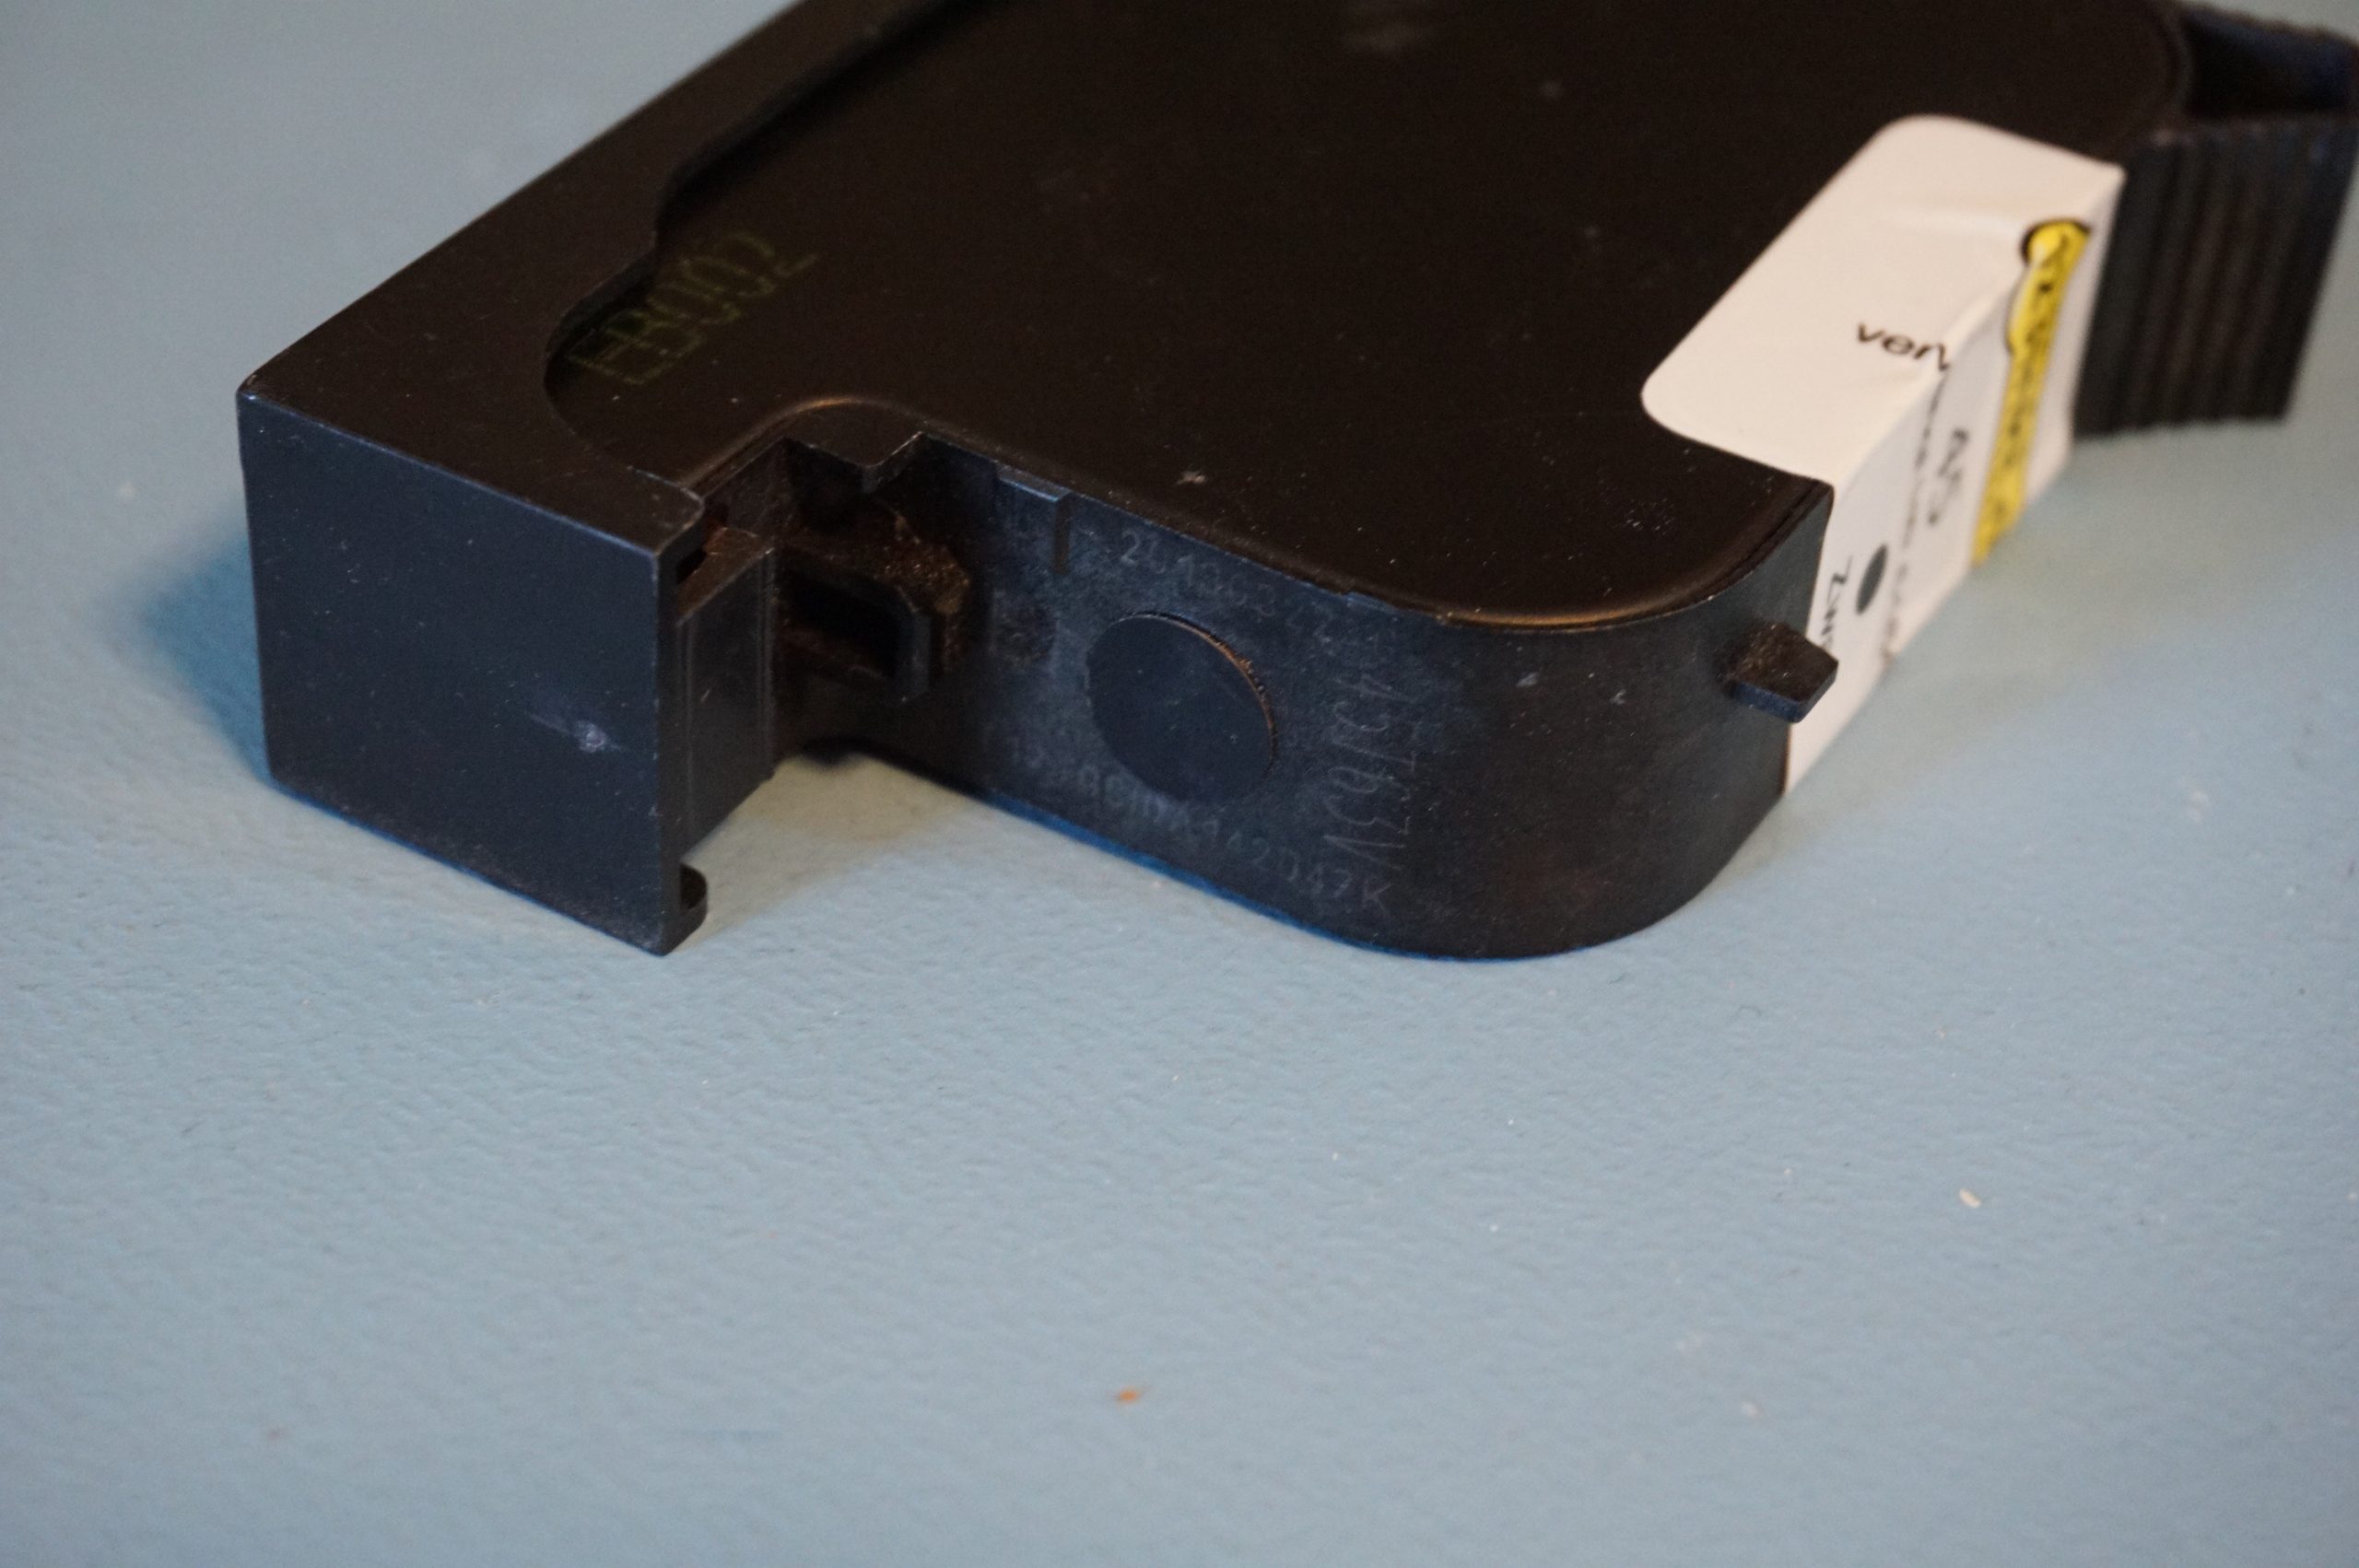
The biggest part of the printhead is the ink chamber. This is a flexible watertight bag with a spring to press it open. This bag sits in a plastic and sheet metal housing. As the printhead drains the spring will provide a negative pressure on the ink bag. This negative pressure is needed to keep the ink inside the printhead until a nozzle is fired. Without the negative pressure capillary action would draw the ink out of the printhead.
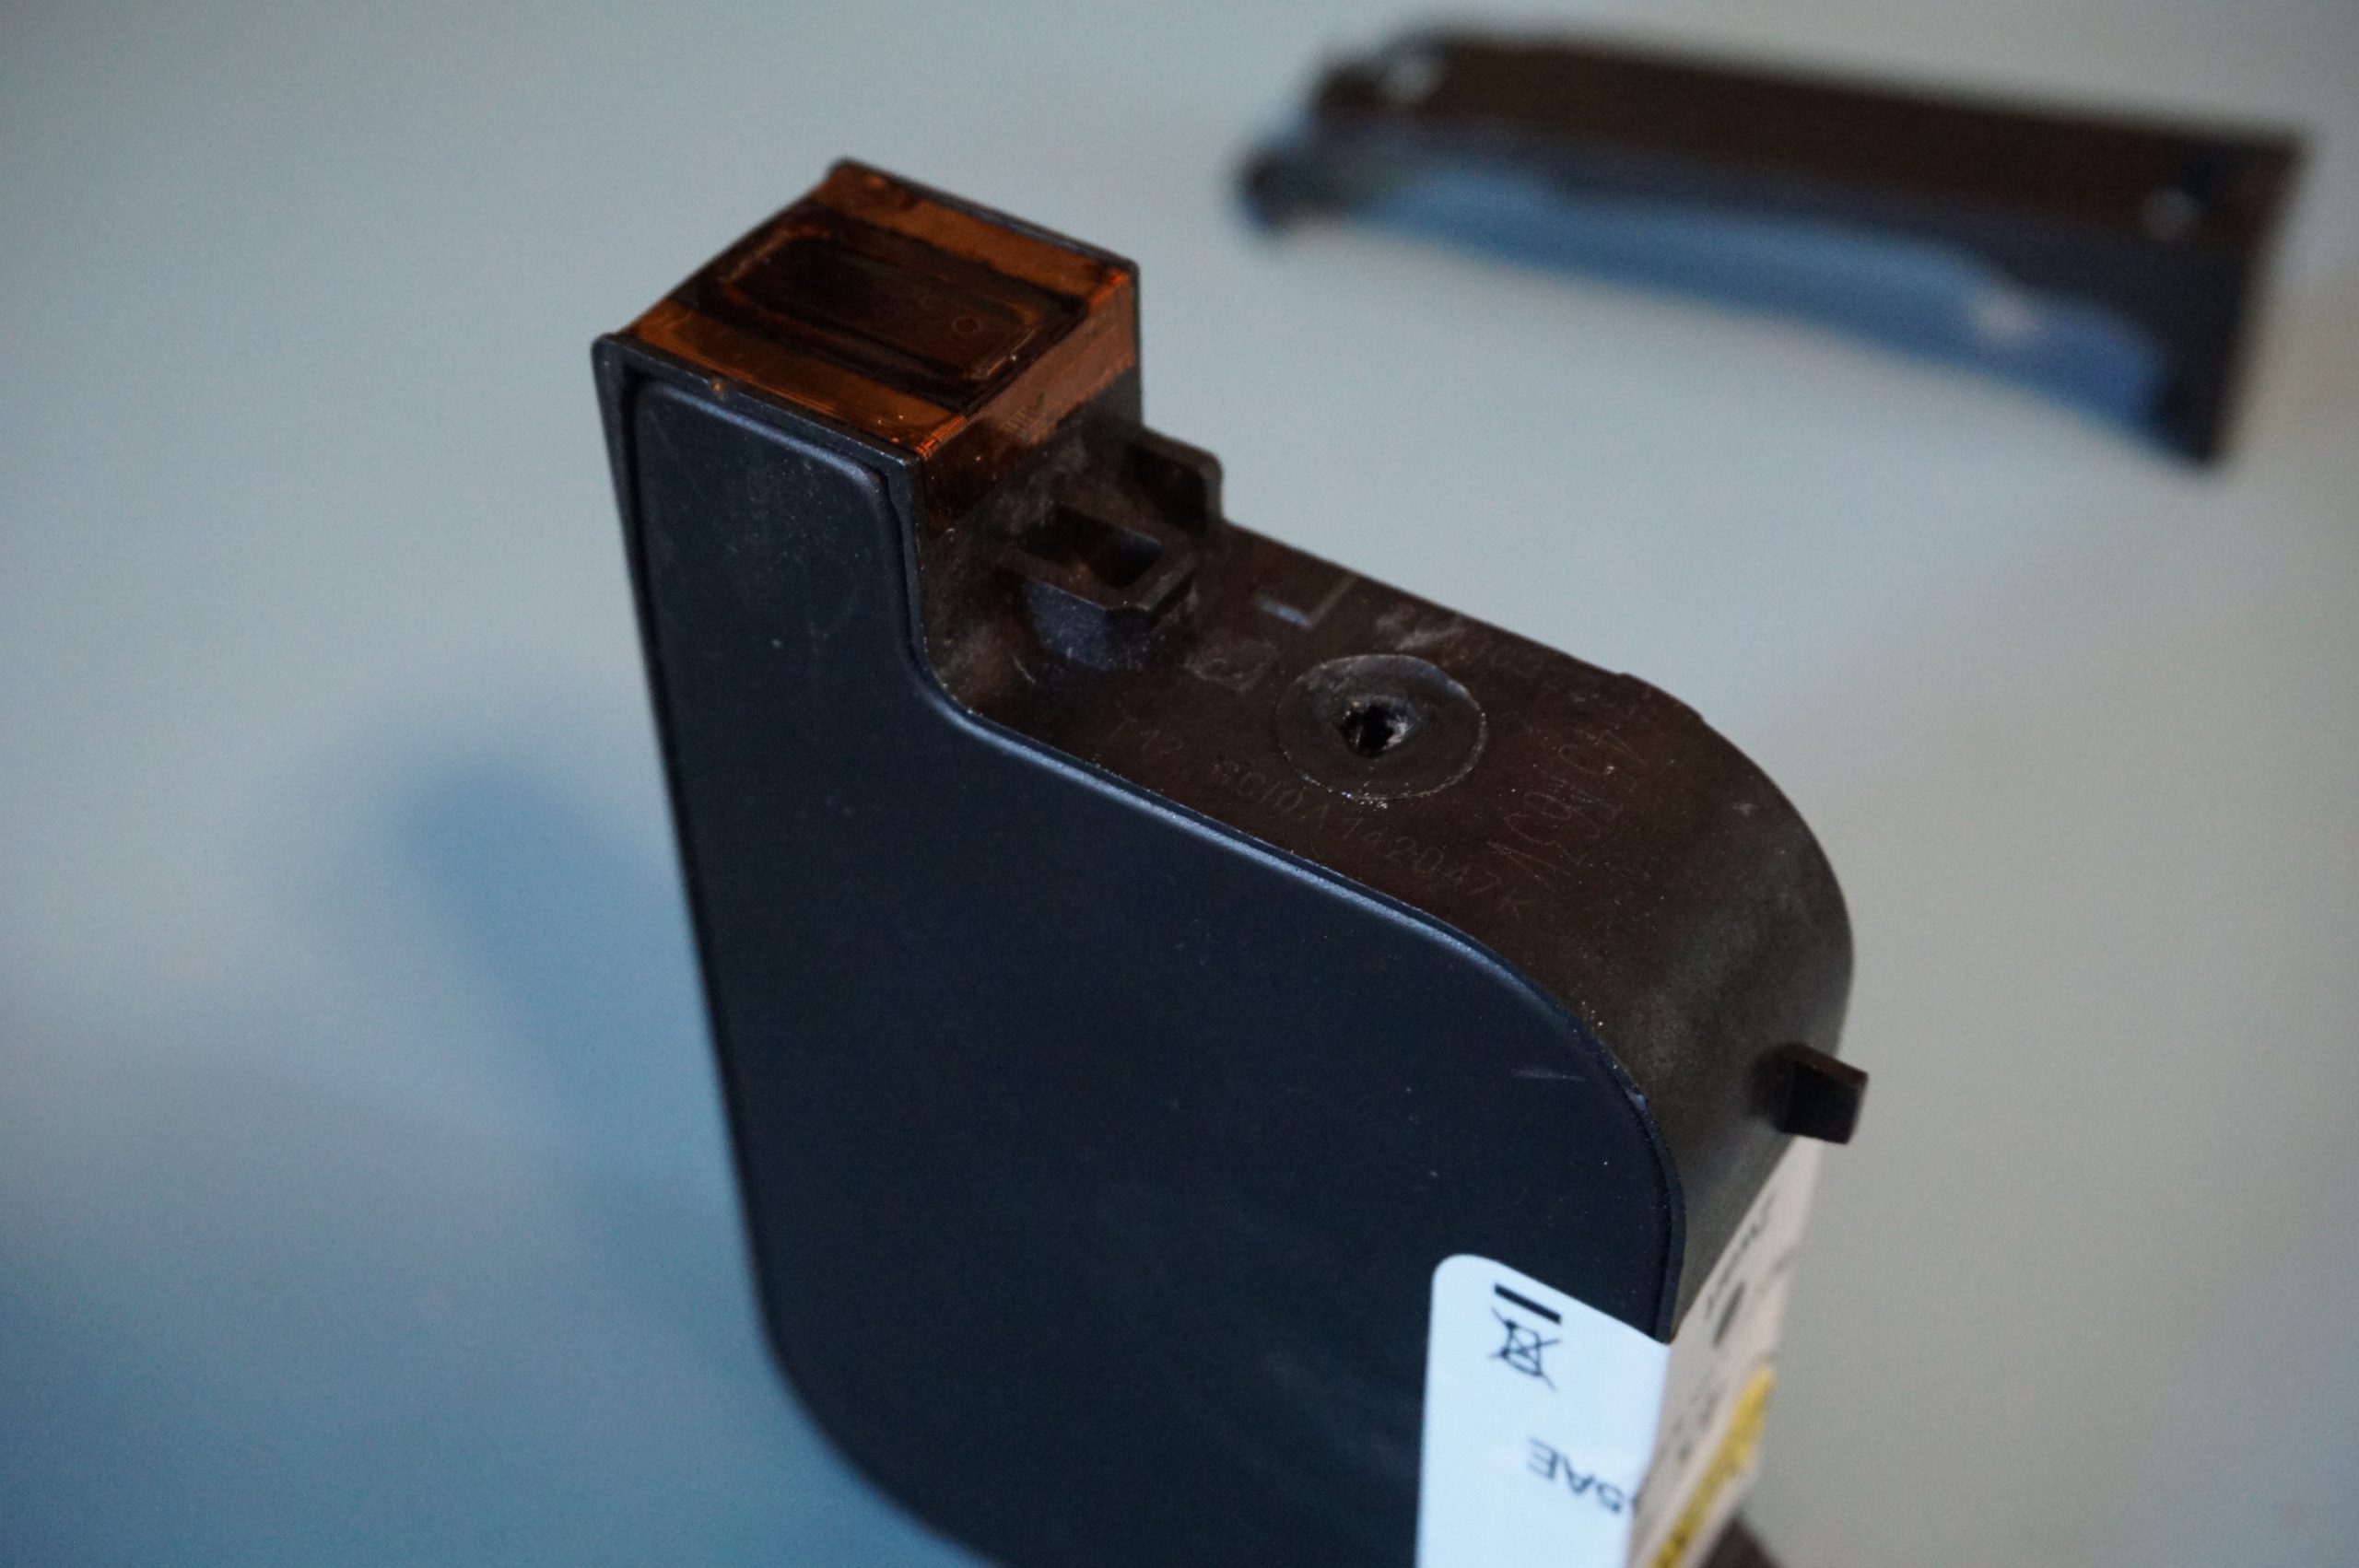
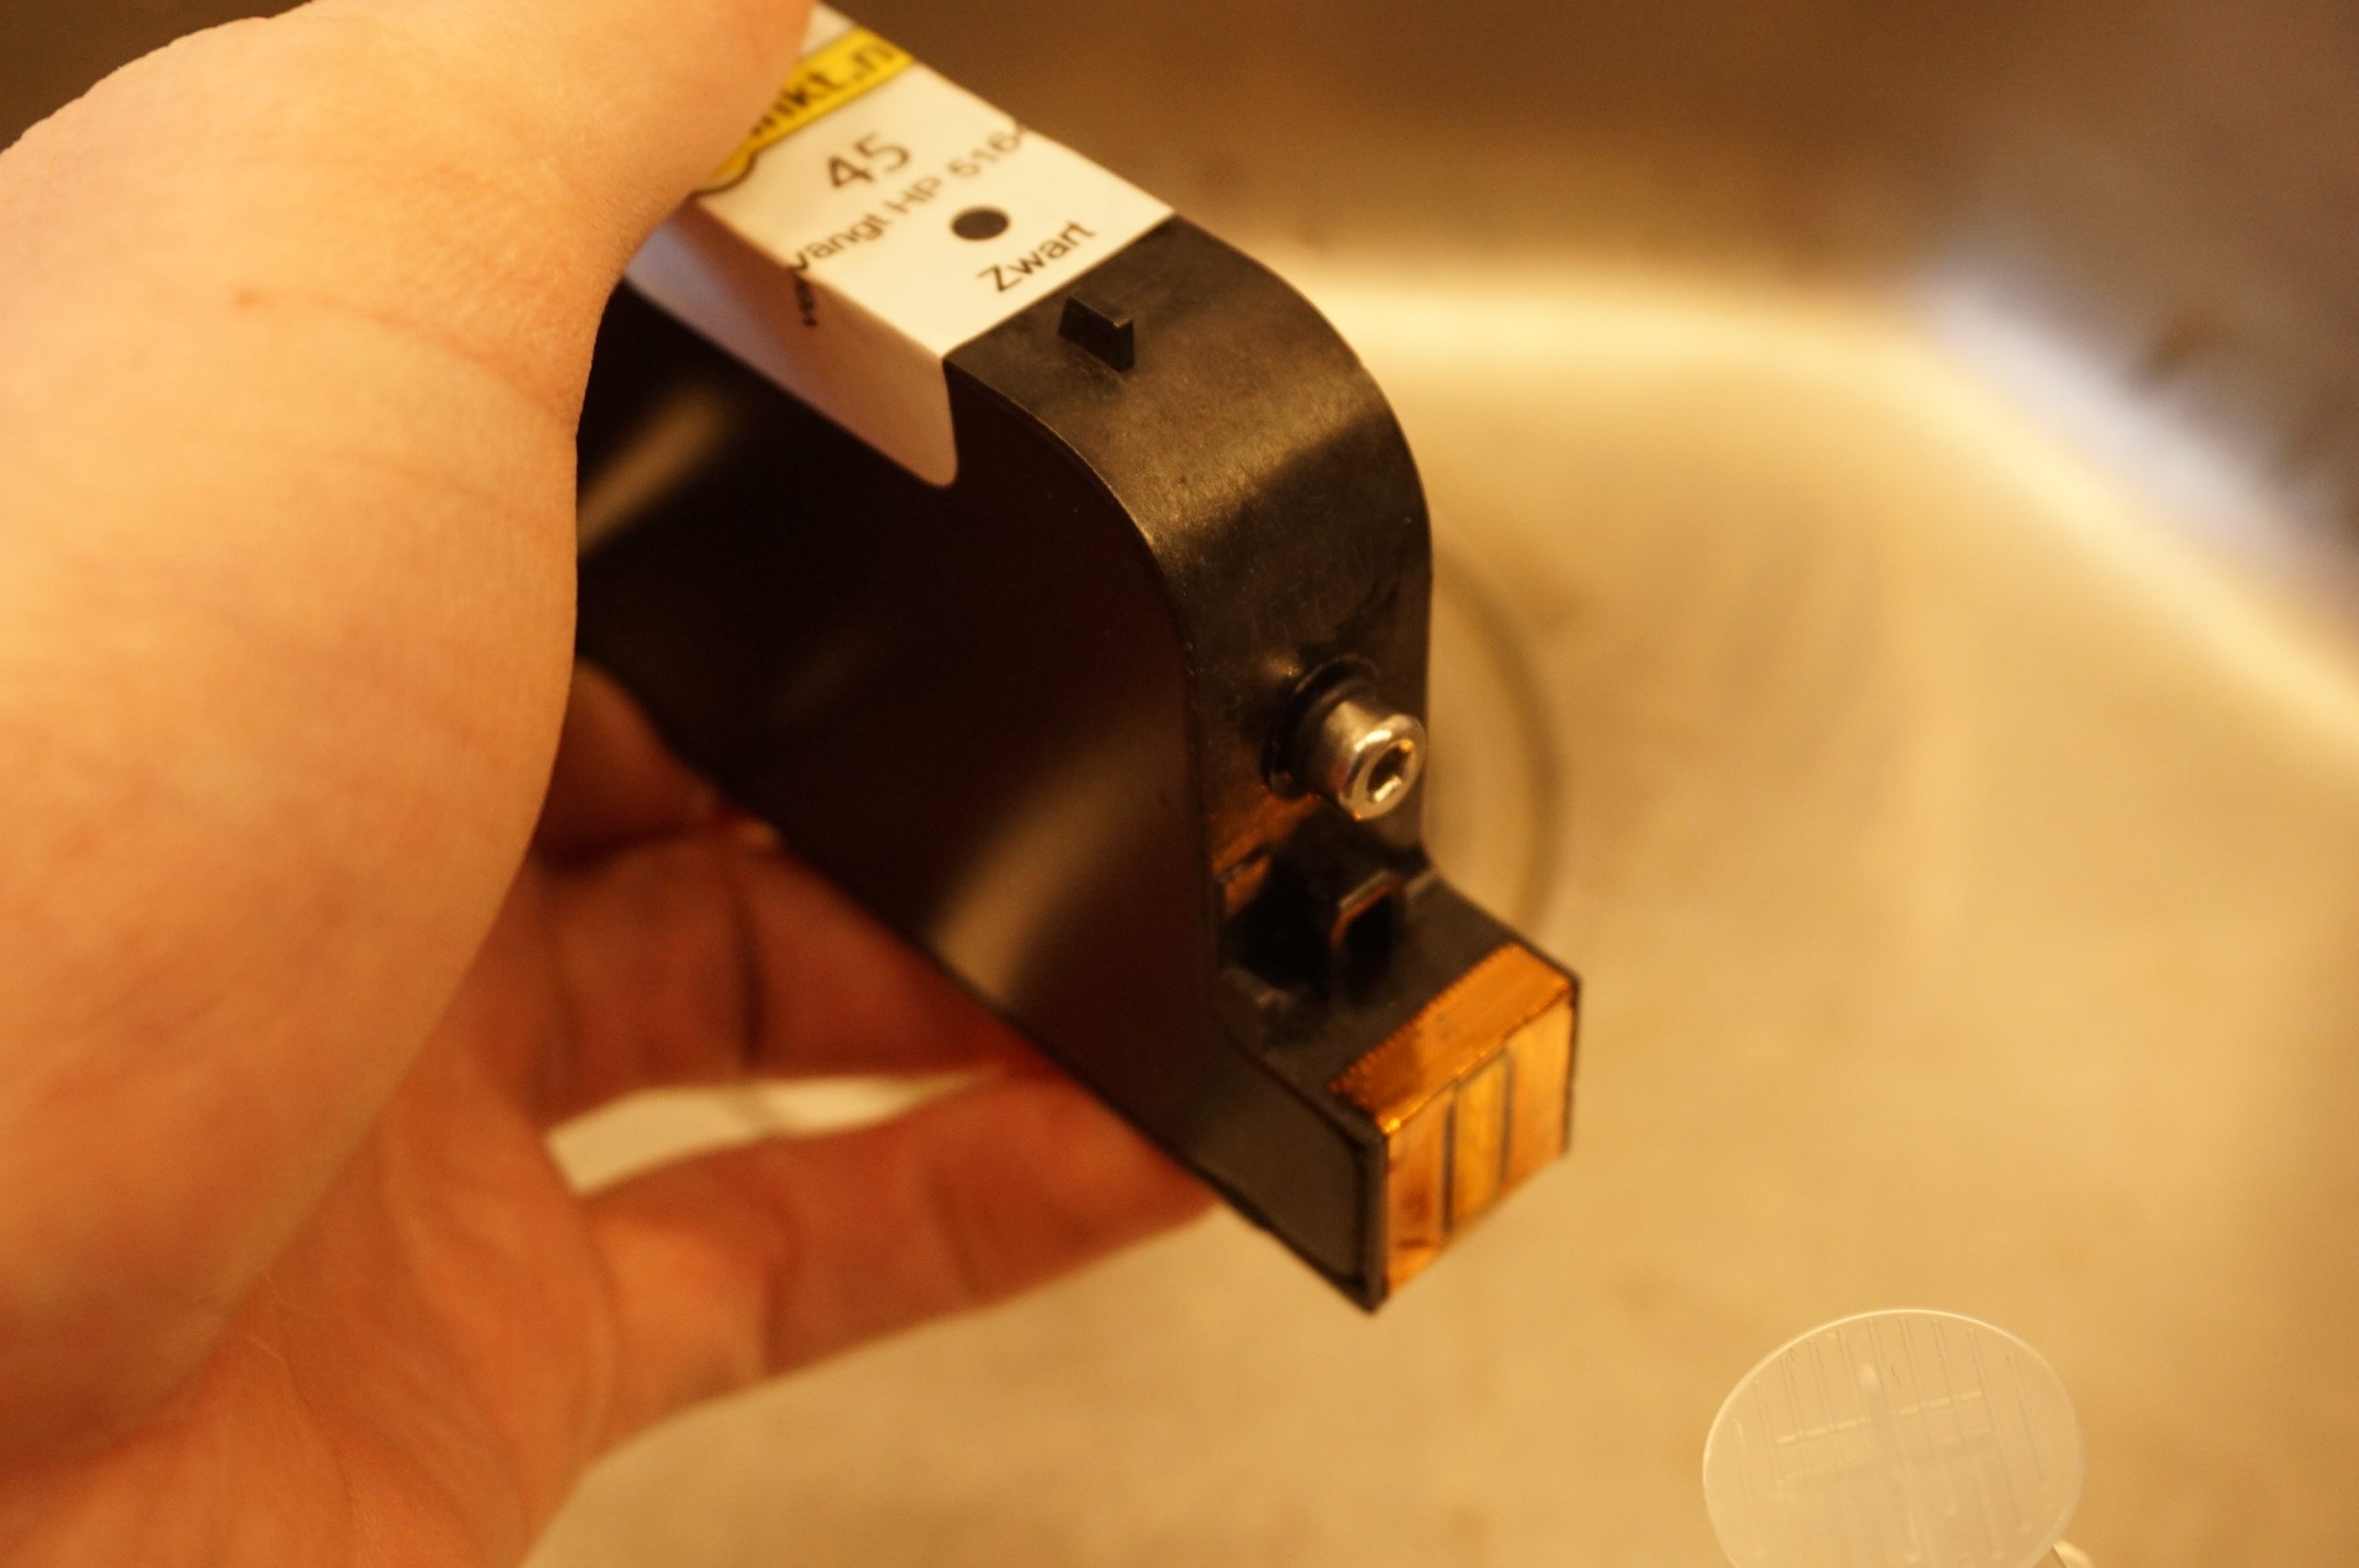
At the bottom is a hole from which the printhead is filled. This hole is usually capped with a ball. When the printhead is refilled the ball is pressed into the chamber to open the chamber. Printheads can be and are refilled commercially, and so older heads might have multiple balls in the ink chamber, which you can hear rattle if you shake the printhead.
What fluids can be used
Since the HP45 printhead vaporizes liquid to expel a drop of ink, the range of fluids is limited to ones which vaporize around the same boiling point as water (100°C) and that do not react at these temperatures. Solids cannot be deposited when the liquid vaporizes, since it would coat the heating resistors and break them. Any solids in the fluid need to be resistant to heat without reacting or melting.
The ink in a normal printhead is mostly water based. Alcohols and surfactants can be added to influence the boiling point and surface tension of the liquid. Solid pigments are allowed, but only with tiny particles. The nozzles themselves are around 30 microns large, and so particles larger than 10 microns will have a high likelihood to clog the nozzle. Ideally the largest particle size is at least 5x smaller than the nozzle diameter.
The following fluids have been tested successfully:
- Any binder designed for thermal inkjet printers (most consumer brands other than Brother and Xaar)
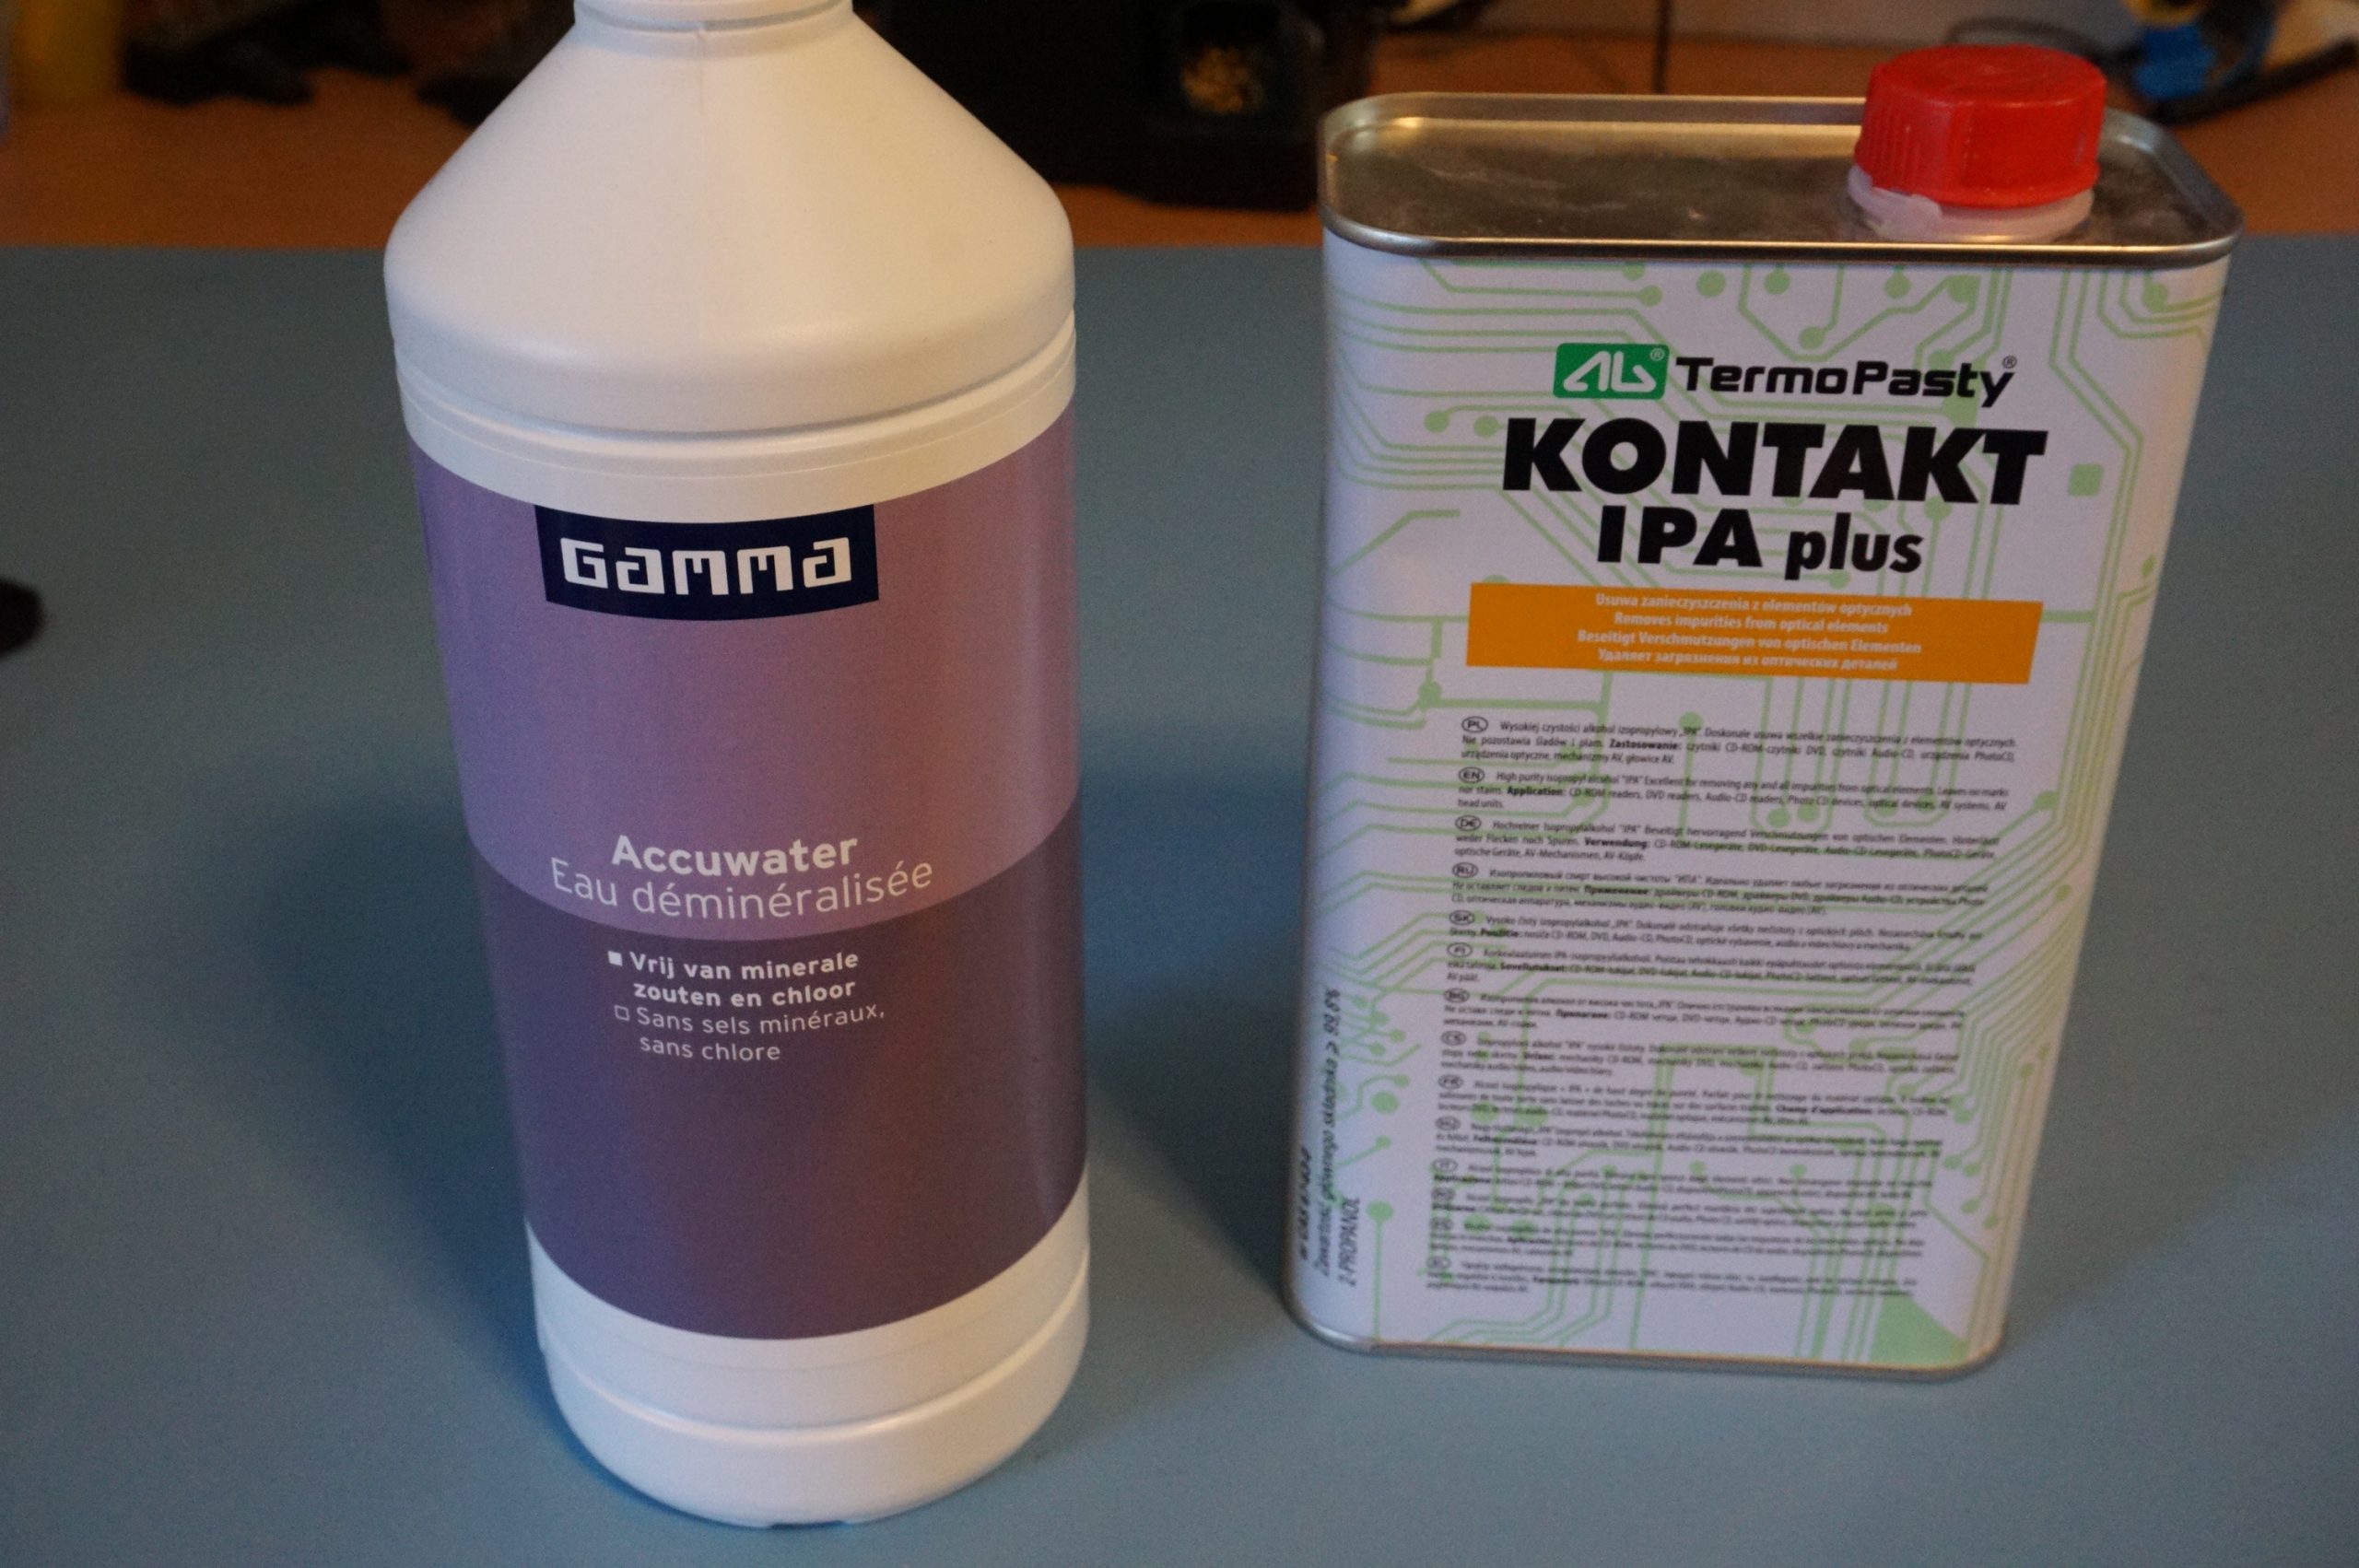
- Pure water (distilled or demineralized)
- 60% pure water, 40% isopropylalcohol with 99.9% purity
Required materials
To refill a printhead the following materials are required.
- An HP45 printhead
- The new fluid to refill the printhead (in this example an IPA/water mix)
- An hex socket cap screw (DIN912 or similar) M4x10 screw
- An O-ring with an ID of 4mm (4.0×1.8 used)
- Paper towels
Required tools

To refill a printhead the following tools are required.
- A sink with running water
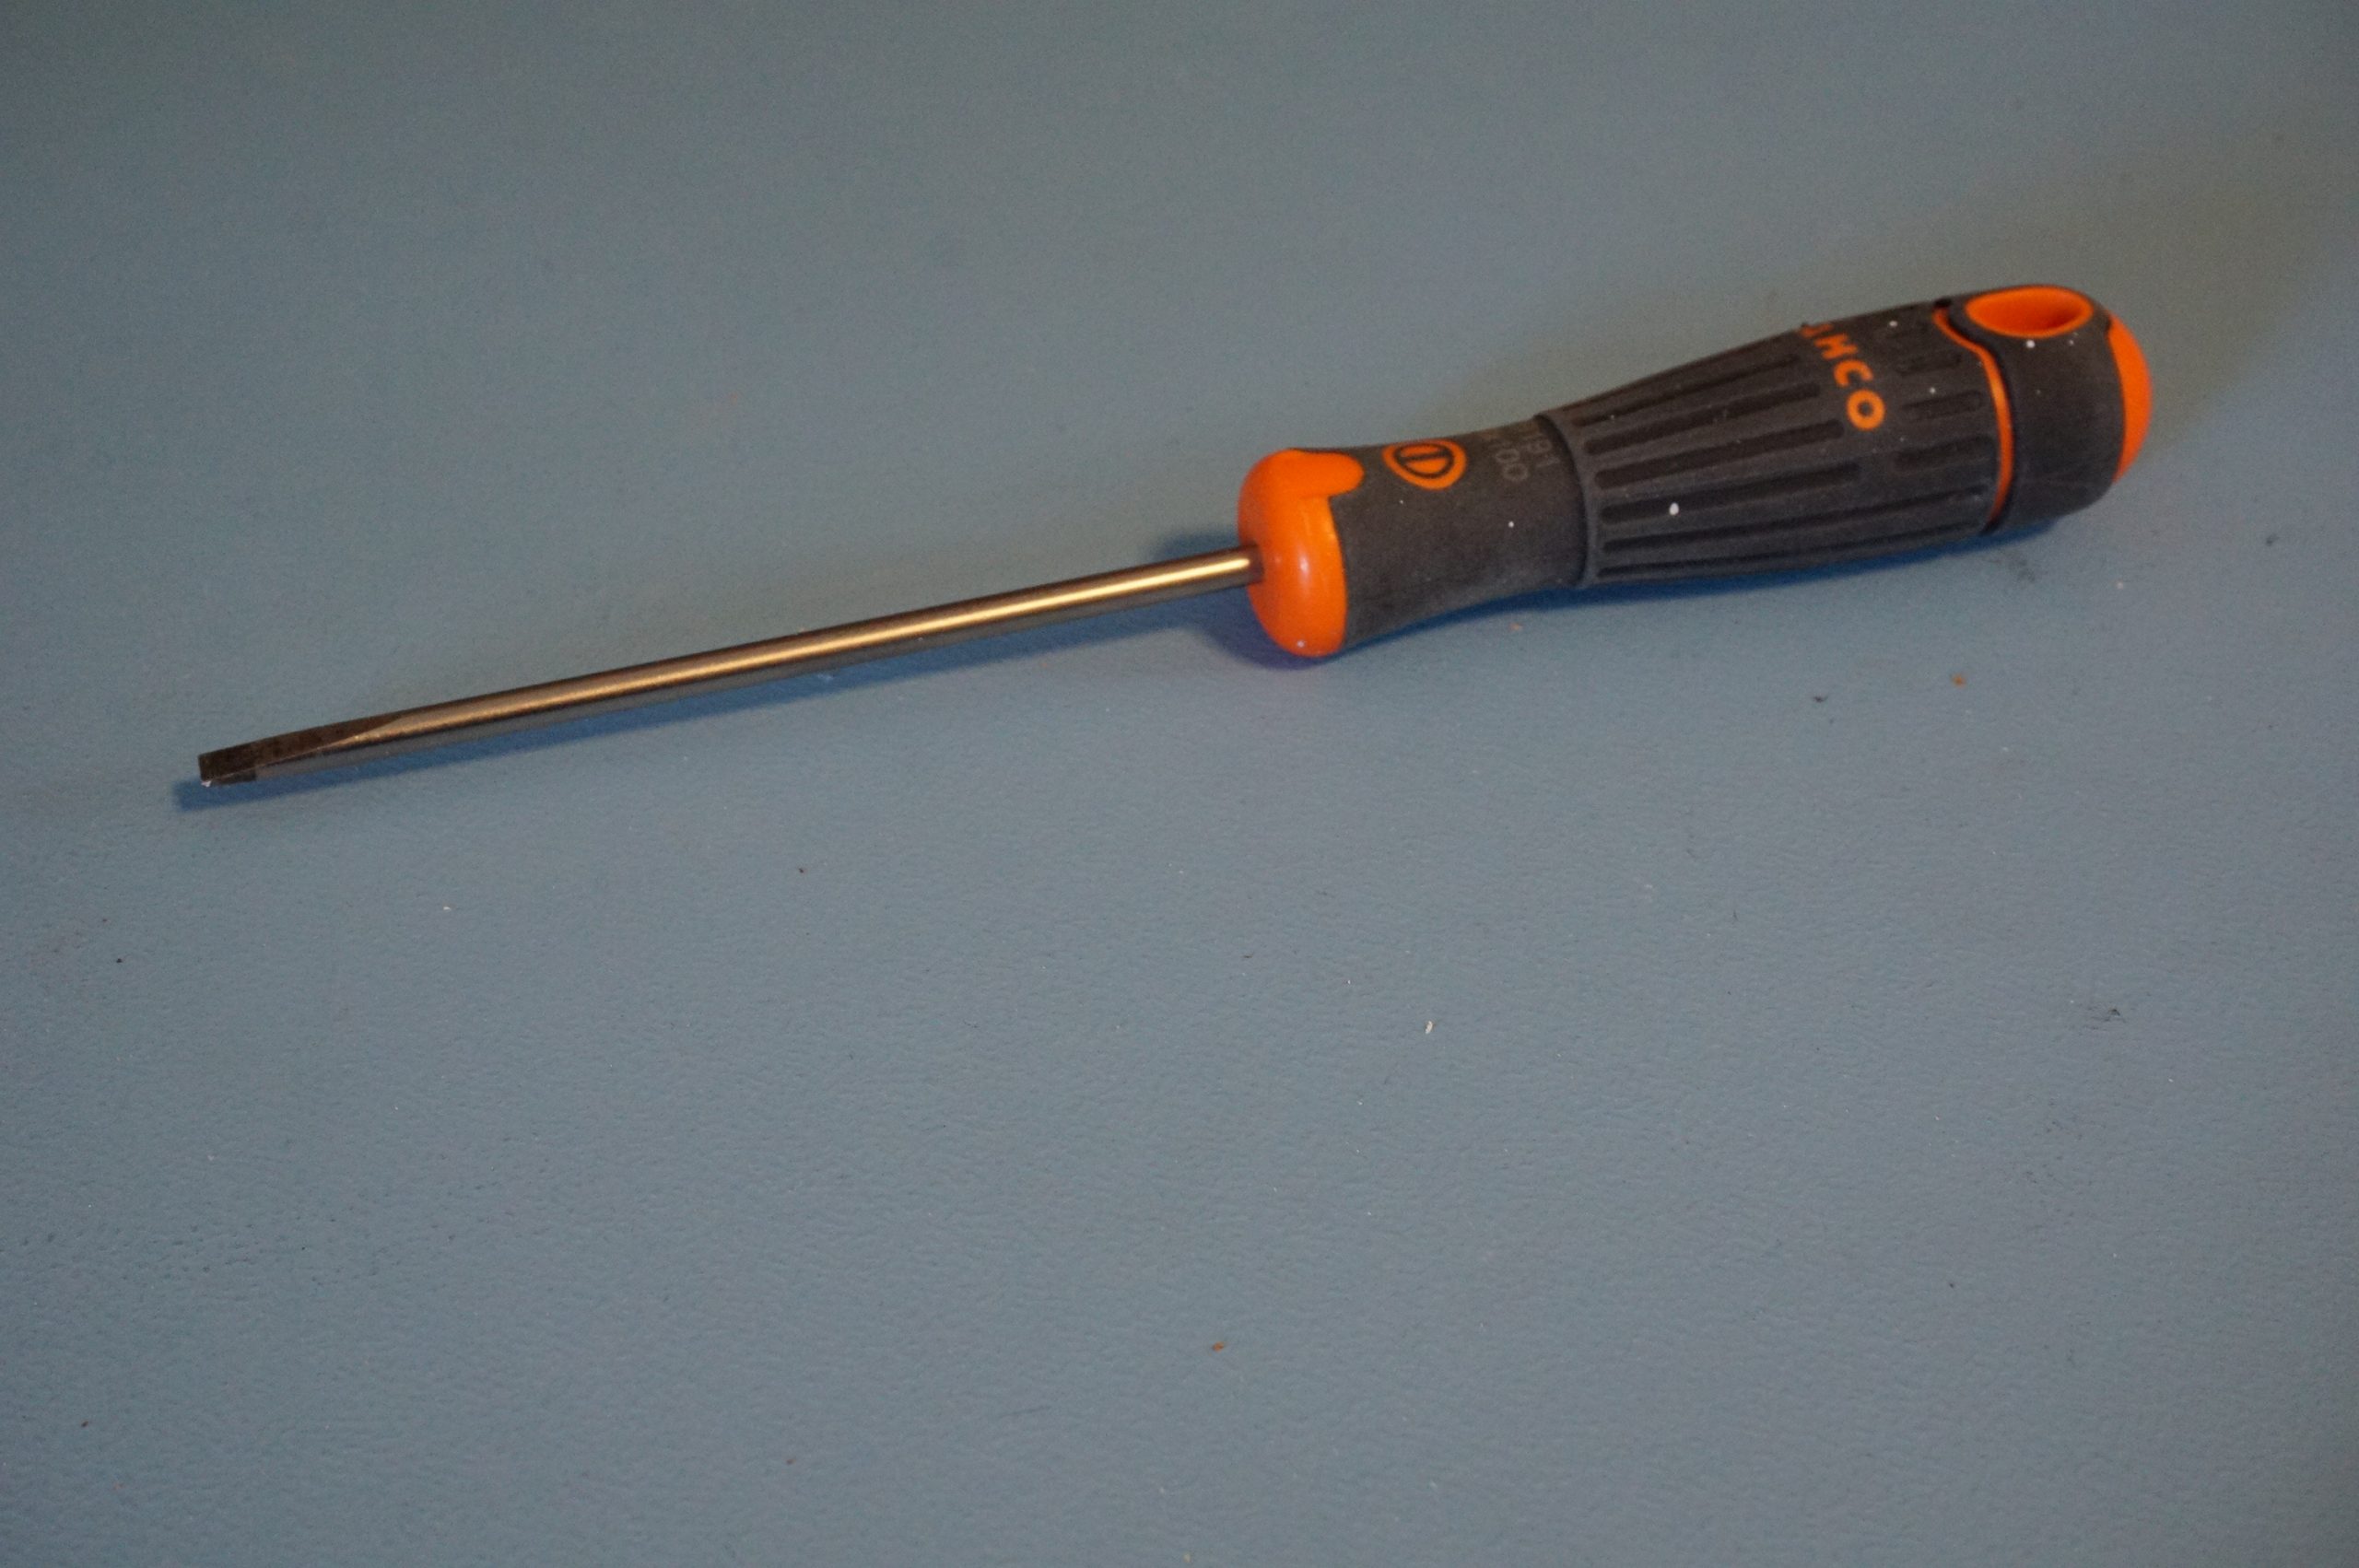
- A small screwdriver
- Allen keys for the M4 screw
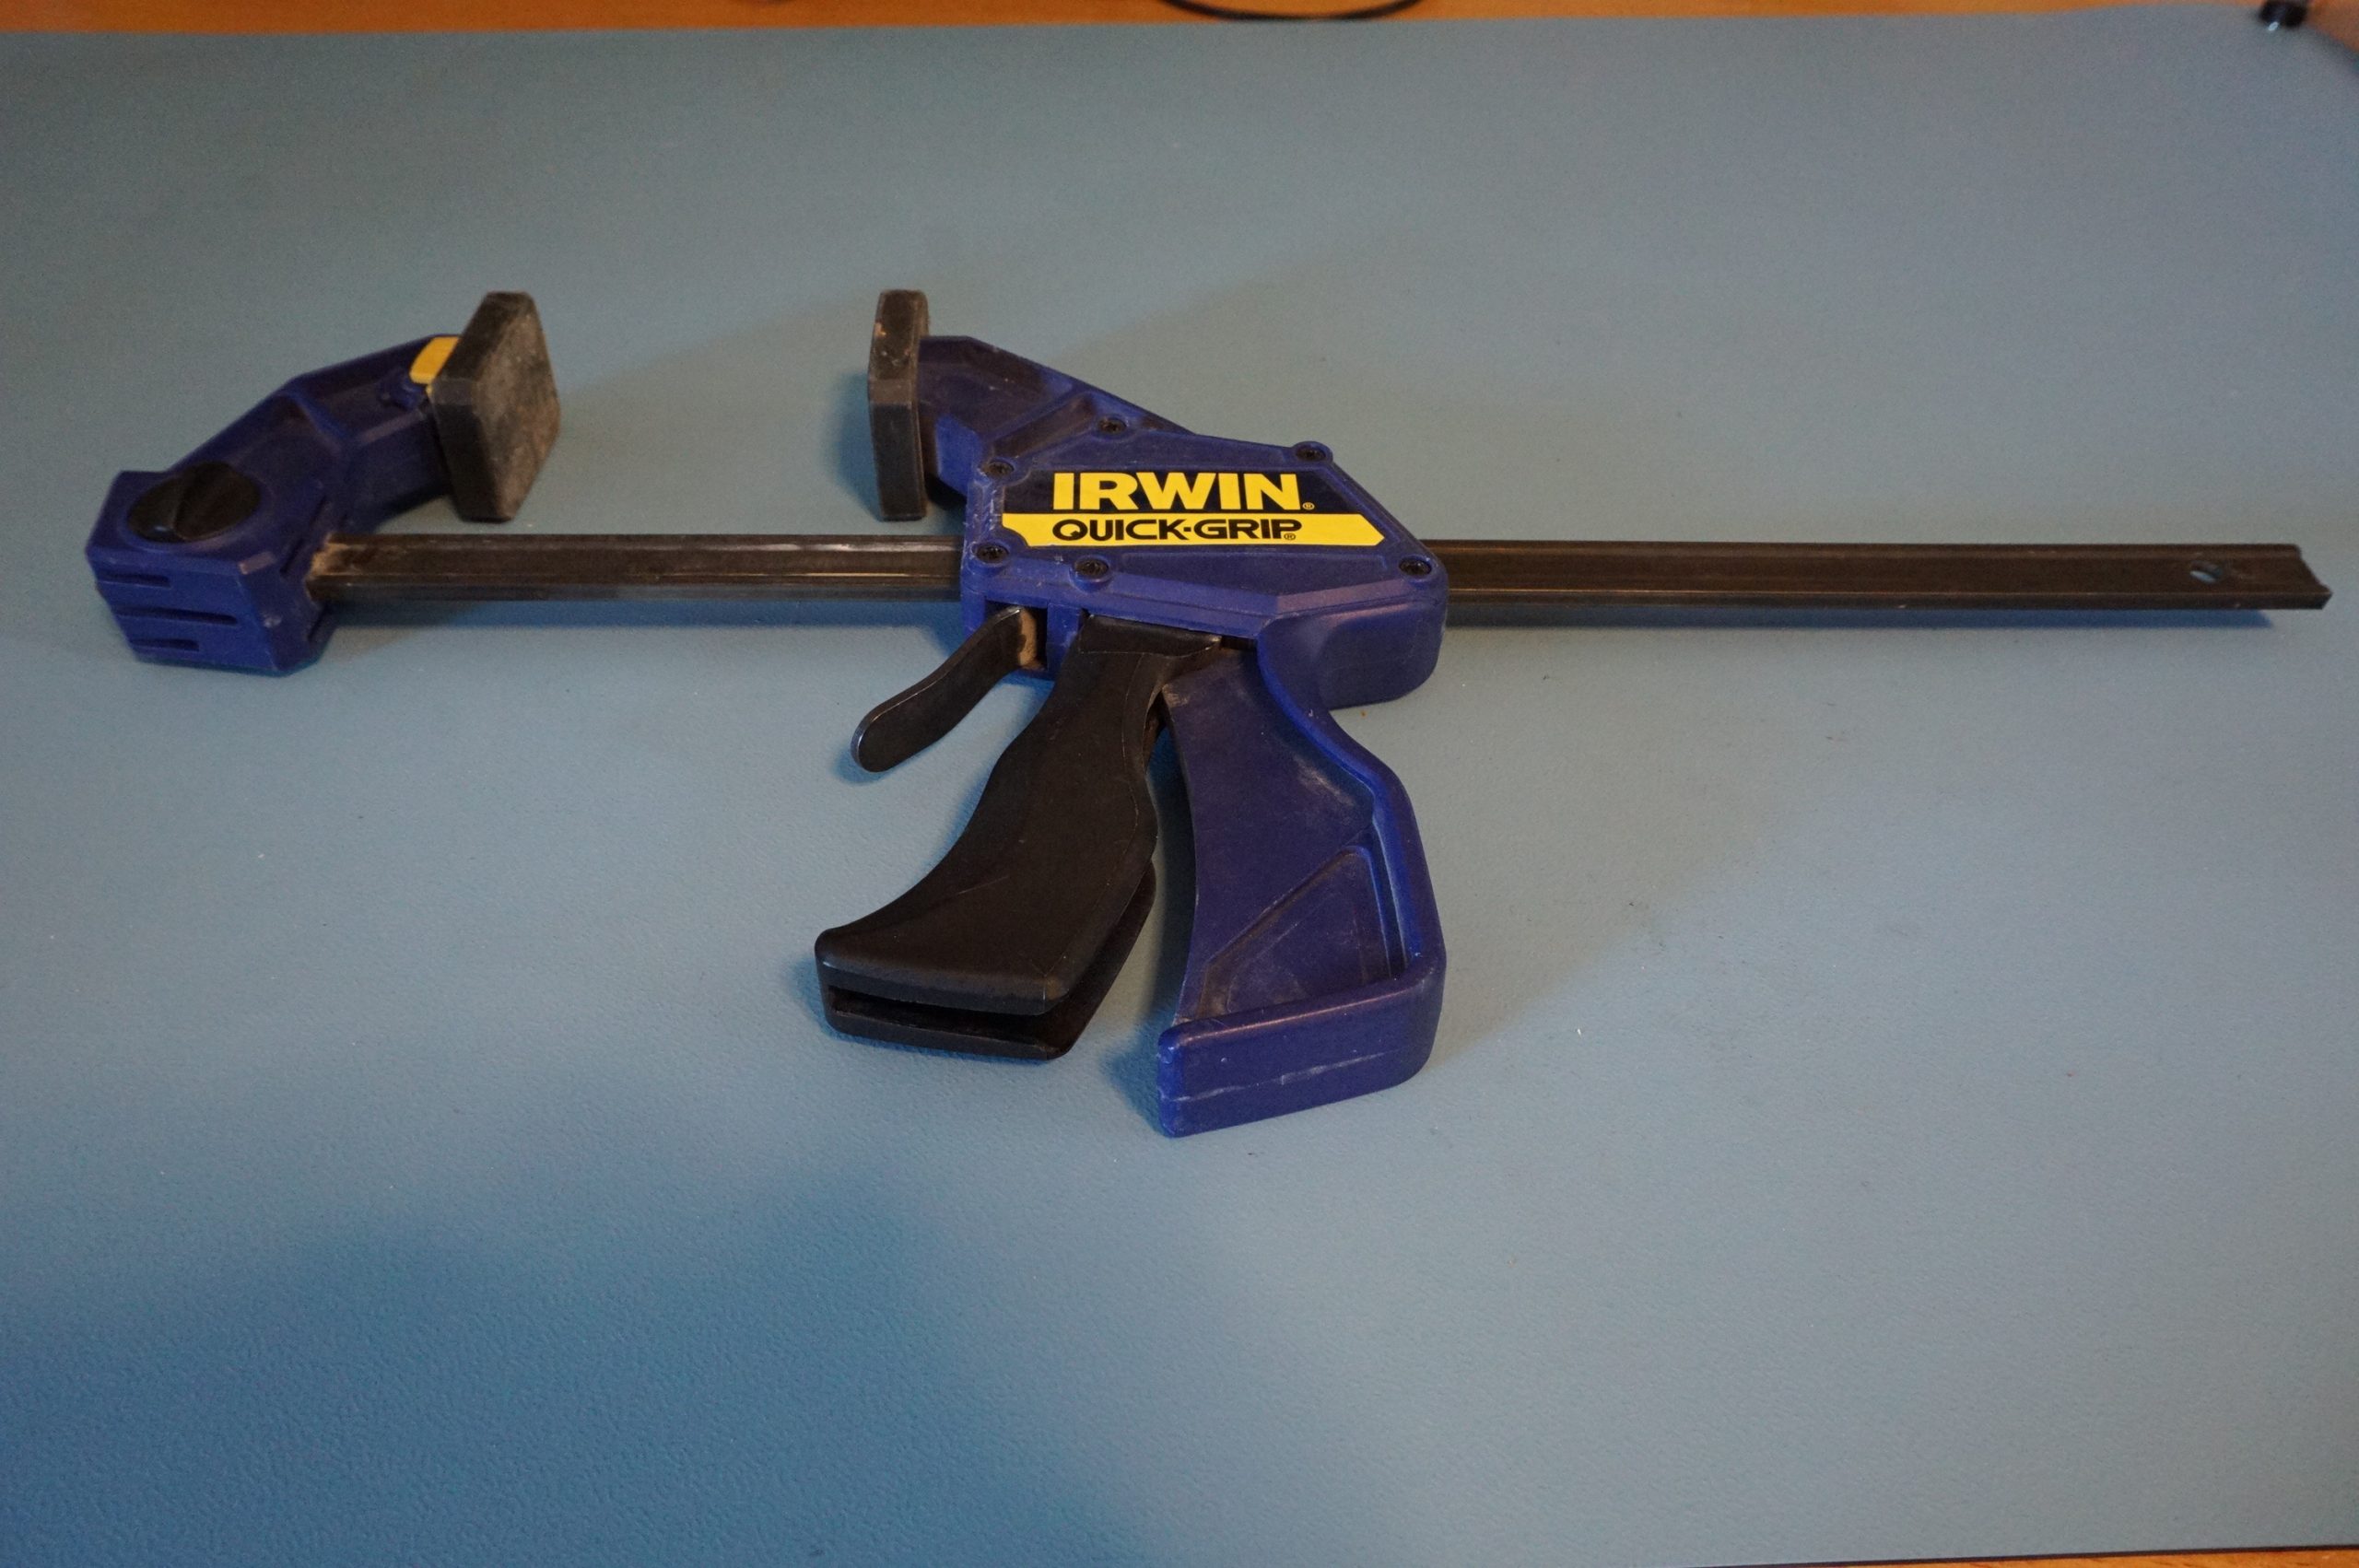
- A glue clamp
- A syringe with a needle
- A vacuum tool
To draw a vacuum on the printhead and force ink through the nozzles a special tool is required. These tools are out there, but if you do not have these tools they can be made with a 3D printed part and an 11.2IDx2.65mm O-ring. A syringe of around 10ml can be used to draw the vacuum. The files can be downloaded below.

Draining the printhead

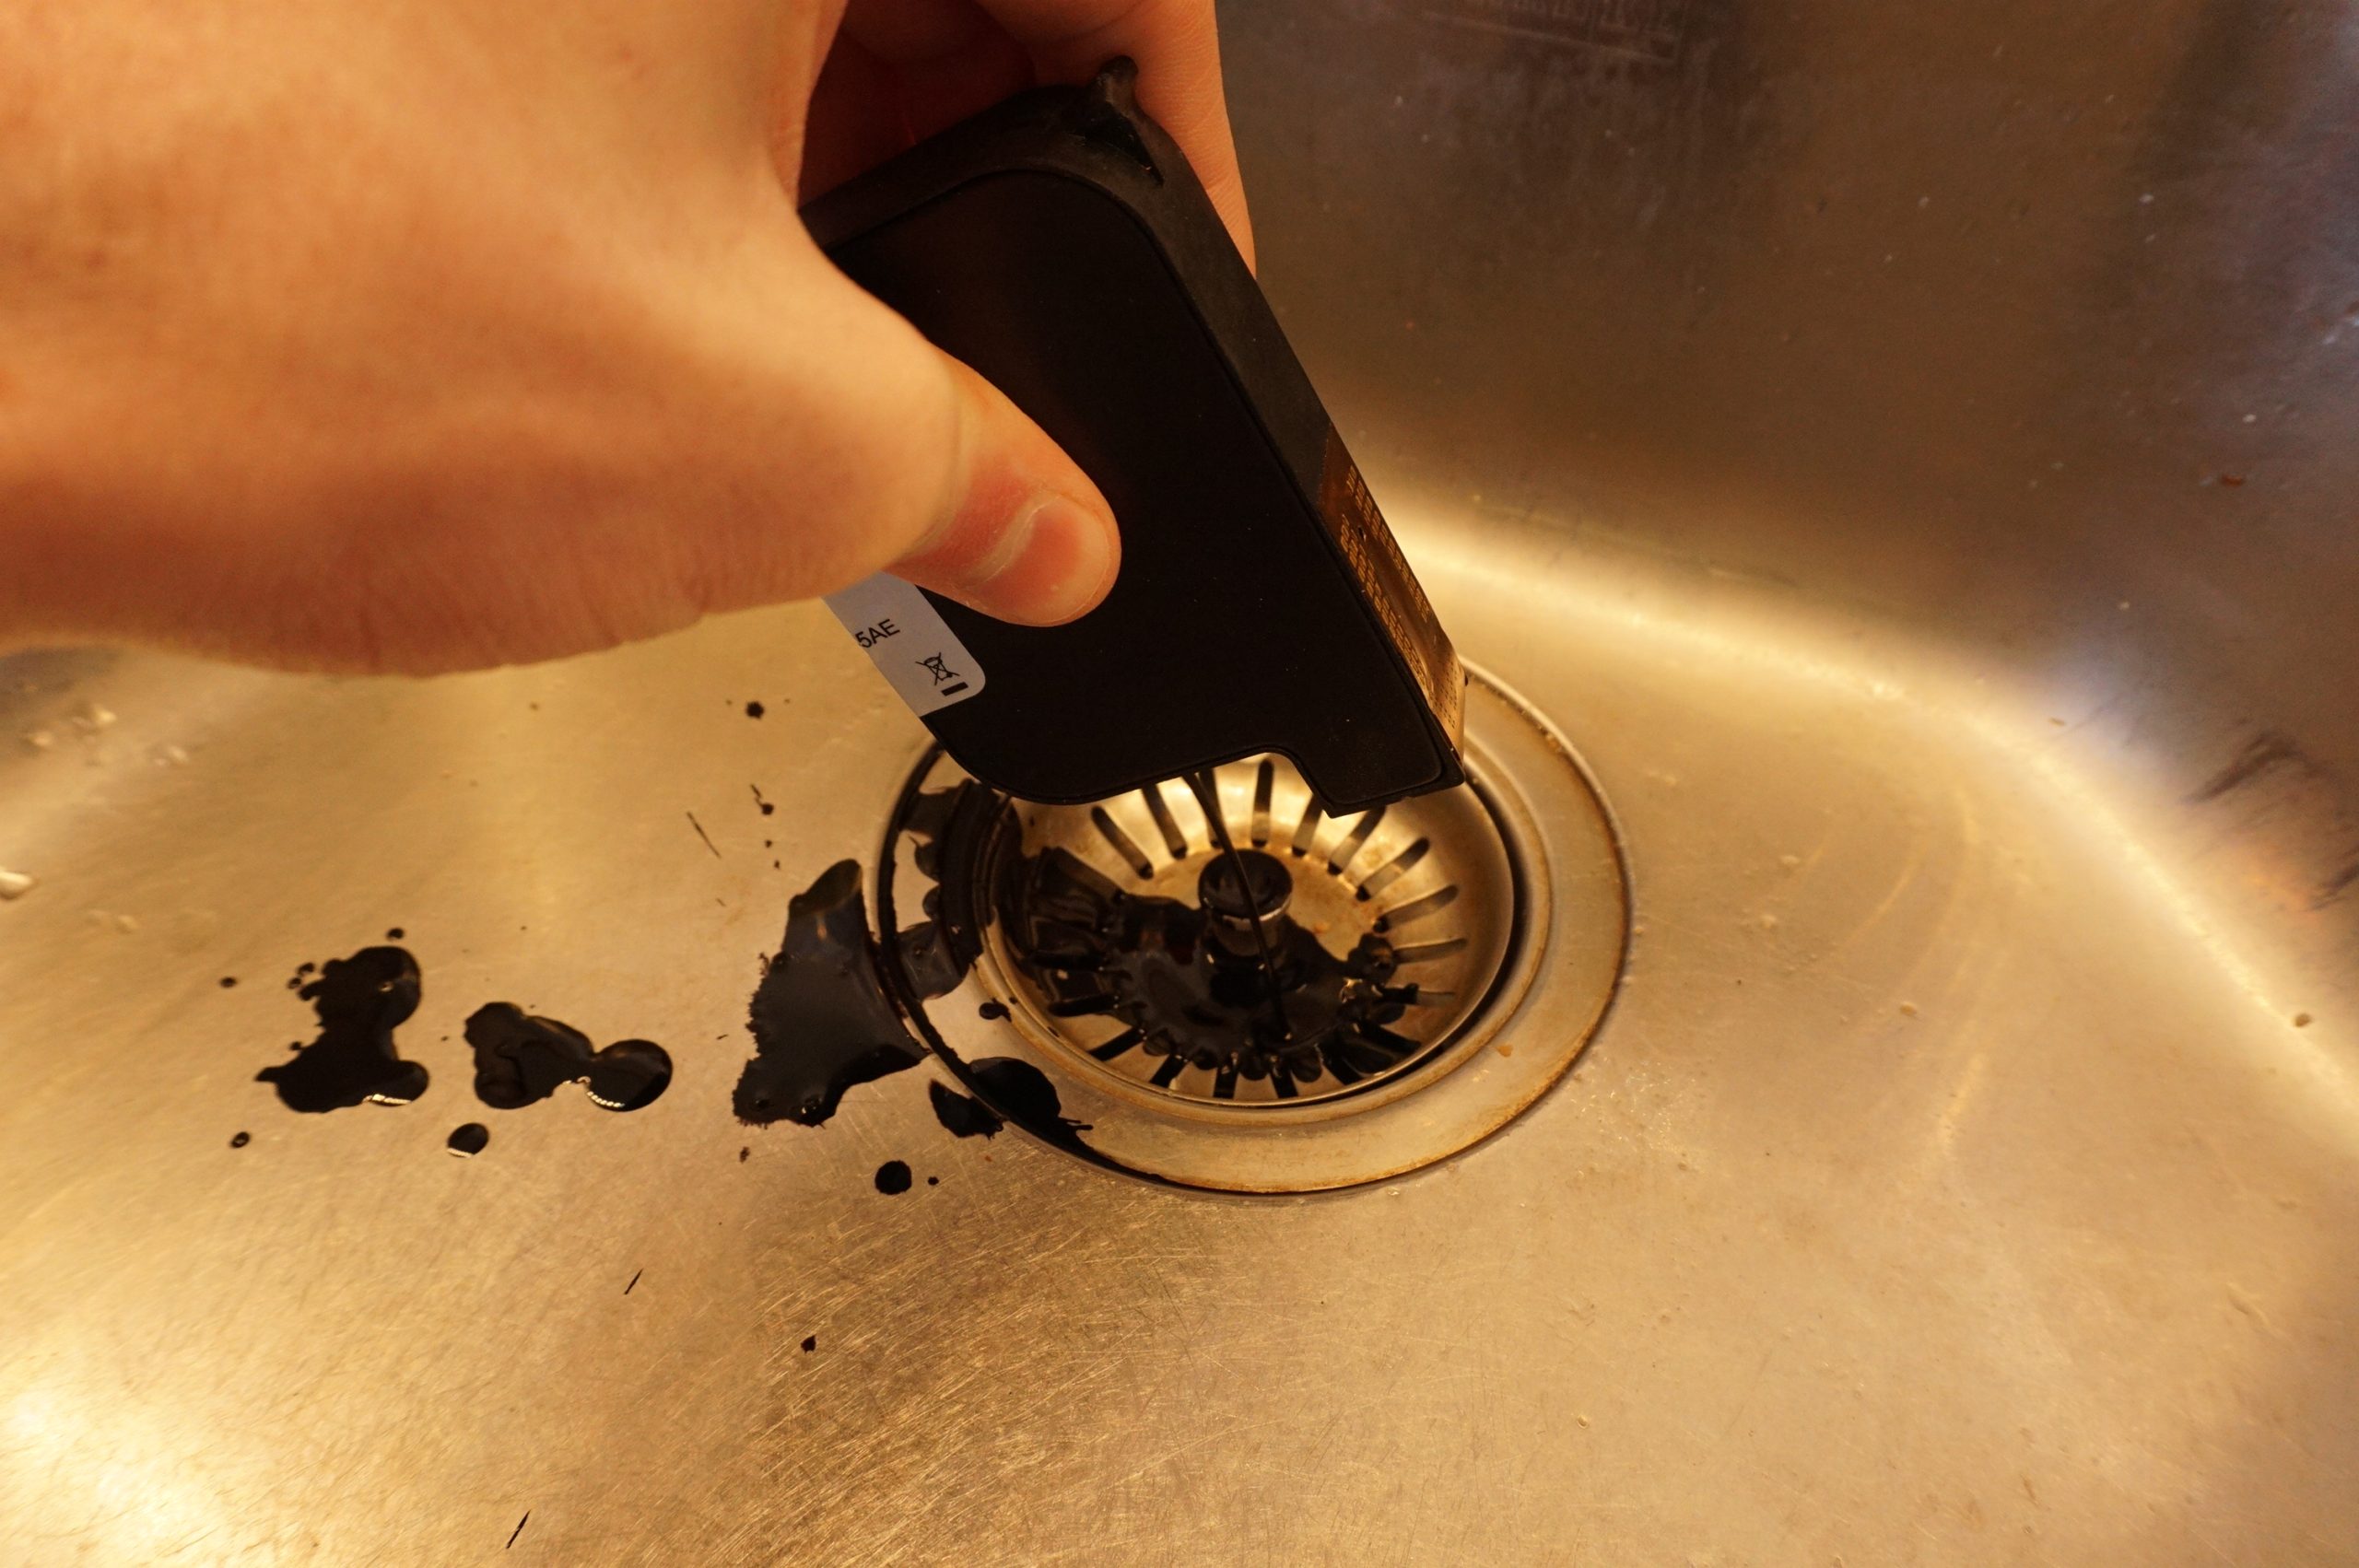
All of the steps should be performed over a sink, with access to running water. Once the ink sets it is difficult to clean off, but as long as the ink is still wet it can easily be washed of any surface.
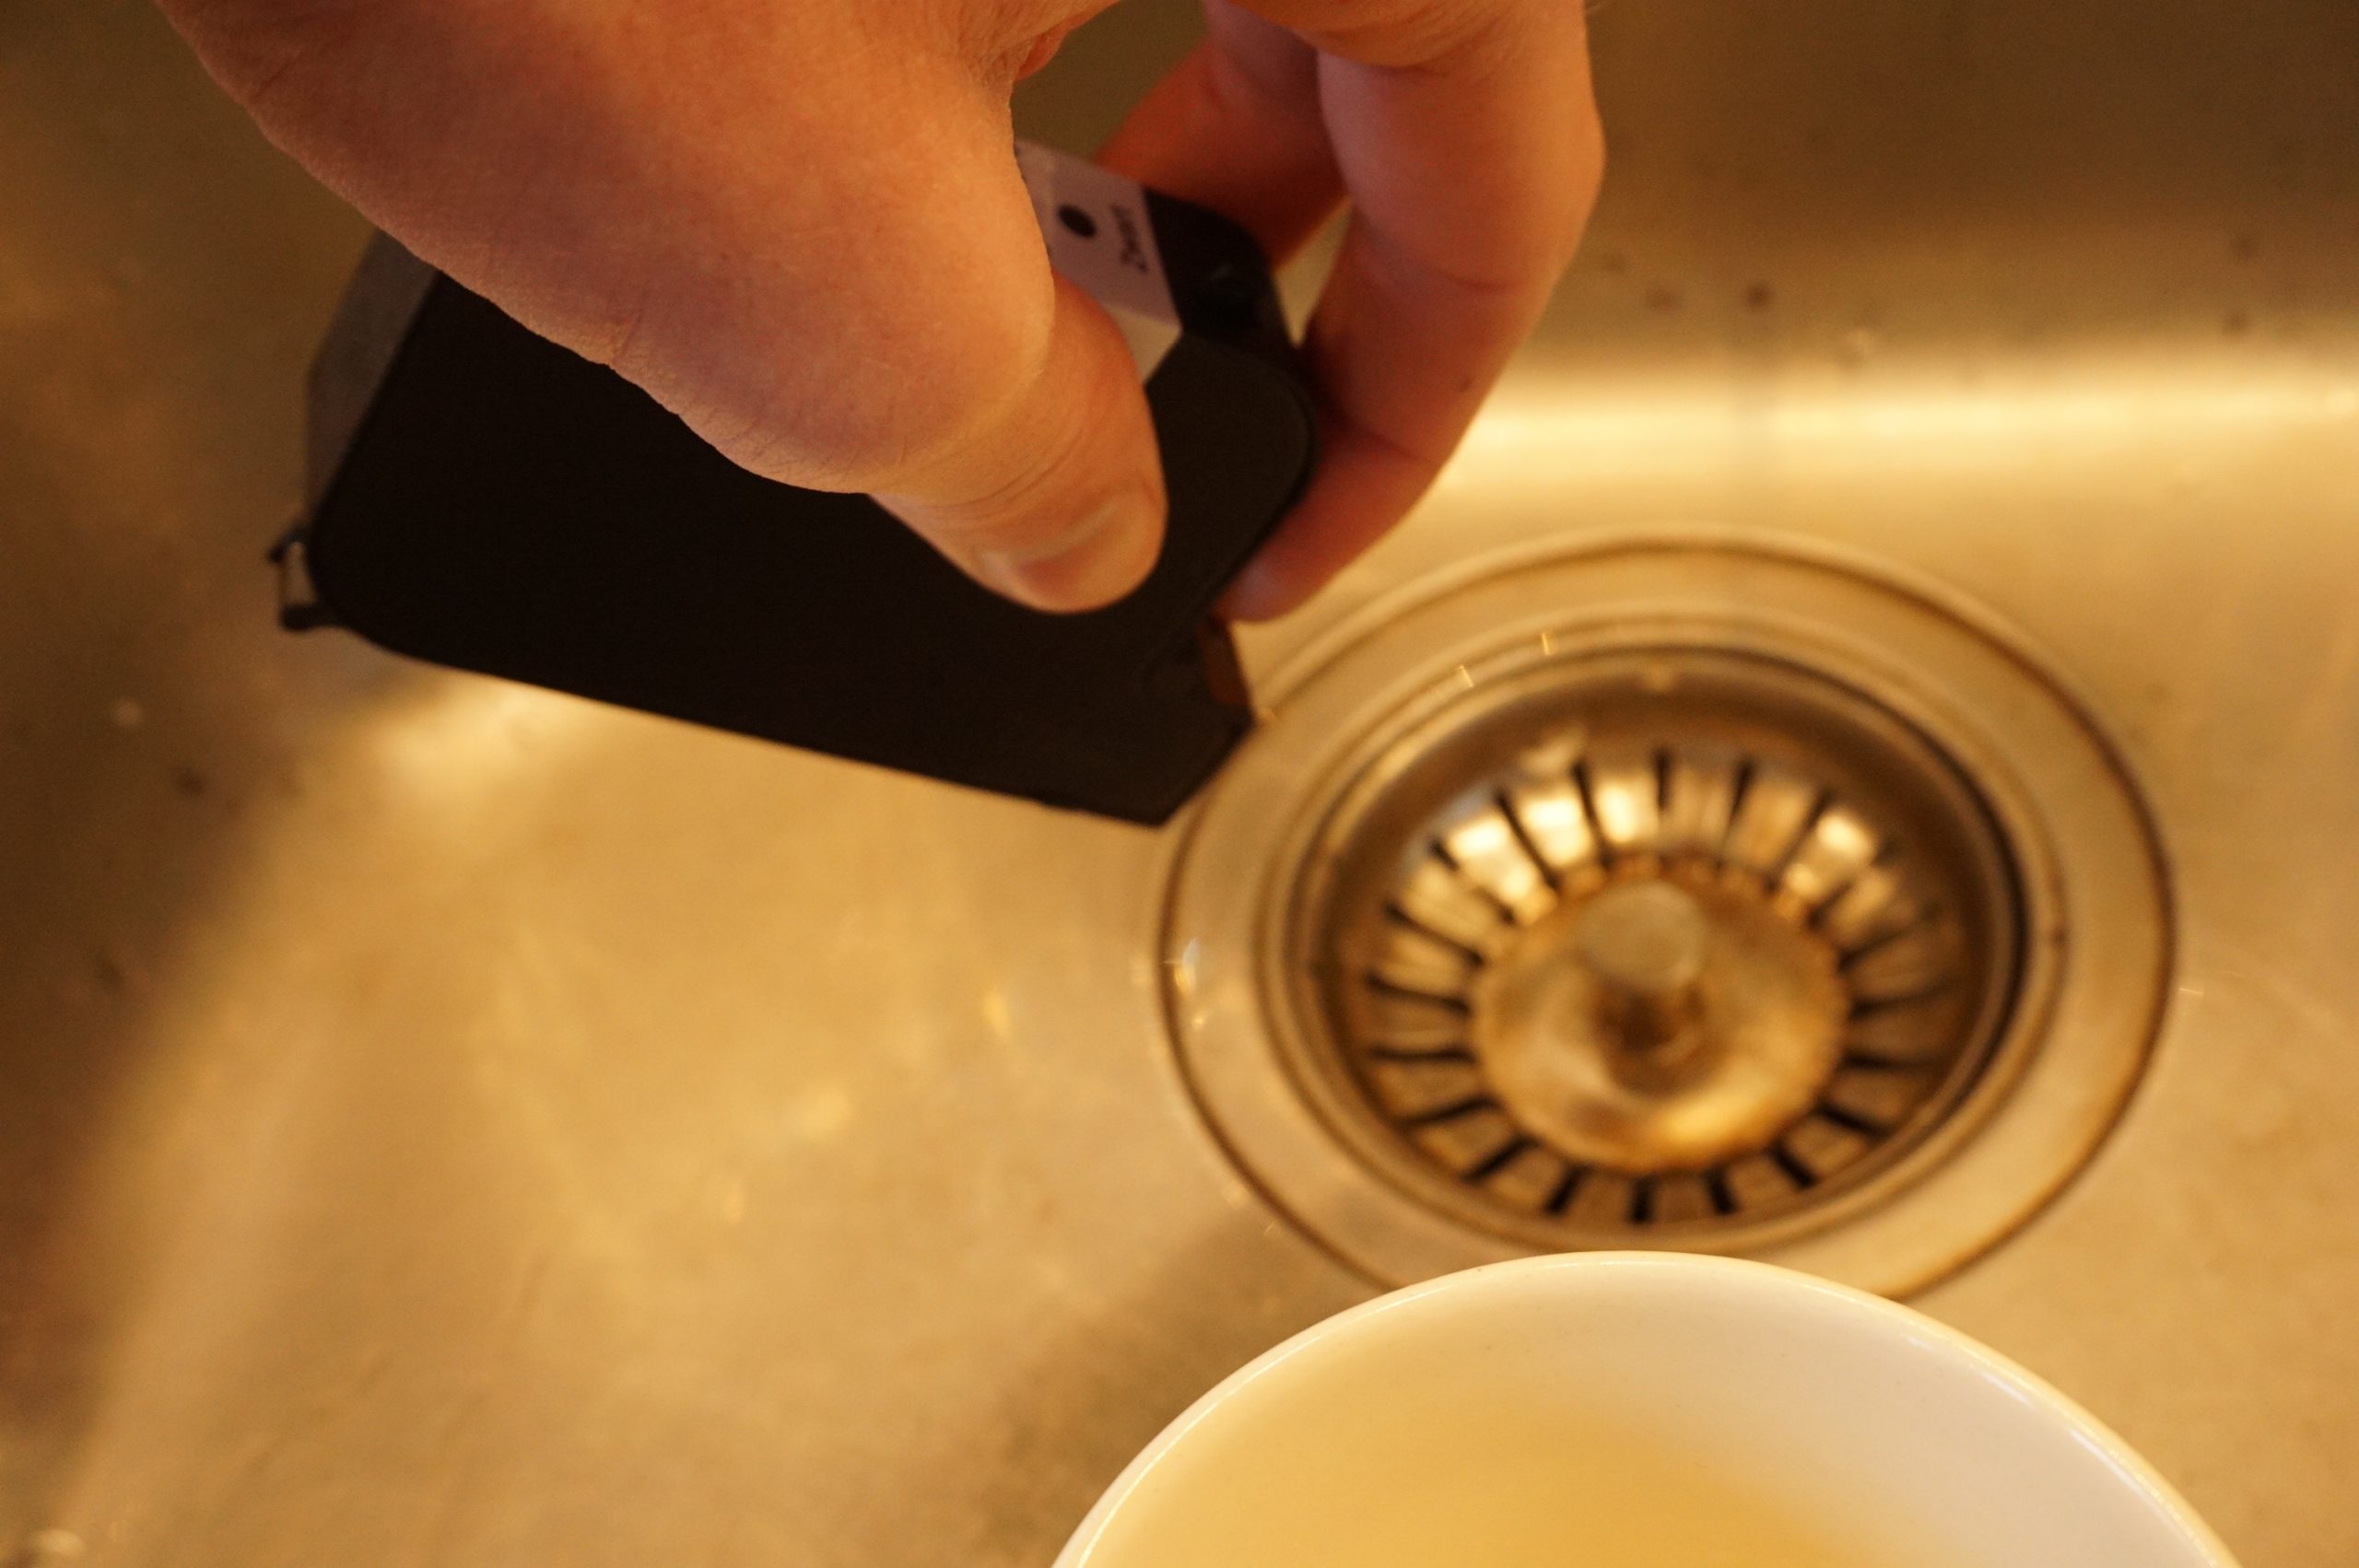
Before the printhead can be refilled it needs to be drained. There is a hole in the bottom of the printhead, that is capped with a steel ball. This hole is usually covered by a black sticker. Remove the black sticker. With the printhead facing up push the ball through the hole with a screwdriver.
Carefully tilt the printhead with the nozzles facing down and squeeze the printhead on the sides. Ink should flow from the hole every time you squeeze. Repeat squeezing the printhead until ink no longer comes from the hole. The printhead is now drained.
Flushing the printhead
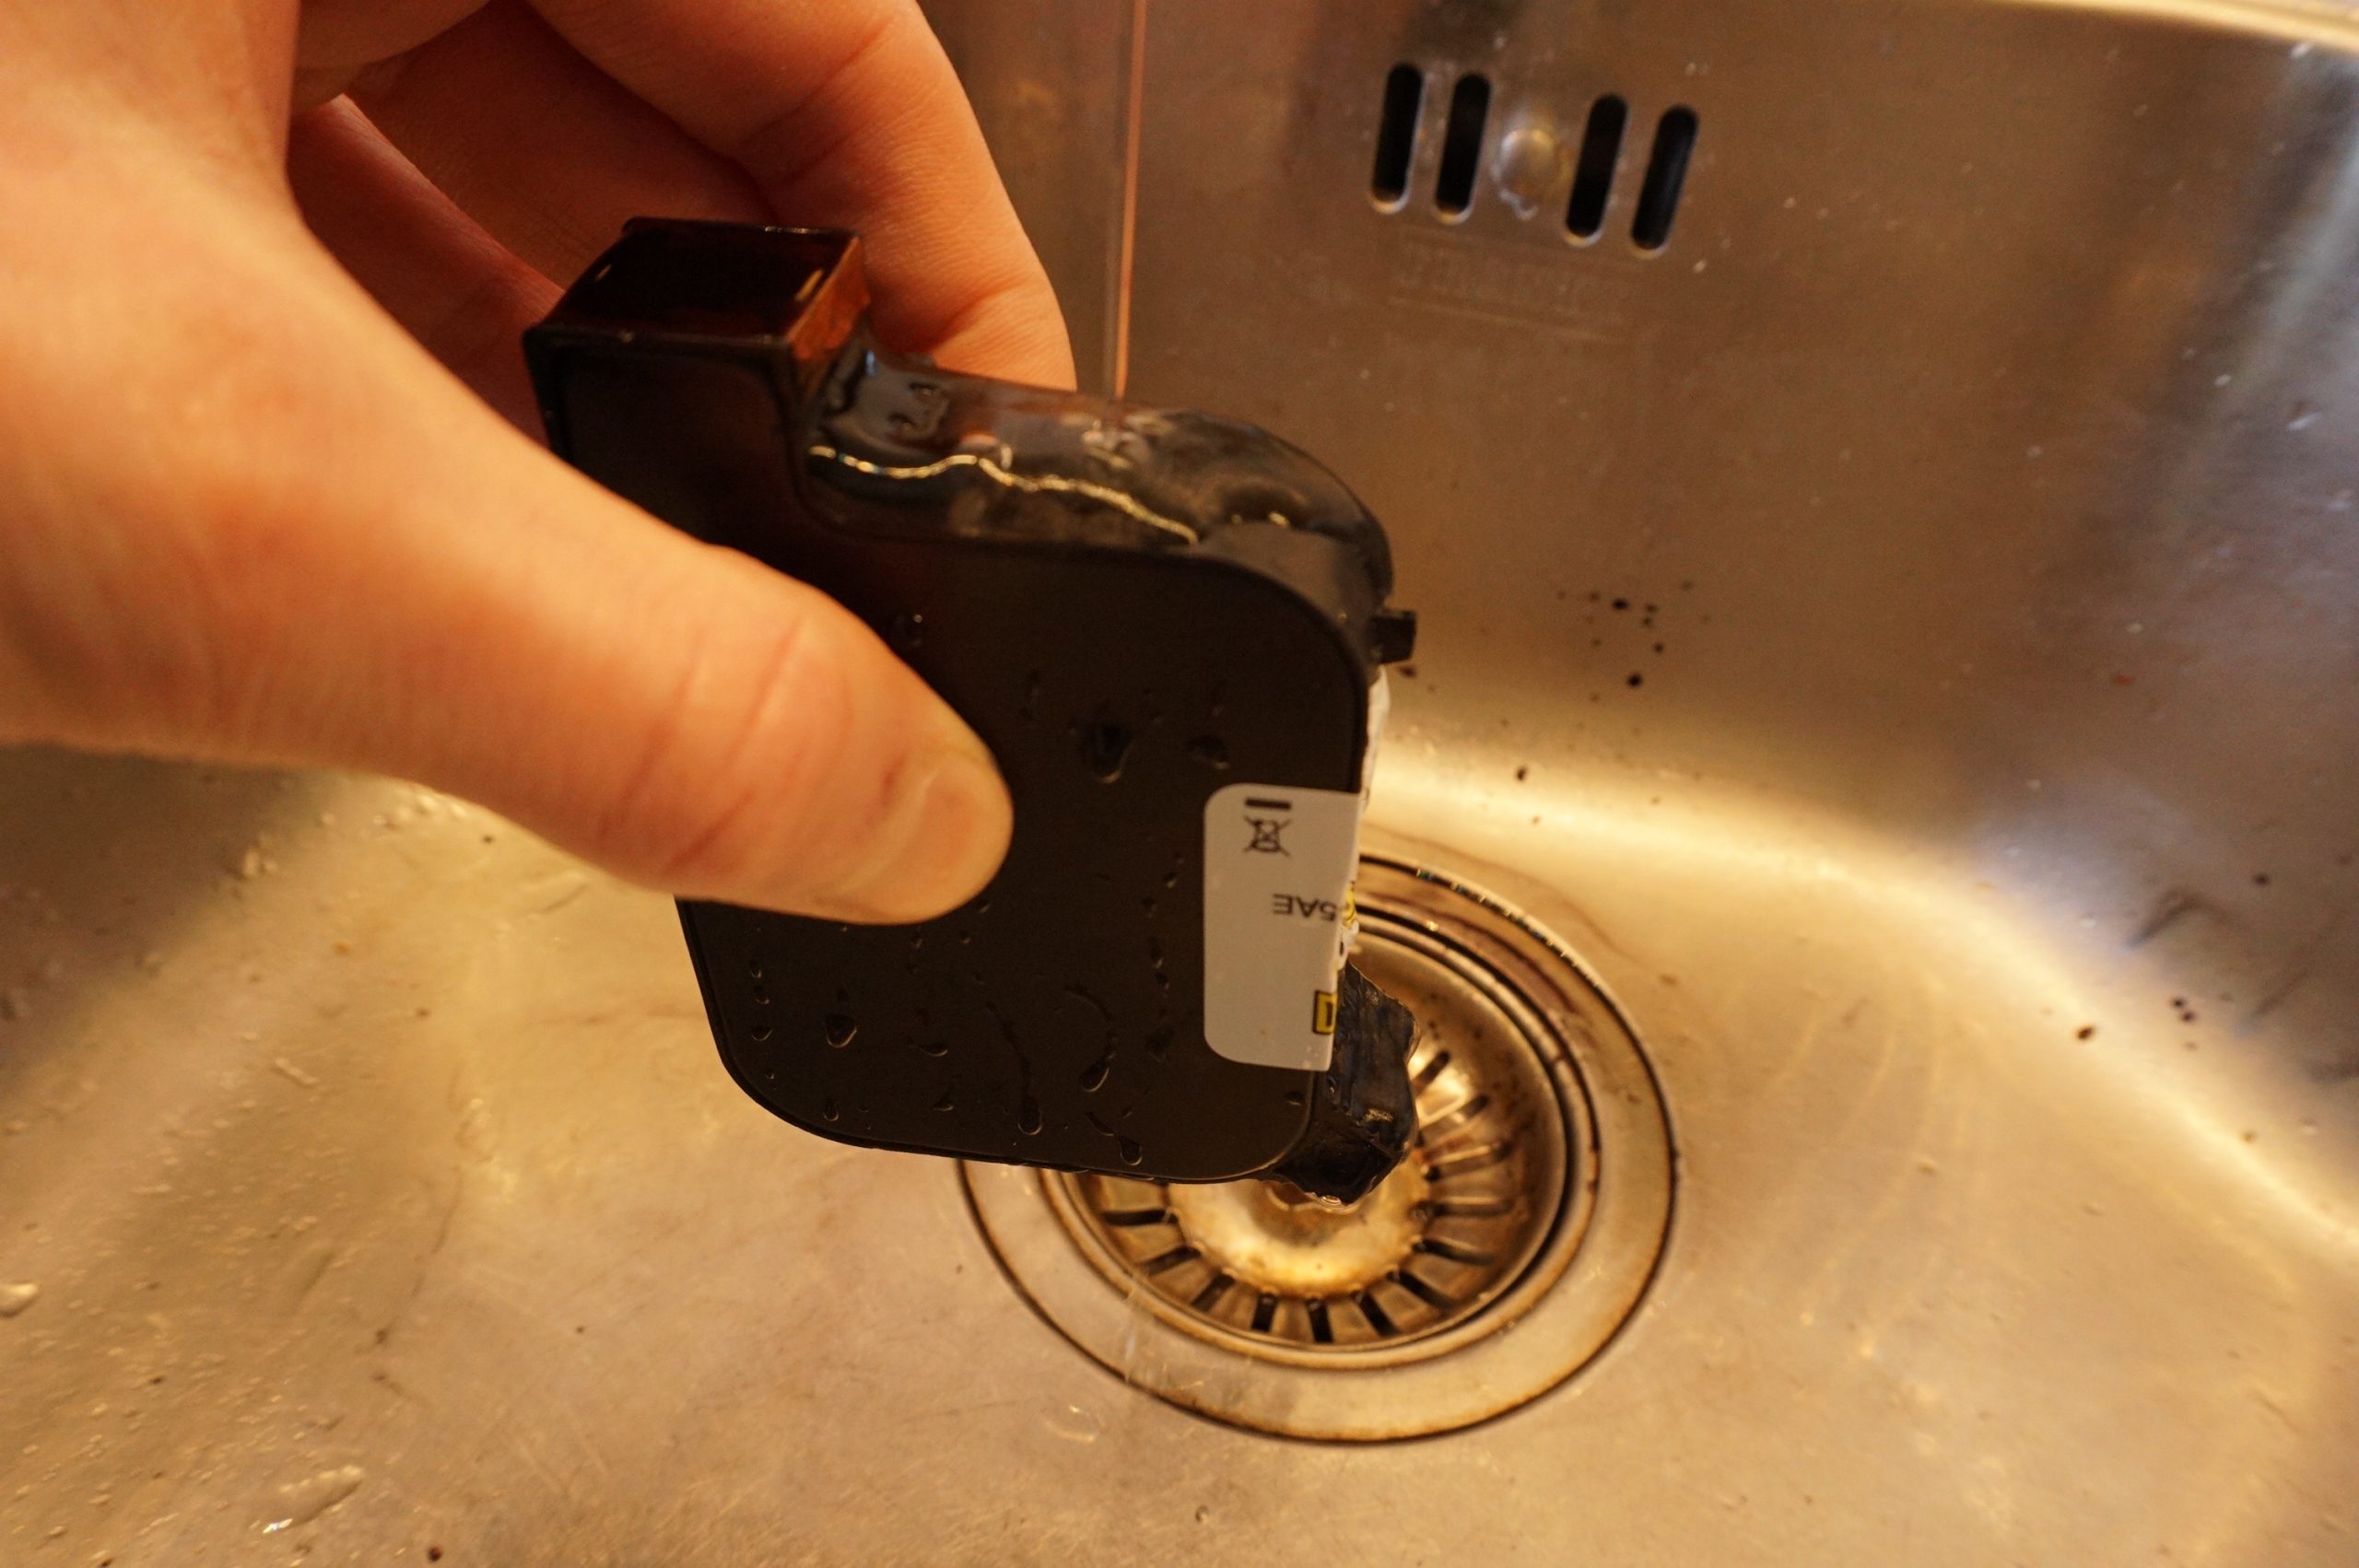
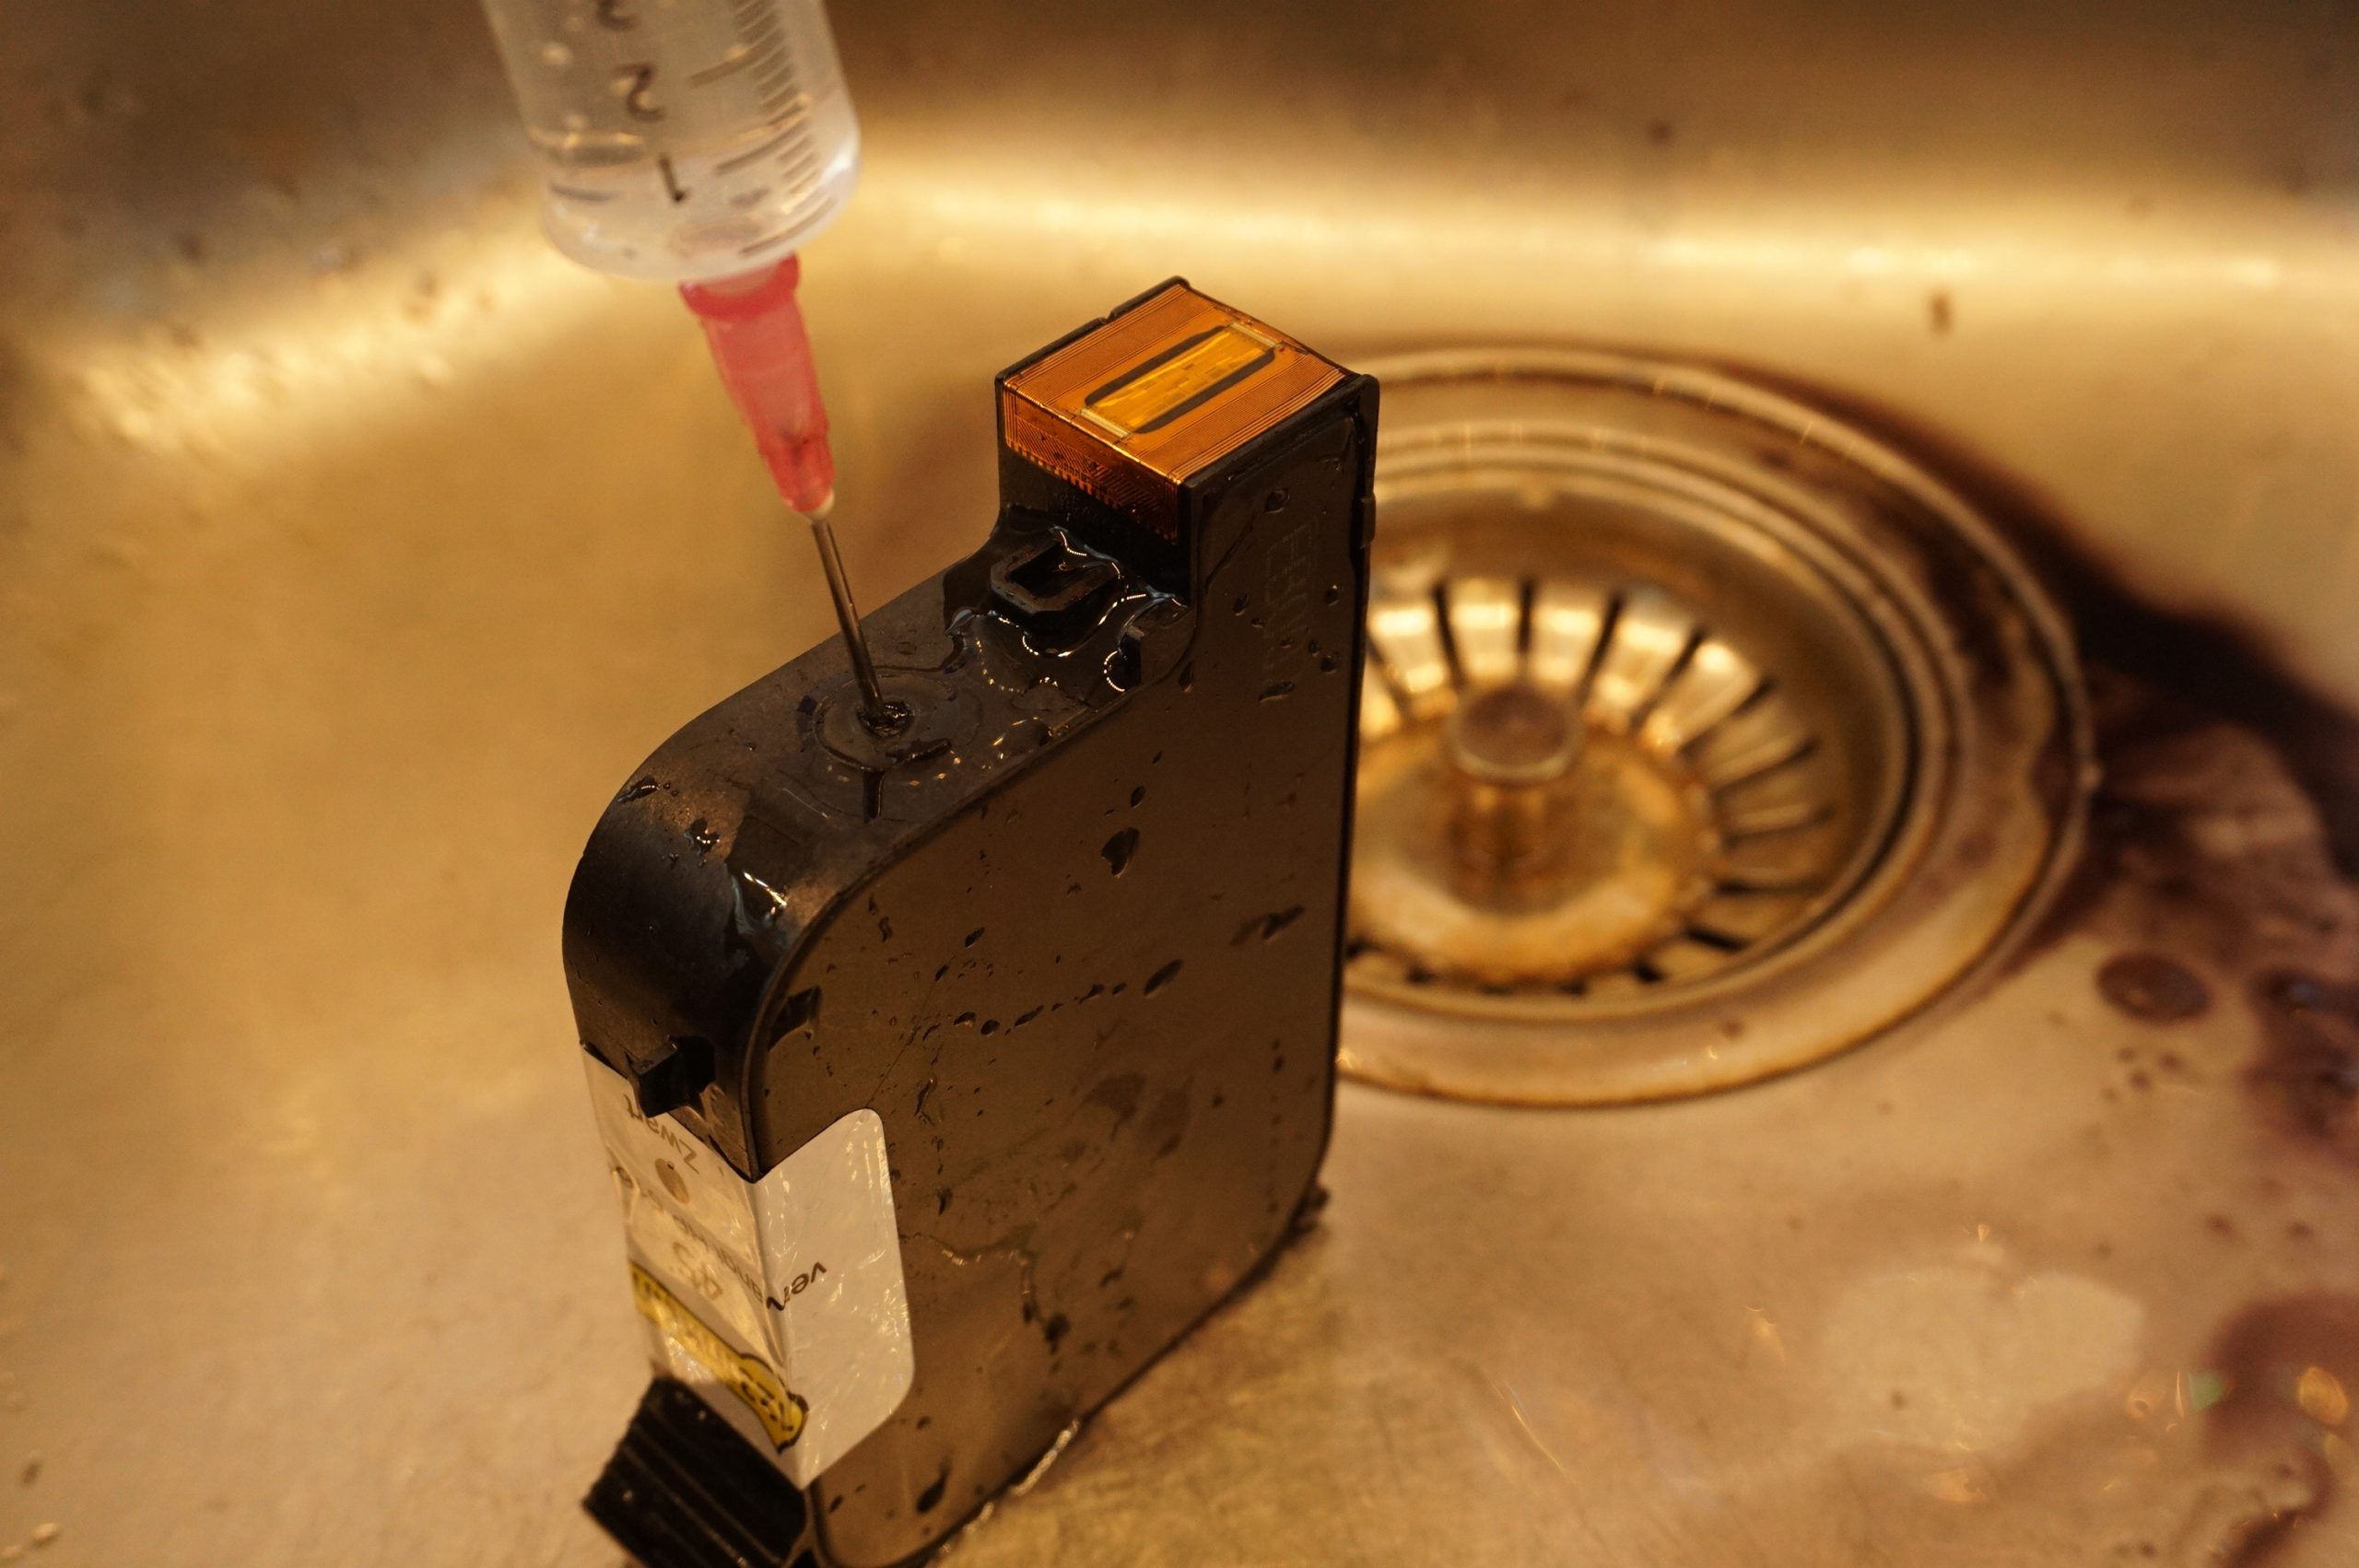

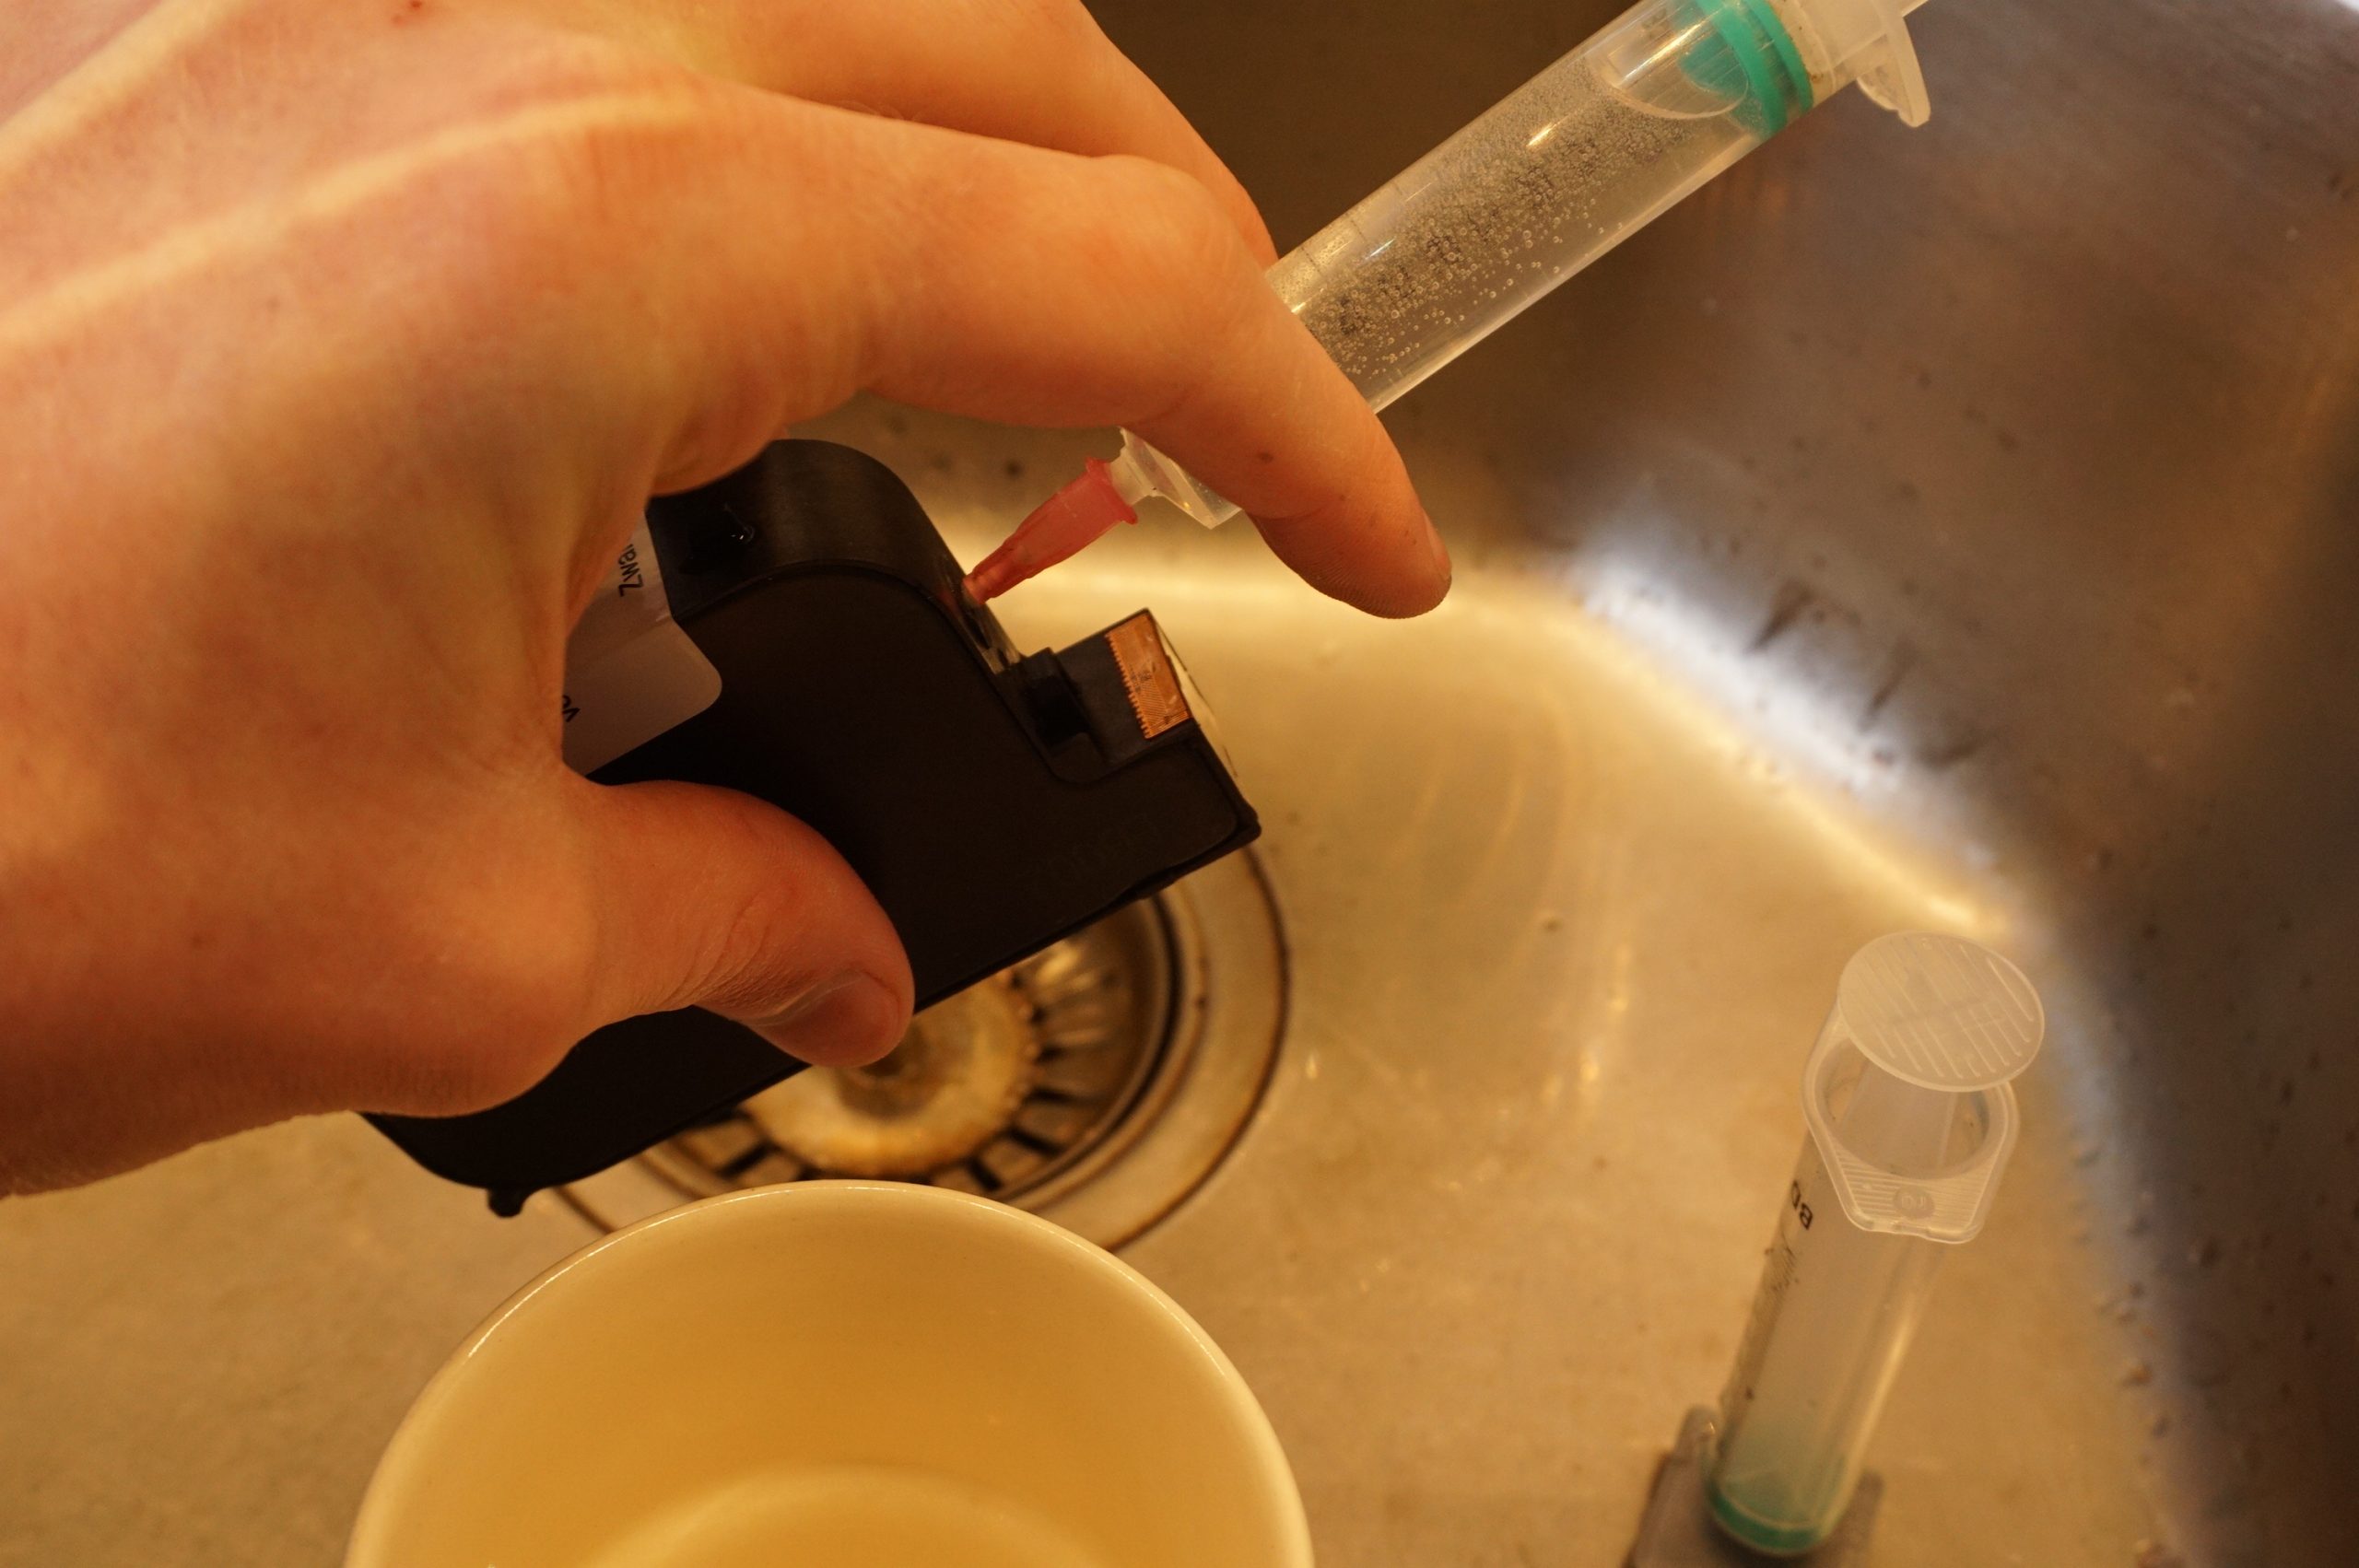
Ink is incredibly potent. Even heavily diluted it still stains everything. To make sure as little of it remains in the chamber, the printhead will need to be flushed. The printhead can initially be flushed with tap water. With the nozzles facing up, use a syringe to fill the printhead with water. Keep filling the printhead until water comes from the filling hole. Now tilt the printhead down and squeeze the printhead empty again. Repeat this step until the water coming from the printhead is mostly clear.
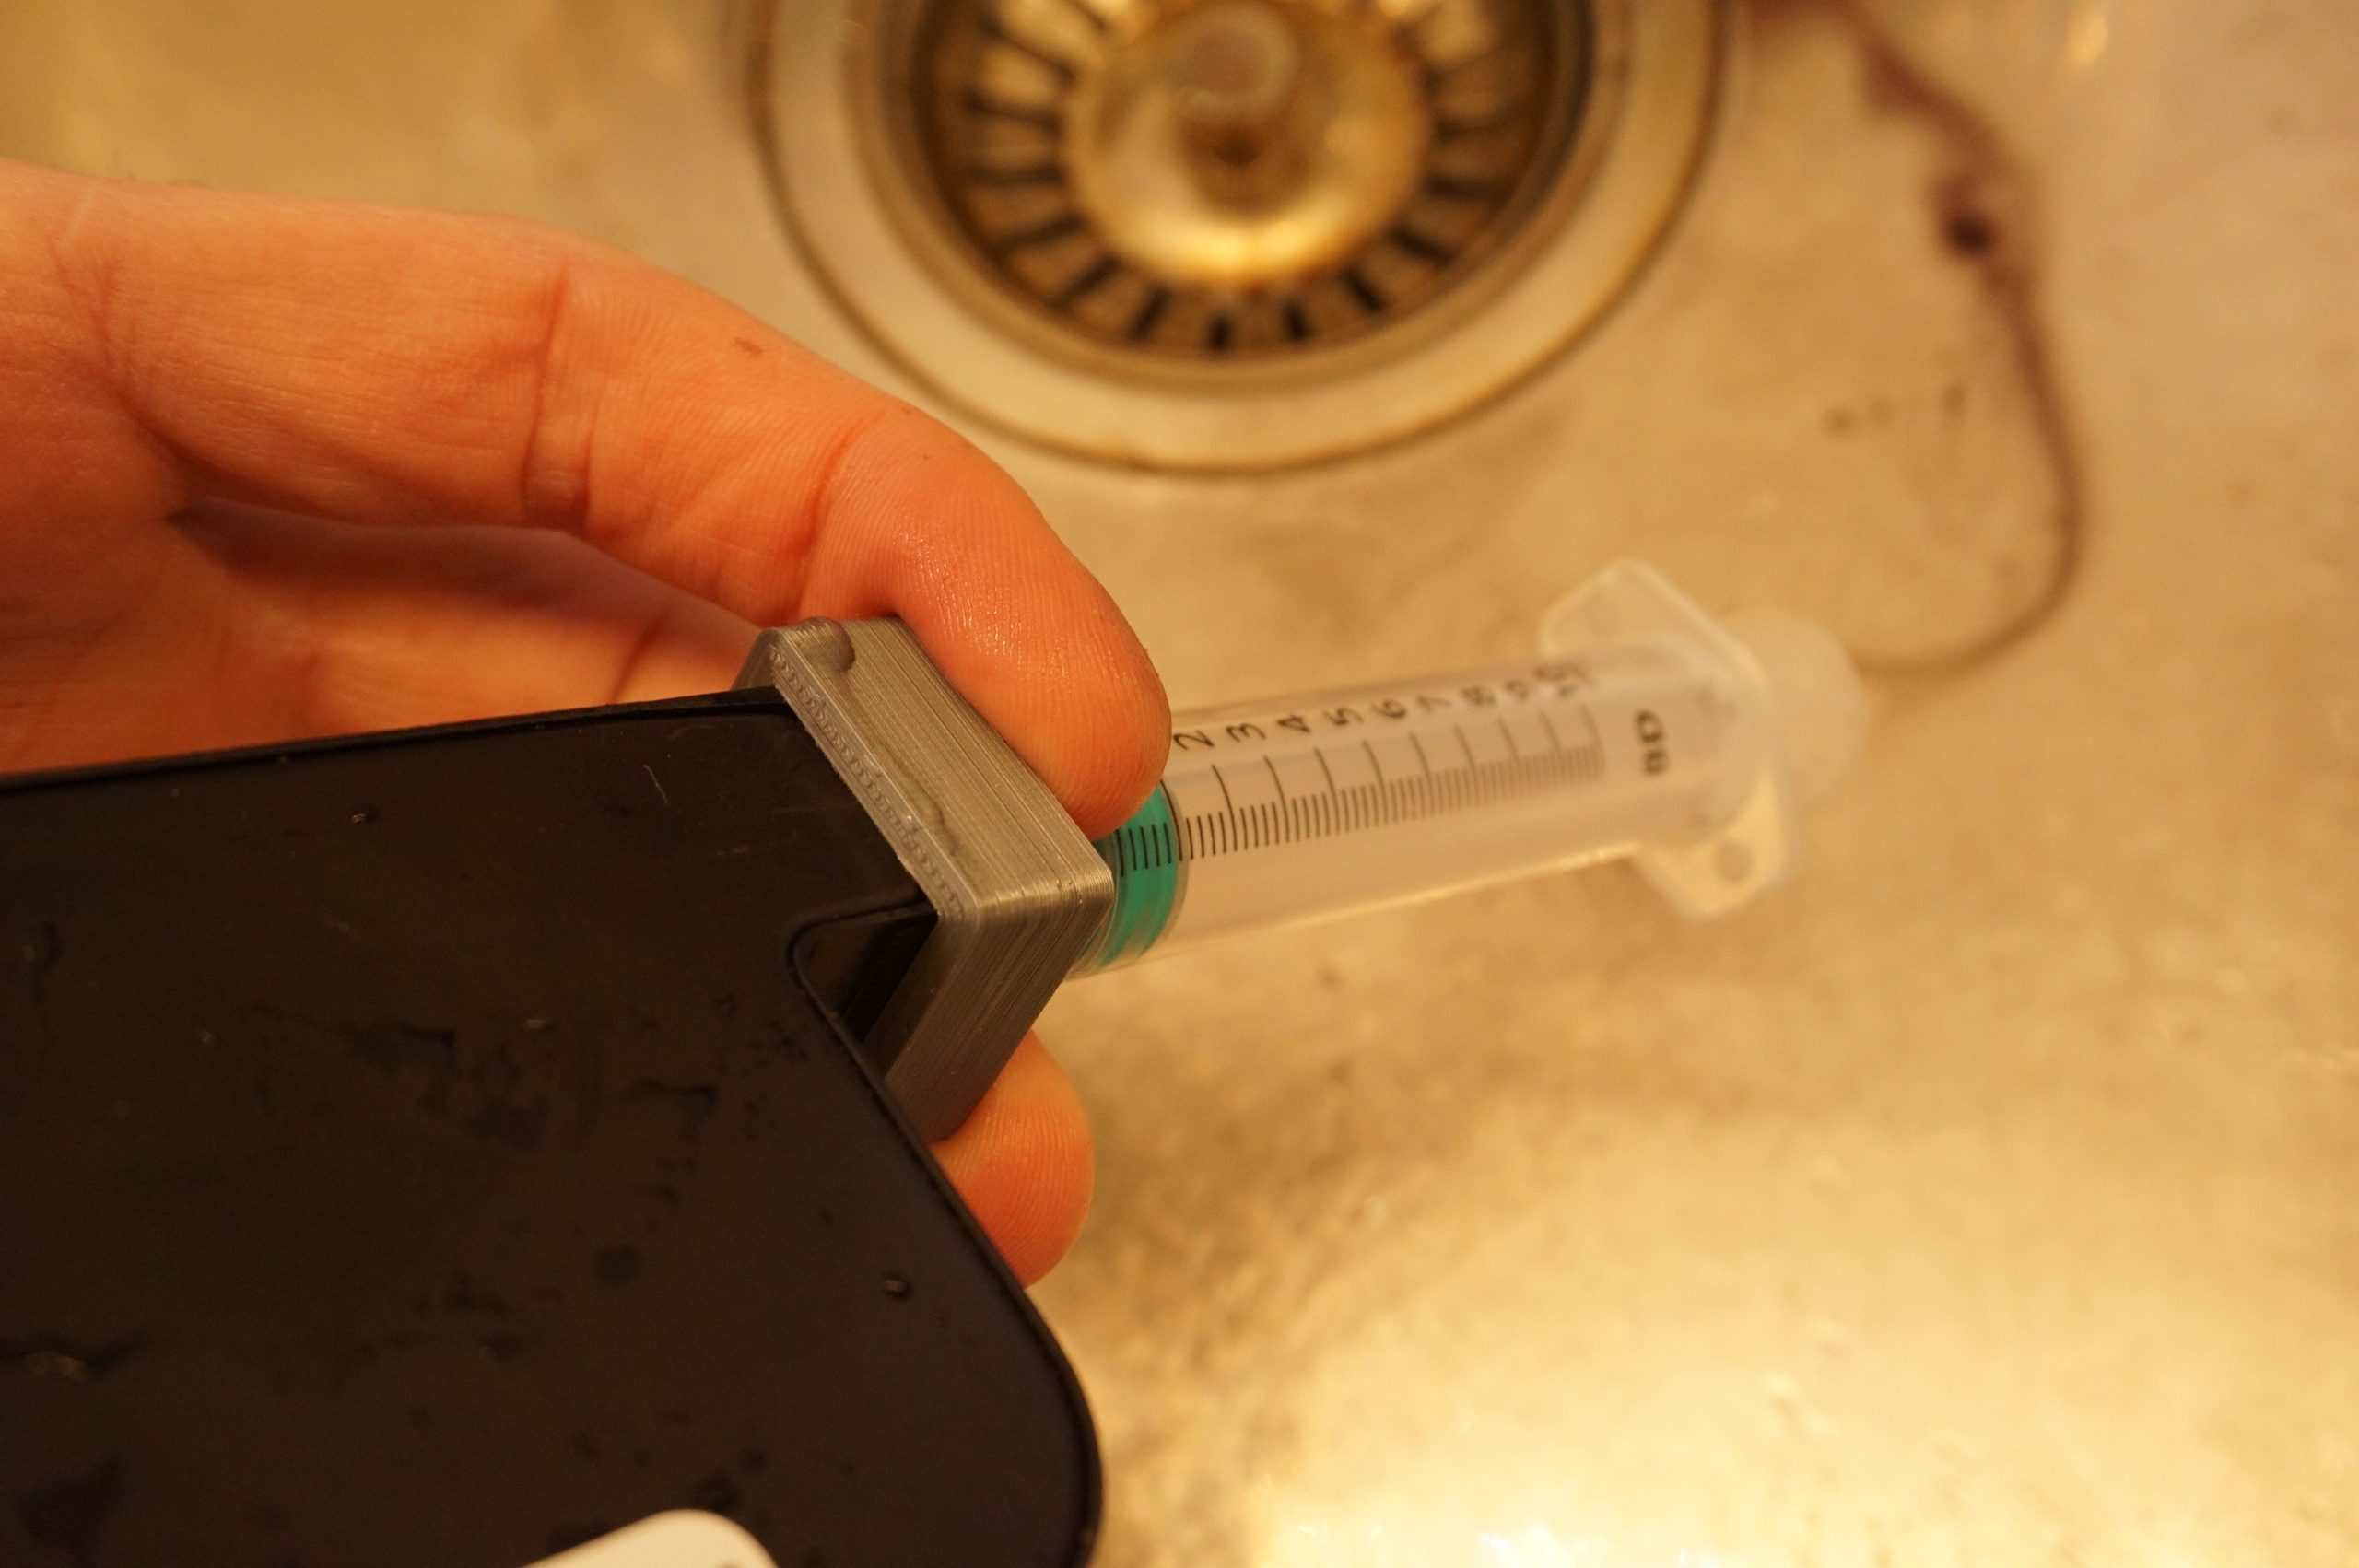
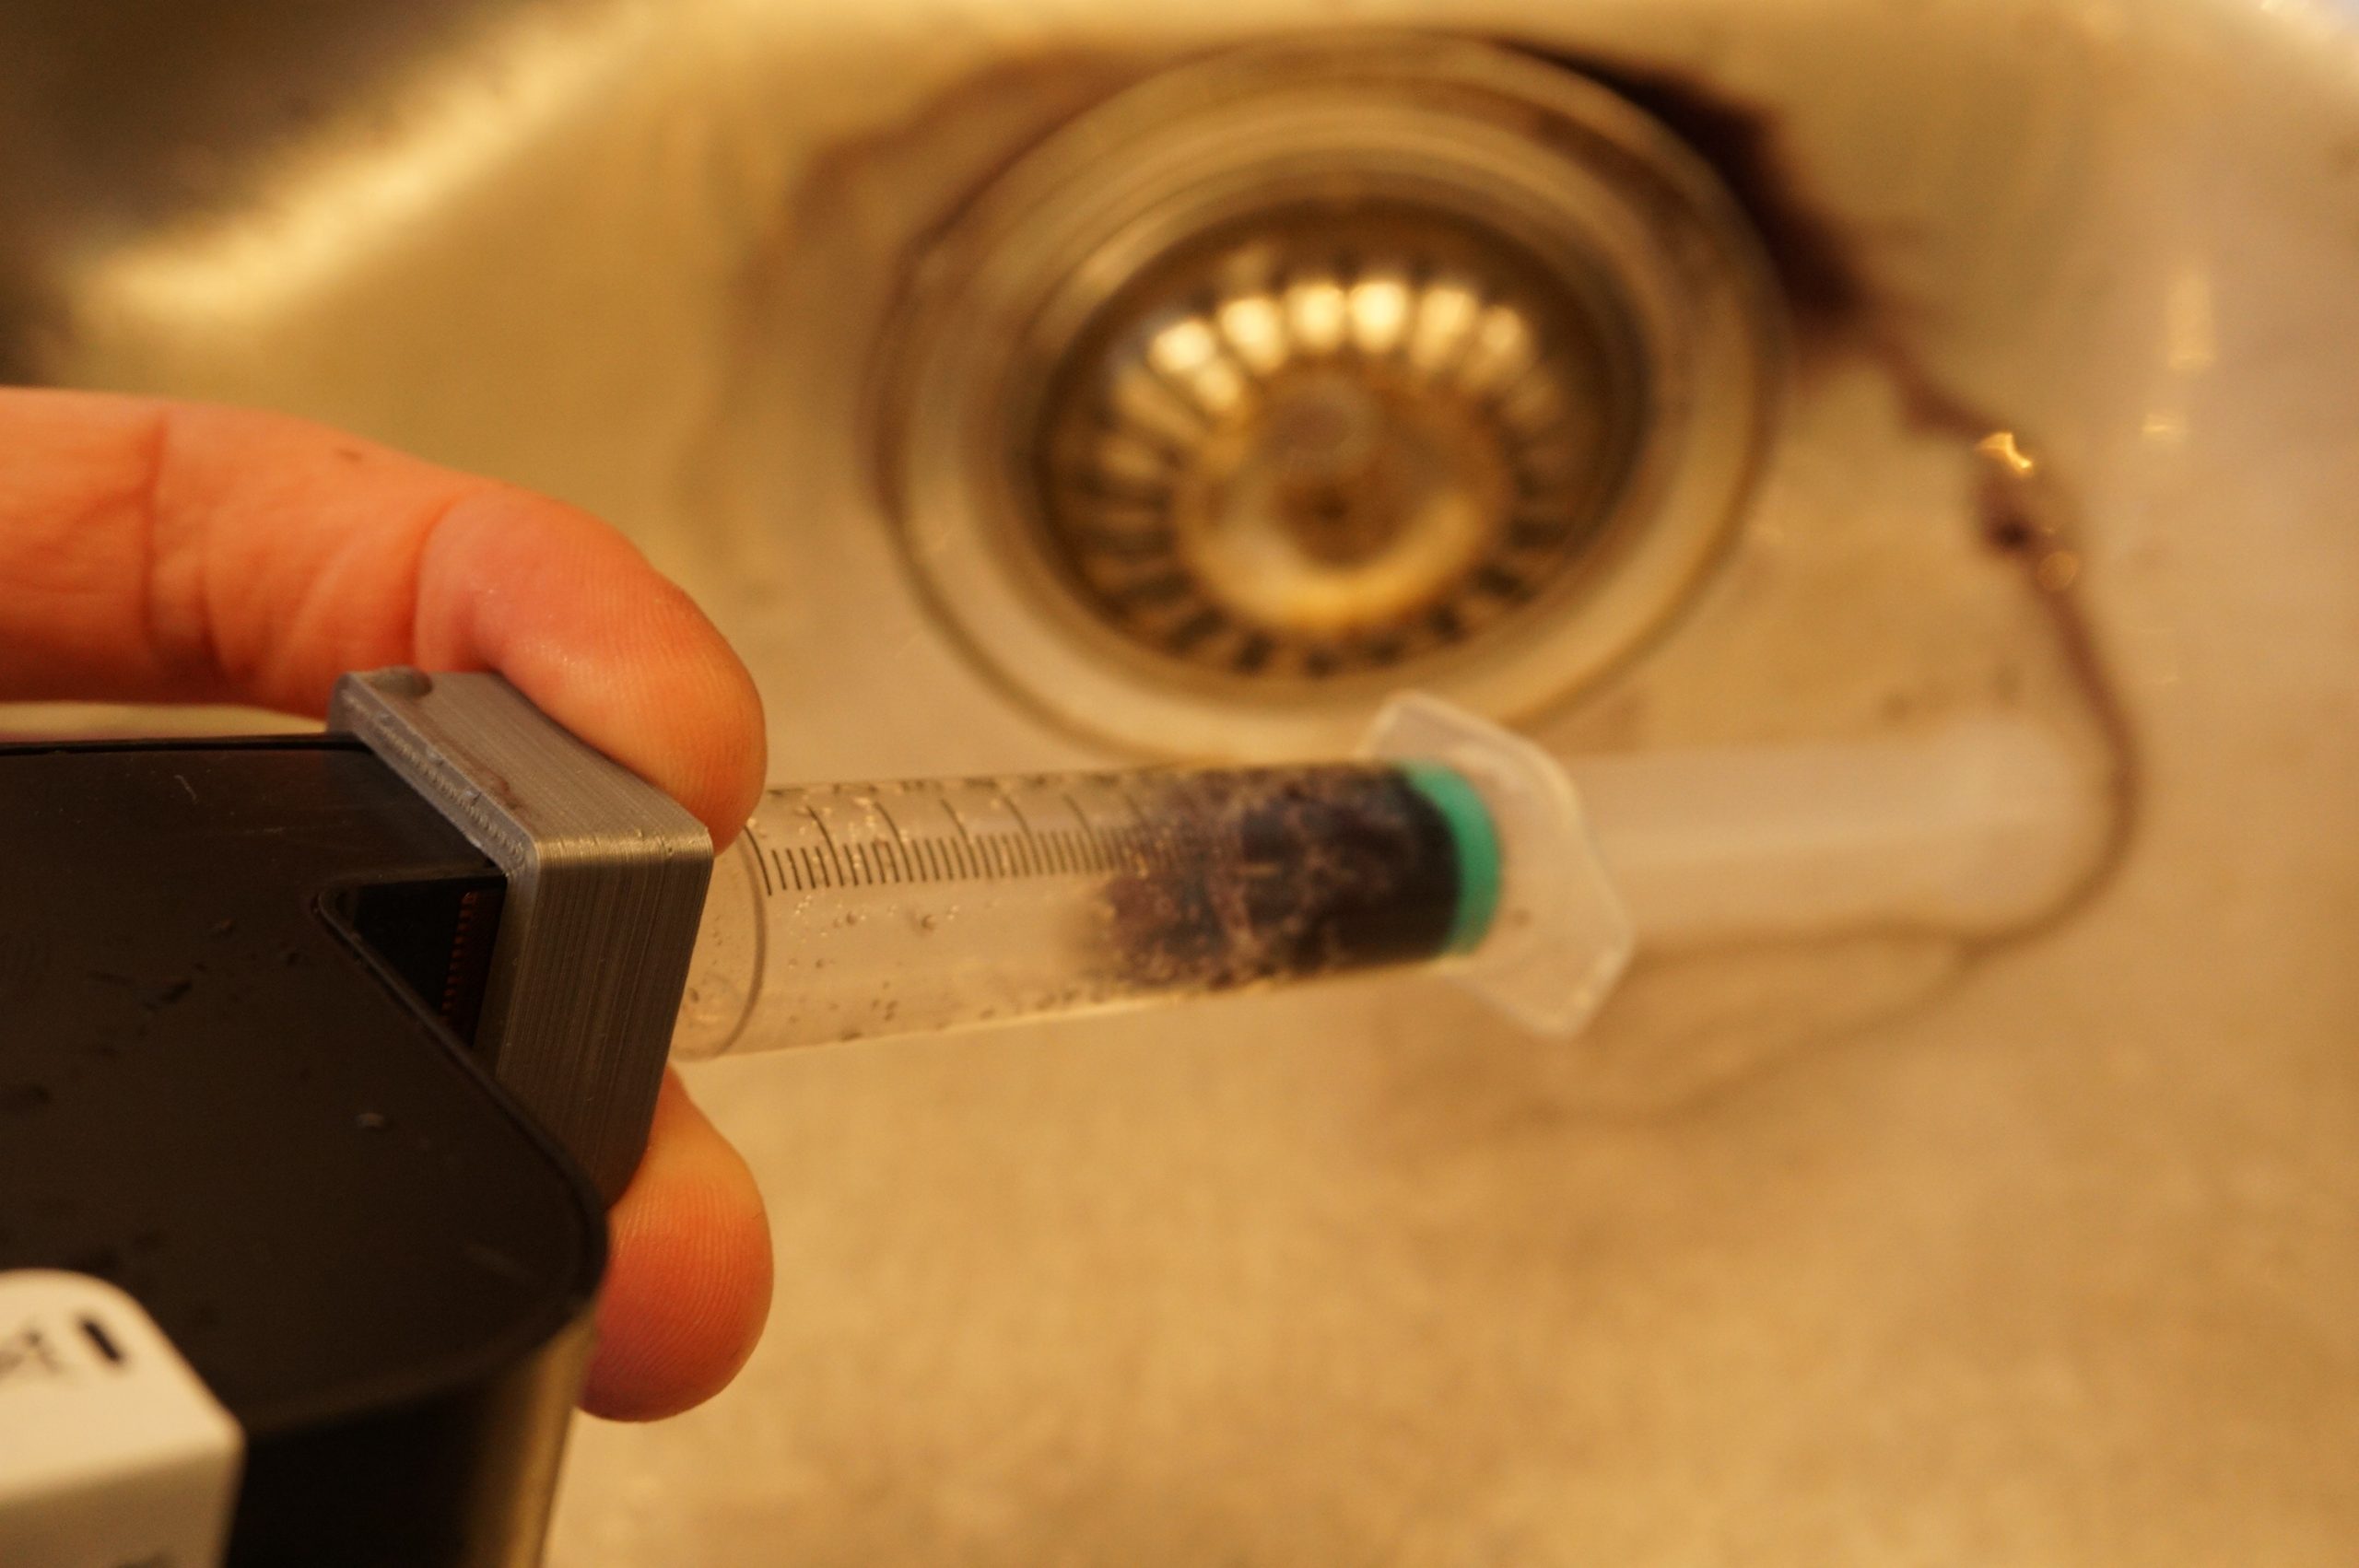
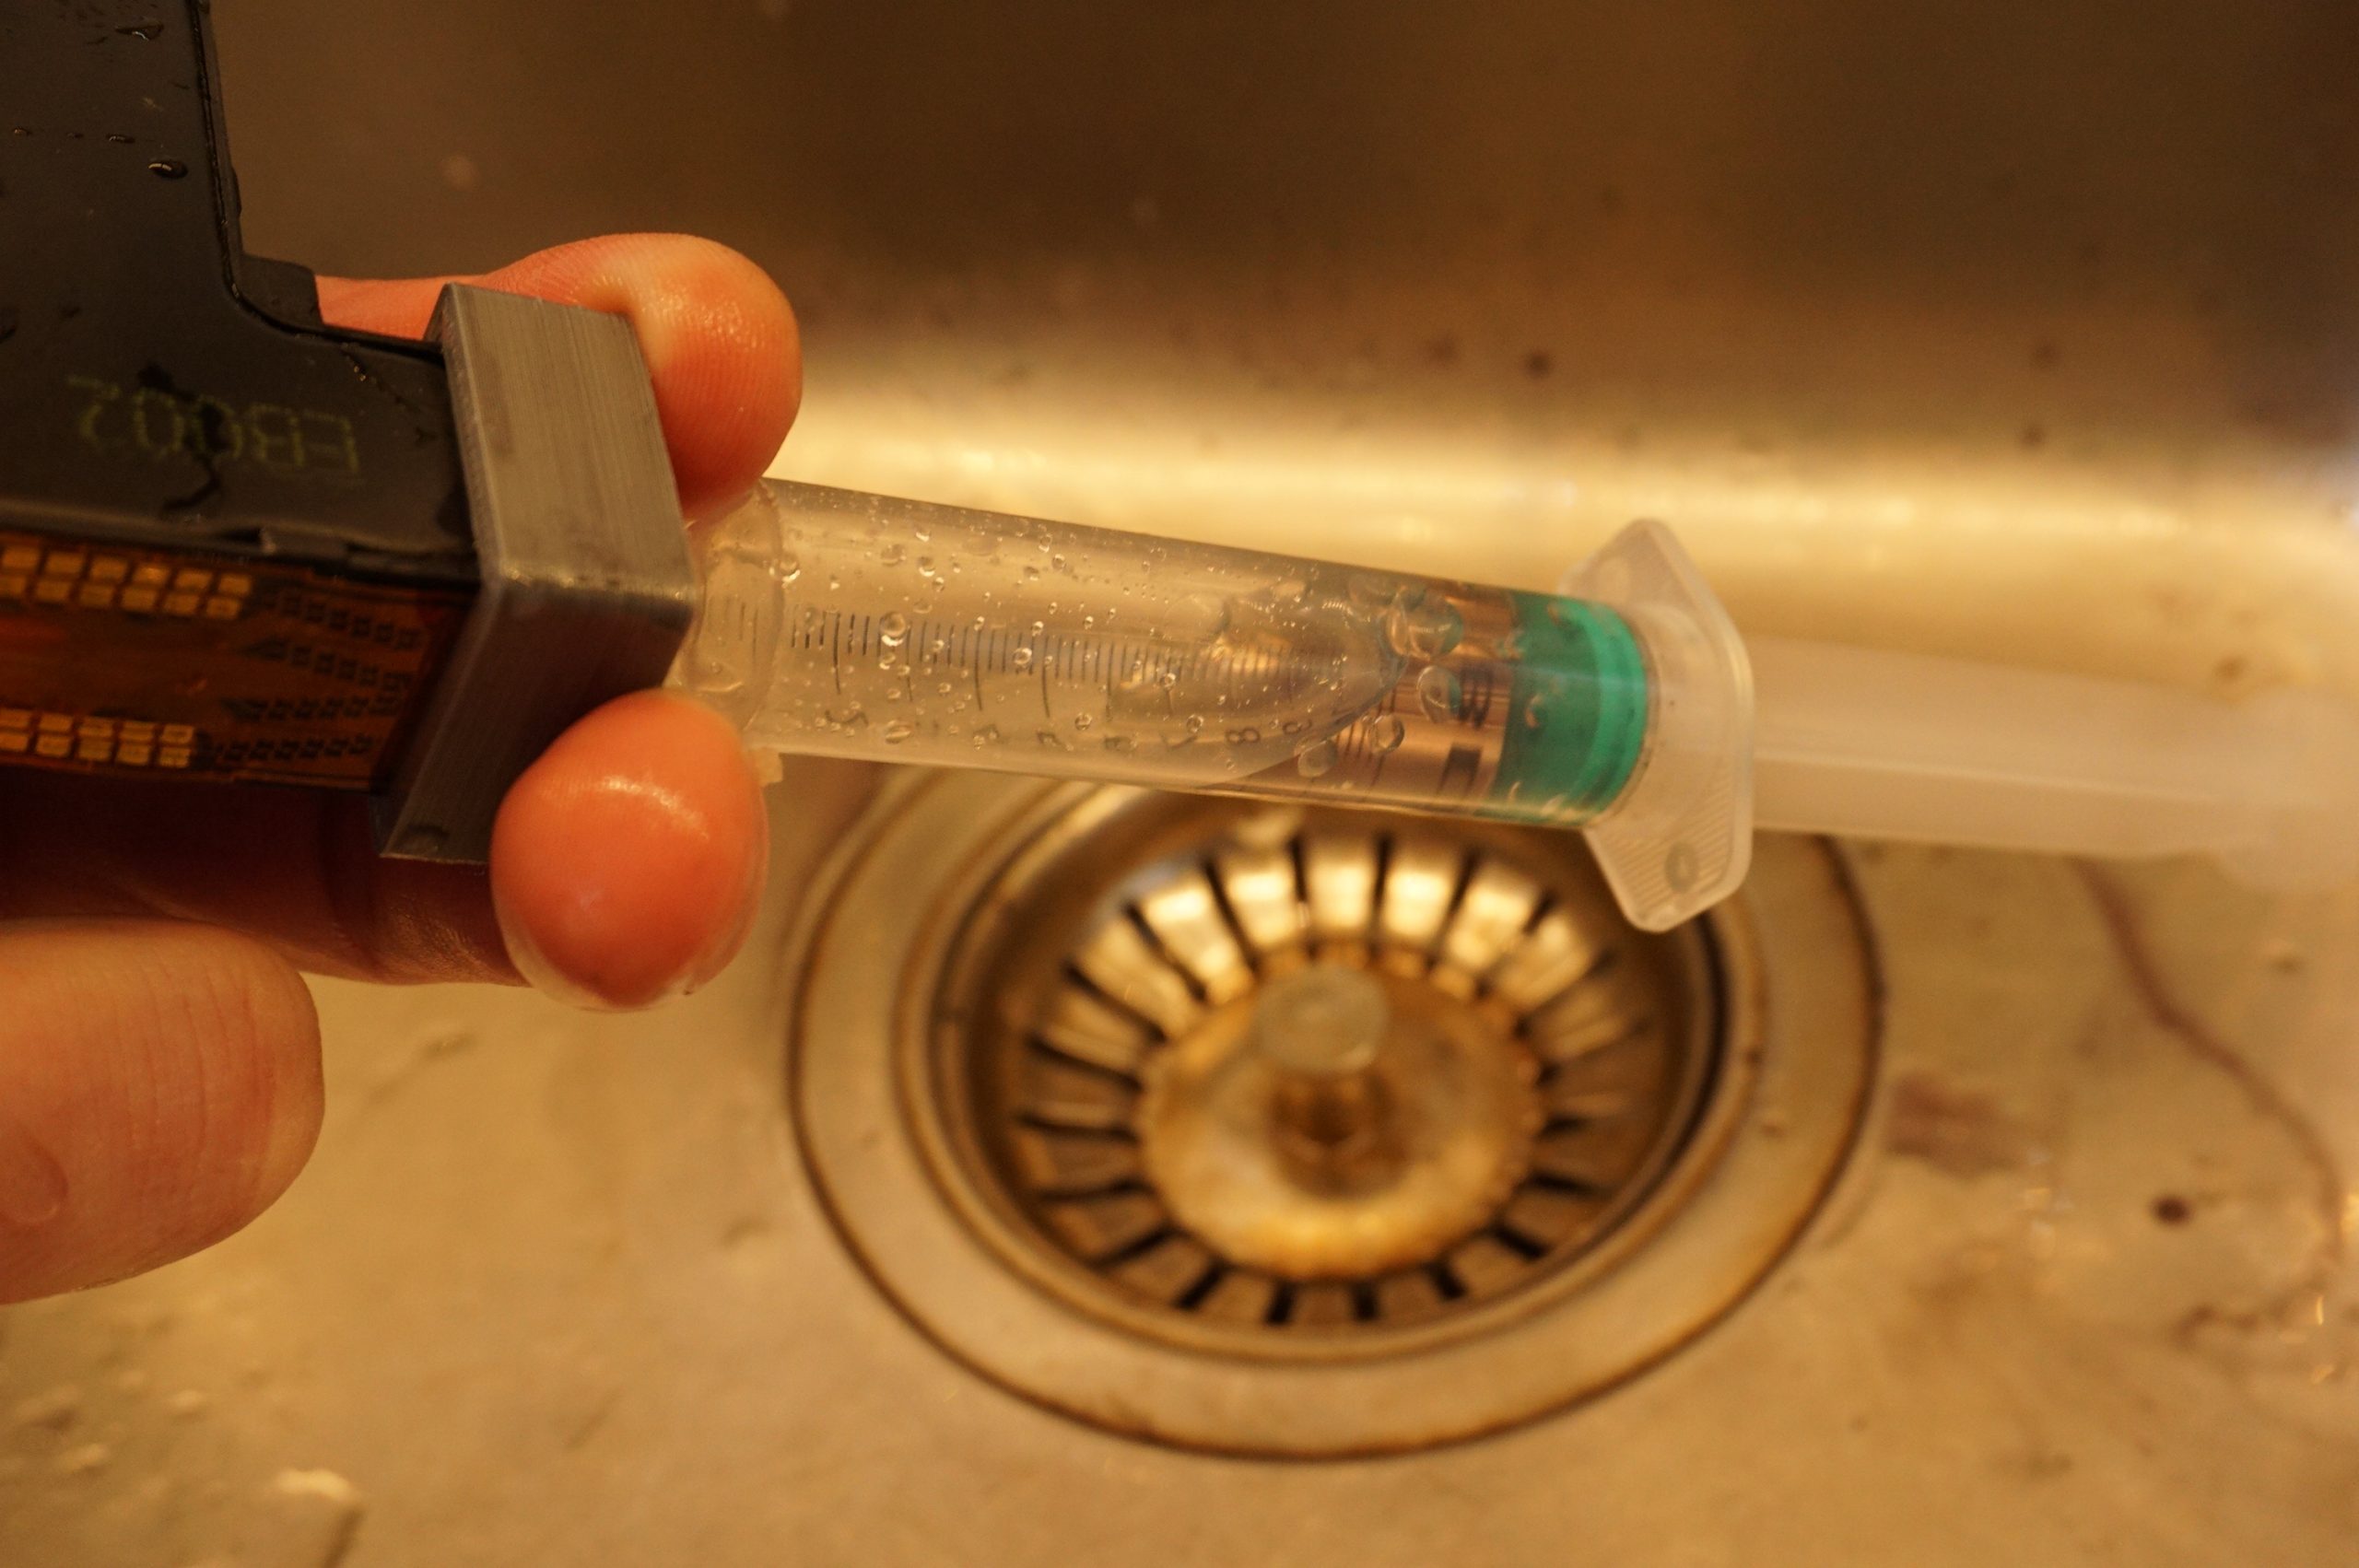
Now refill the printhead with water using a syringe, and tilt the printhead with the nozzles facing down. Place the vacuum tool correctly oriented over the nozzles, and clamp it in place with our fingers. Then draw the syringe to pull water through the nozzles. Empty the syringe. Draw the water through the nozzles several times, then squeeze the printhead empty again. Use the vacuum tool to remove the last of the water through the nozzles. Repeat this step until the water coming through the nozzles is clean.
If the liquid to be added to the printhead is sensitive to contamination, this liquid can be used to flush the nozzles as with the previous step. For this the printhead does not need to be completely filled.
WARNING: Make sure not to pressure the ink tank when filling with a syringe. Always leave an opening where excess pressure can leave the printhead. If the tank gets pressured, the tank can burst and the printhead will be ruined. If during filling ink gets out of the nozzles there is too much pressure in the tank.
Filling the printhead


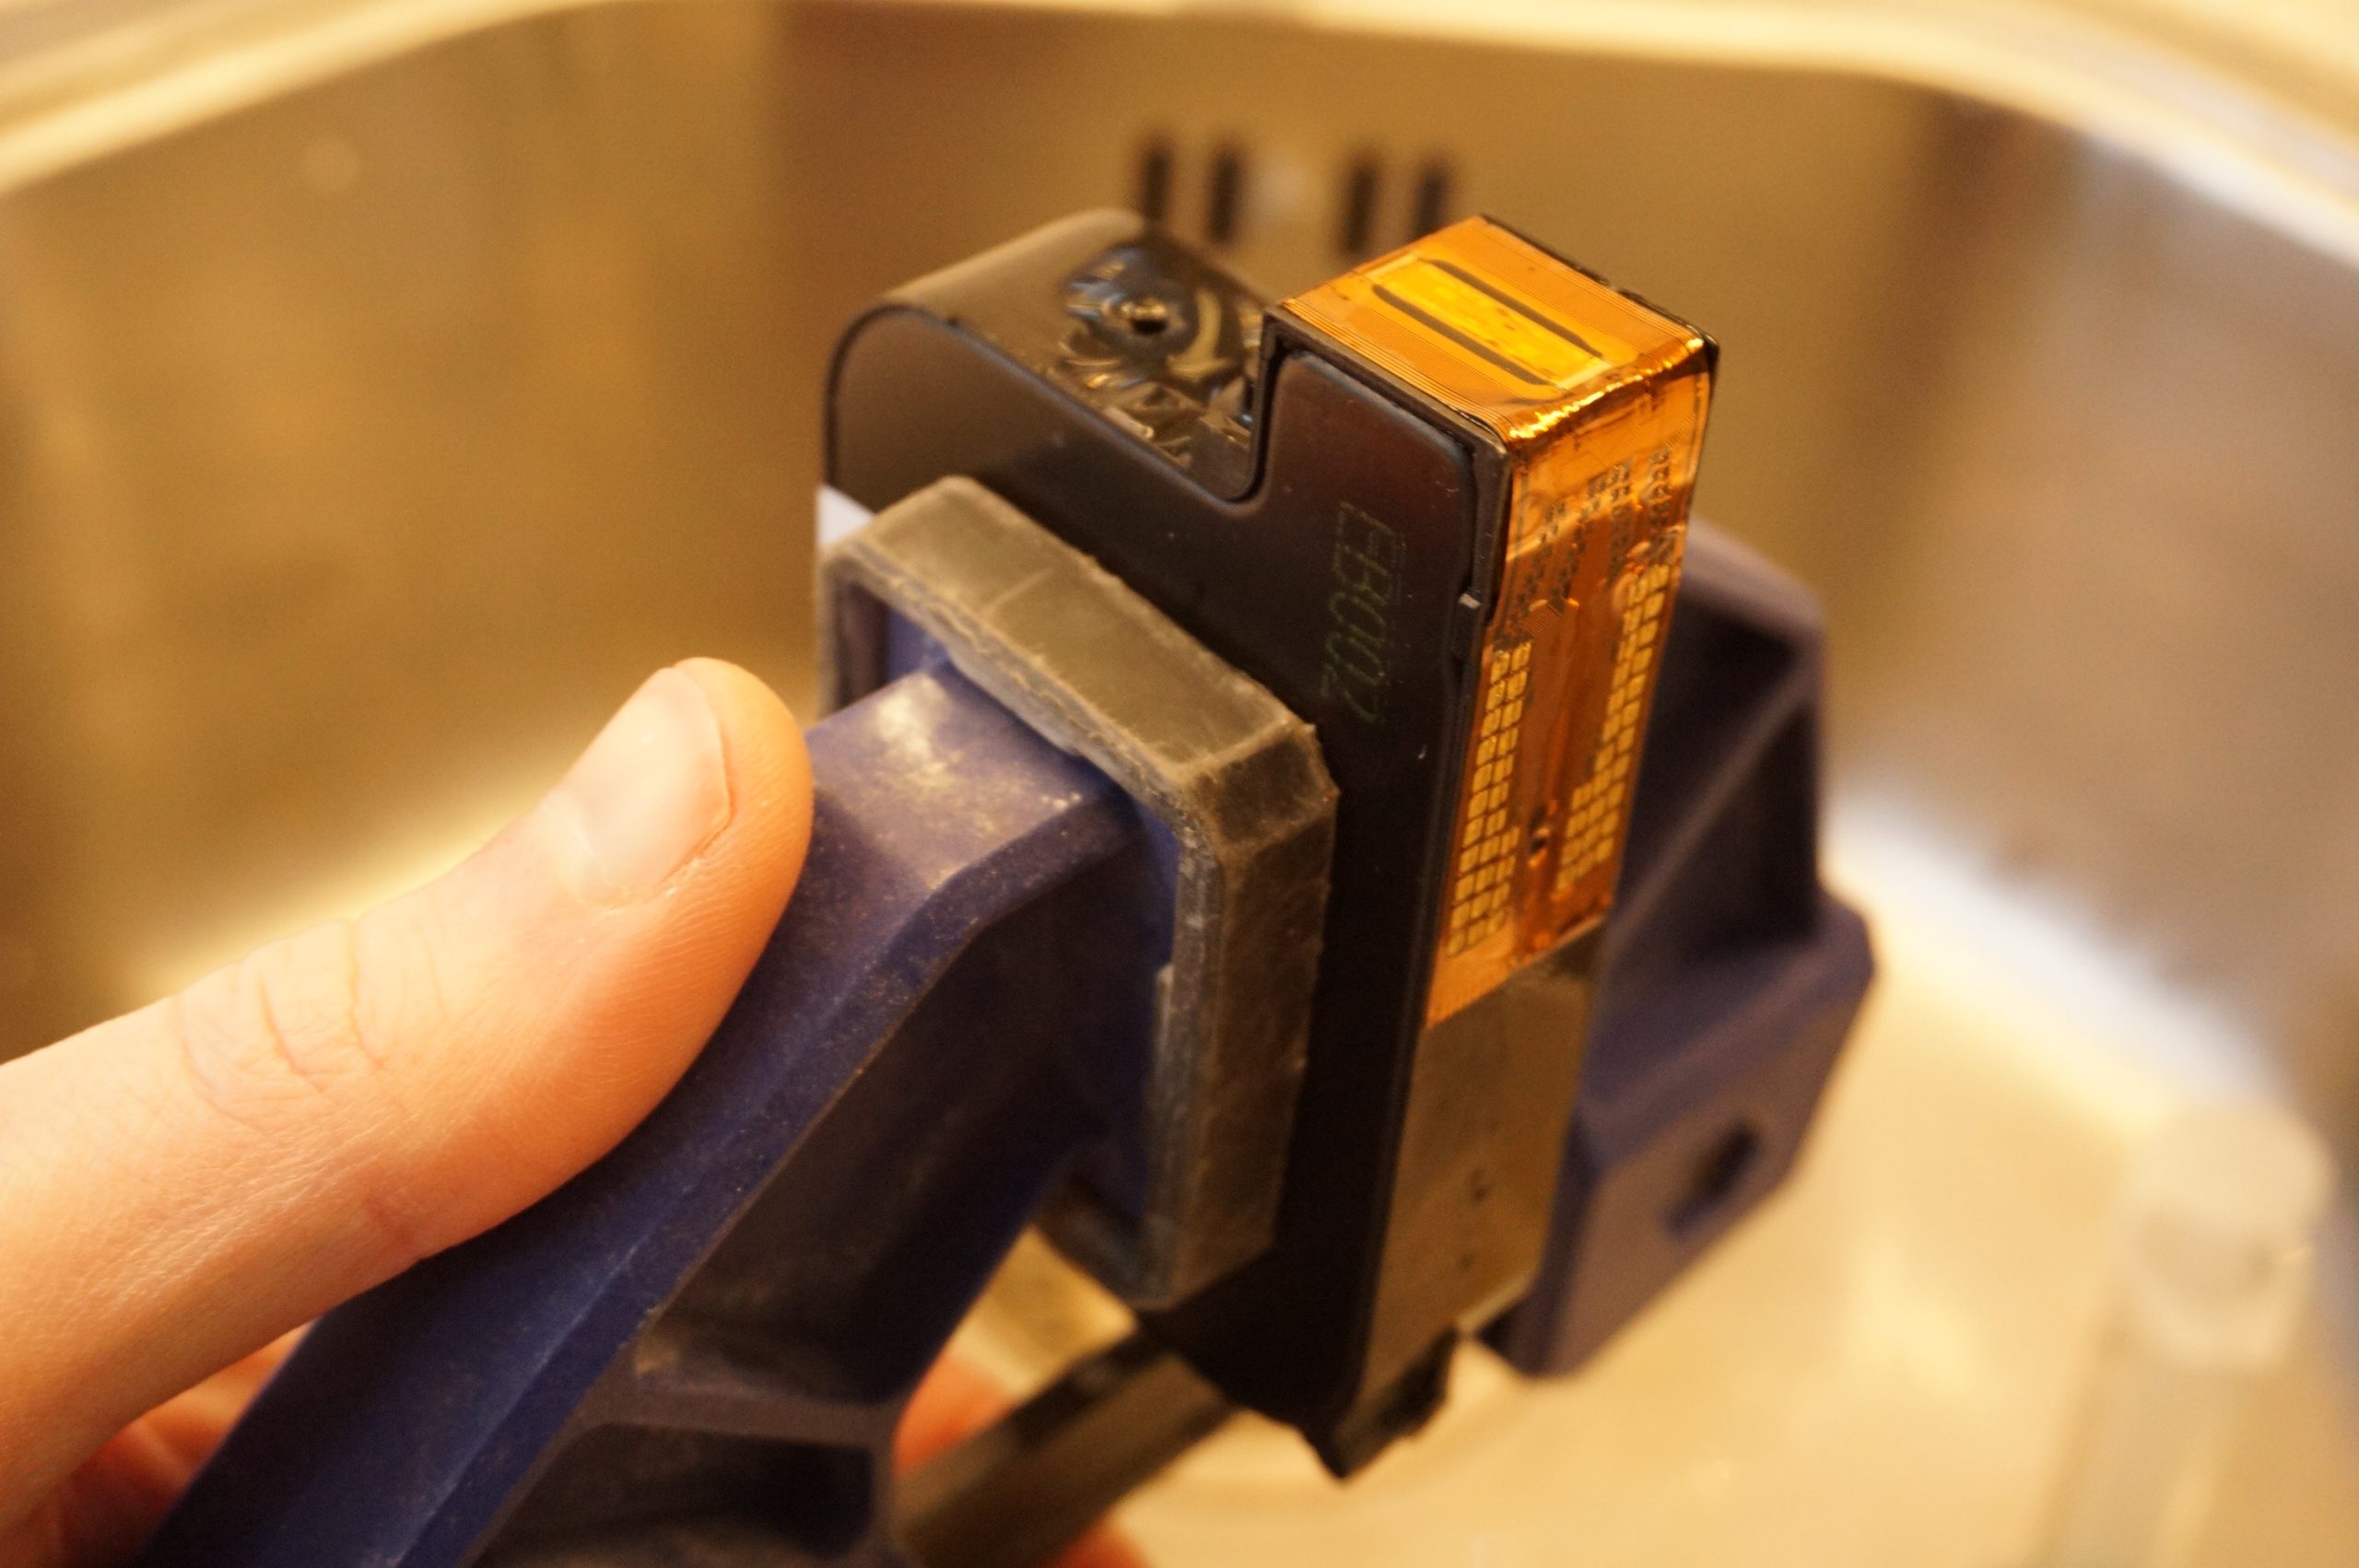
Use a glue clamp to to clamp the sides of the printhead. The sides can be pushed in 1-2mm on each side.
To refill the cleaned printhead, hold the printhead with the contacts facing down. Use a syringe to fill the first 20-30ml this way. Then tilt the printhead diagonal, with the nozzles 45 degrees up and fill until the liquid comes from the hole. The tilt the printhead with the nozzles facing up and fill until the liquid come from the hole.
This way of filling is used to make sure the printhead is filled all the way. The nozzles provide an air pocket which easily traps air if the printhead is simply filled up with the nozzles facing up. Tilting the printhead with the nozzles facing down with a finger over the hole can also make any air bubble rise to where it can be removed from the printhead.
Closing the printhead
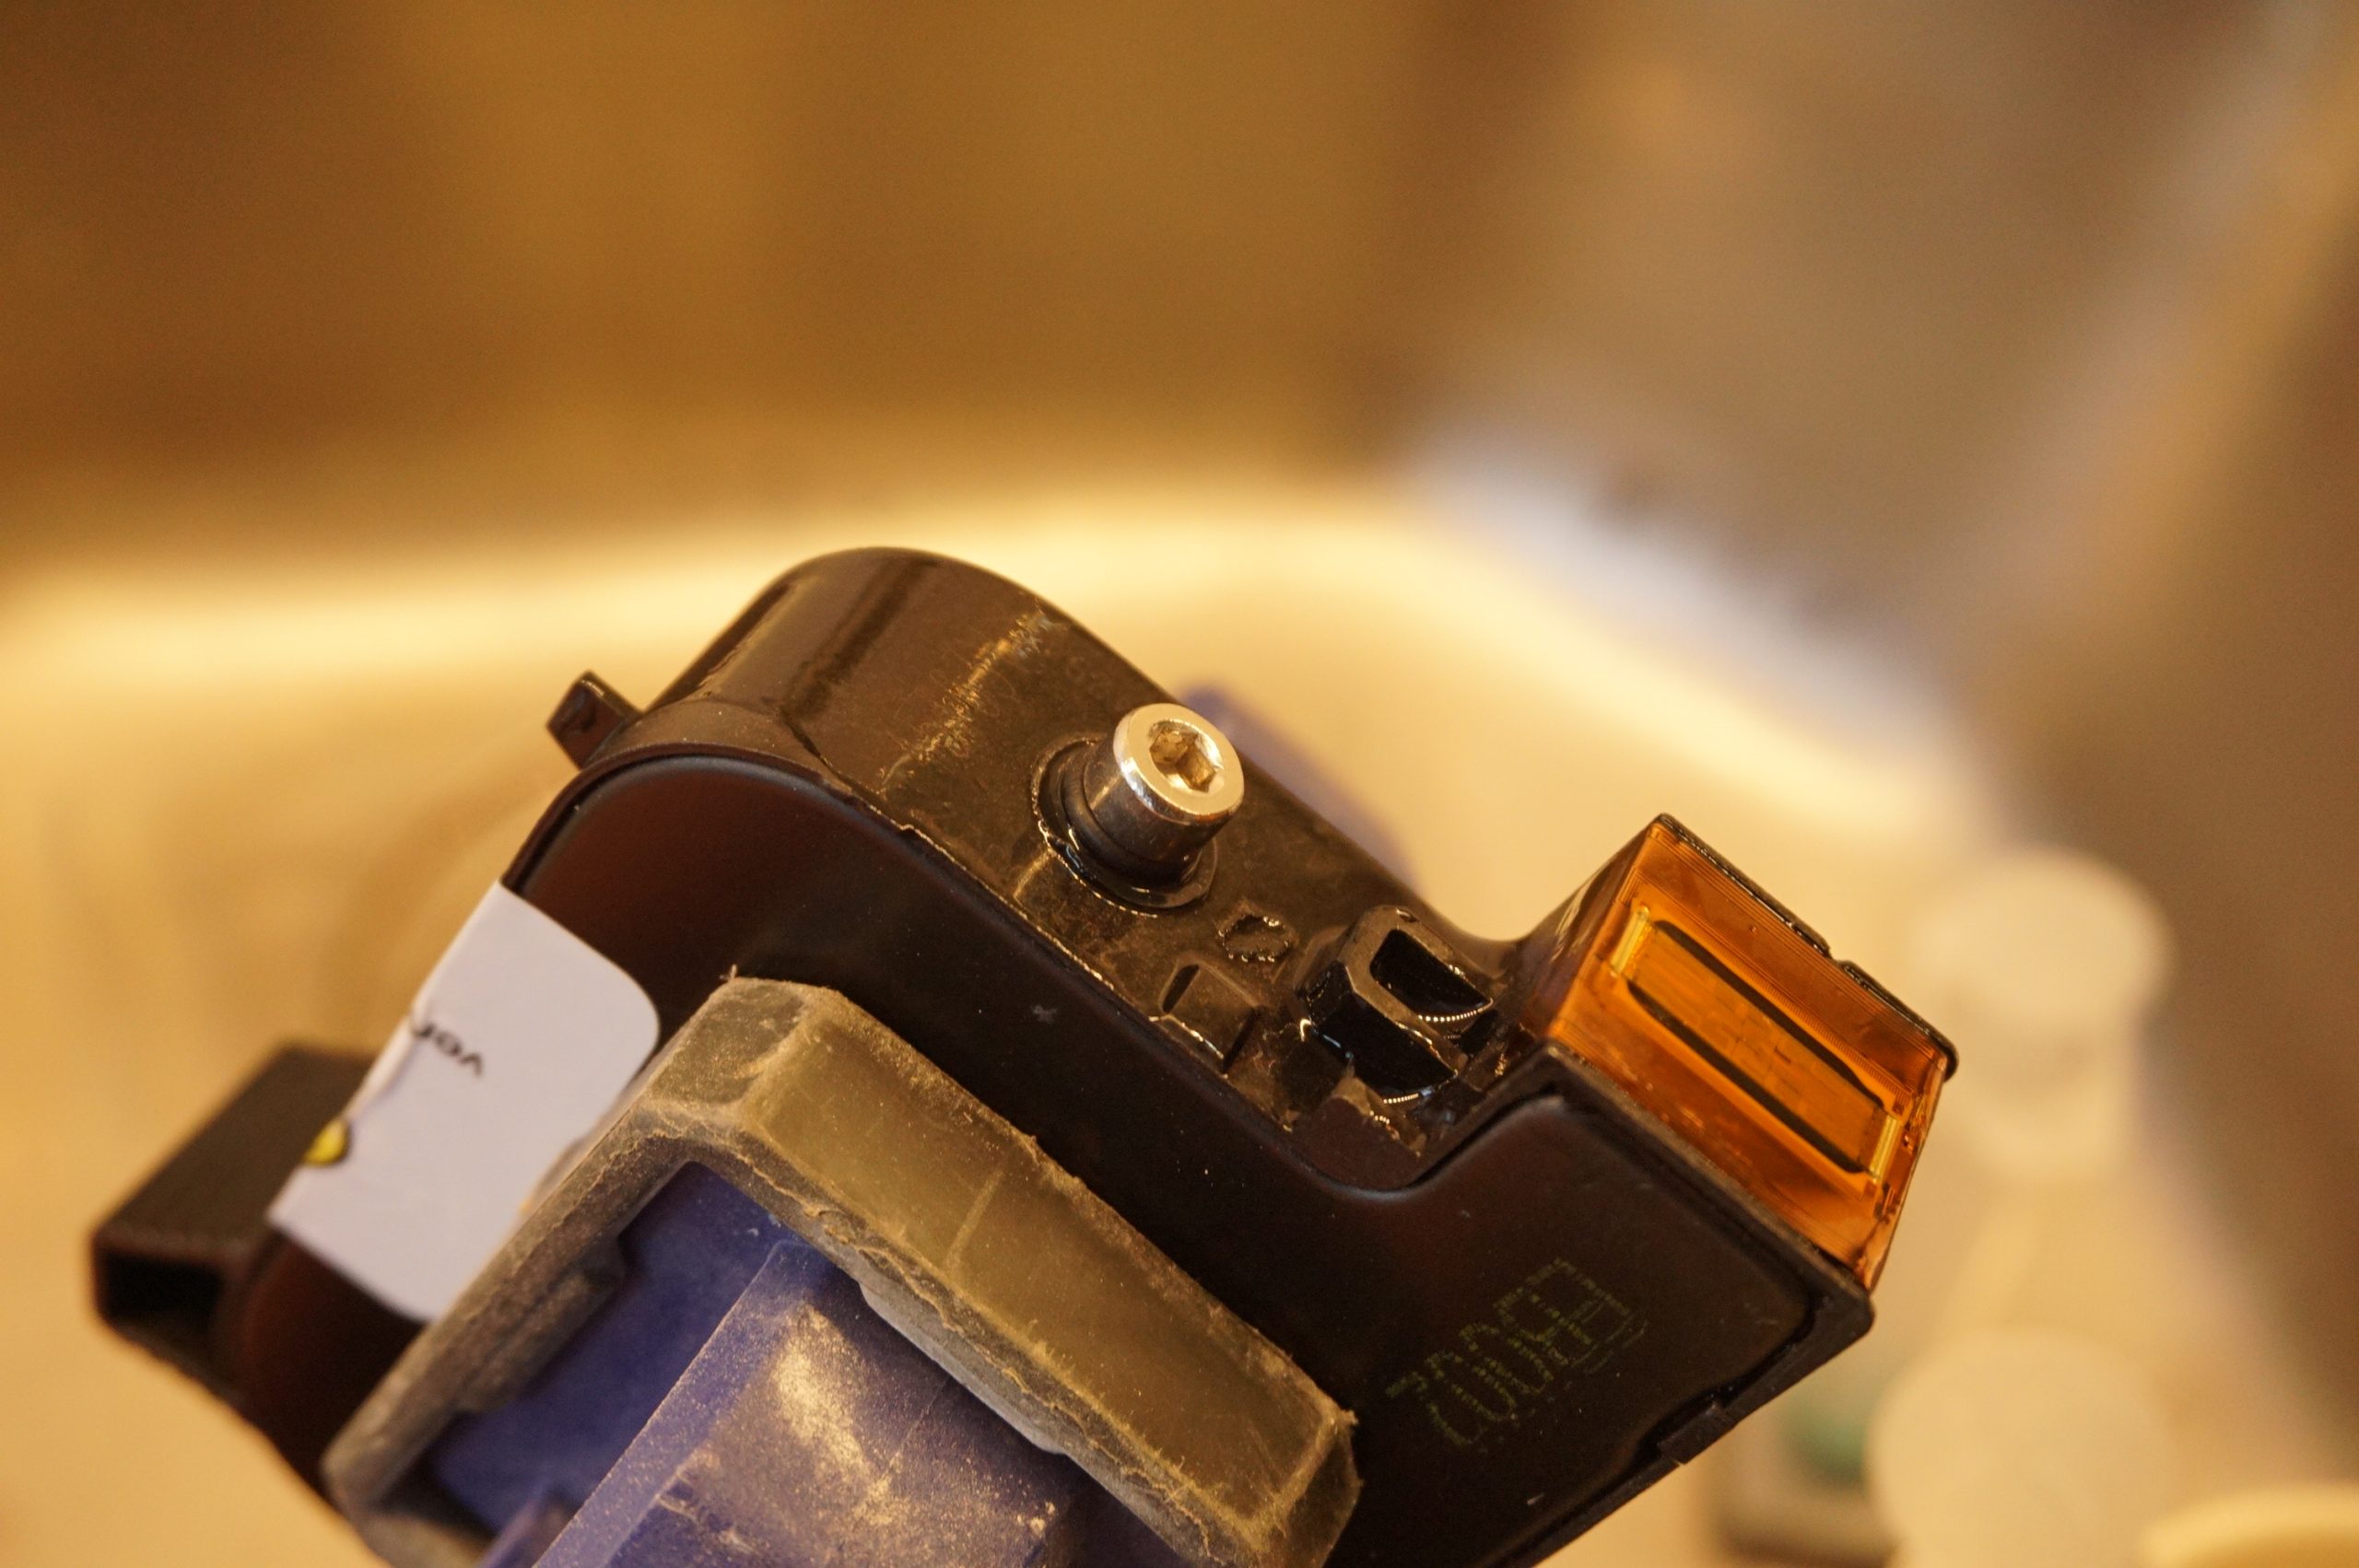

Use the M4 screw and the O-ring to cap of the hole in the bottom of the printhead. The hole is made of a soft plastic, and the screw should fit in the hole without any modification. The O-ring needs to be squashed, but not completely flat. It only needs to make the hole watertight.
Remove the glue clamp from the printhead. Then using the vacuum tool, draw a bit of the liquid through the nozzles. This ensures all nozzles have liquid in them.
The printhead is now ready to use.
Troubleshooting
Problem: After the printhead prints the liquid keeps running from the printhead.
Solution: The printhead does not have a strong enough vacuum to hold the liquid in. Remove the screw with the nozzles facing up, clamp the printhead harder and mount the screw again. Make sure the O-ring does properly seal the hole.
Problem: The printhead leaks excessively and between the plastic and the metal parts
Solution: The ink tank has most likely ruptured. If the above step does not help, the printhead is damaged beyond repair.