- This topic has 5 replies, 3 voices, and was last updated 9 years, 4 months ago by
3dphamster.
-
AuthorPosts
-
February 26, 2015 at 8:19 pm #2169
dragonator
KeymasterI finally decided to pick up 3D printing projects again, and with a makerfaire coming up in April. I think it is time to give Plan B an overhaul. Standing still for 6 months hasn’t done it any good, so it also needs some maintenance.
There are a few things that will be upgraded:
– The toolhead axis of the gantry will be moved up to give the spreader more room;
– The printhead will be placed as close to the print surface as possible;
– The spreader will be replaced with a rolling spreader;
– The firmware will be updated to support double direction printing and file selection (and more speed);
– (hopefully, the slicer software will be made to run stand alone (help?), if I can get it done);
– Maybe the printer will be insulated;
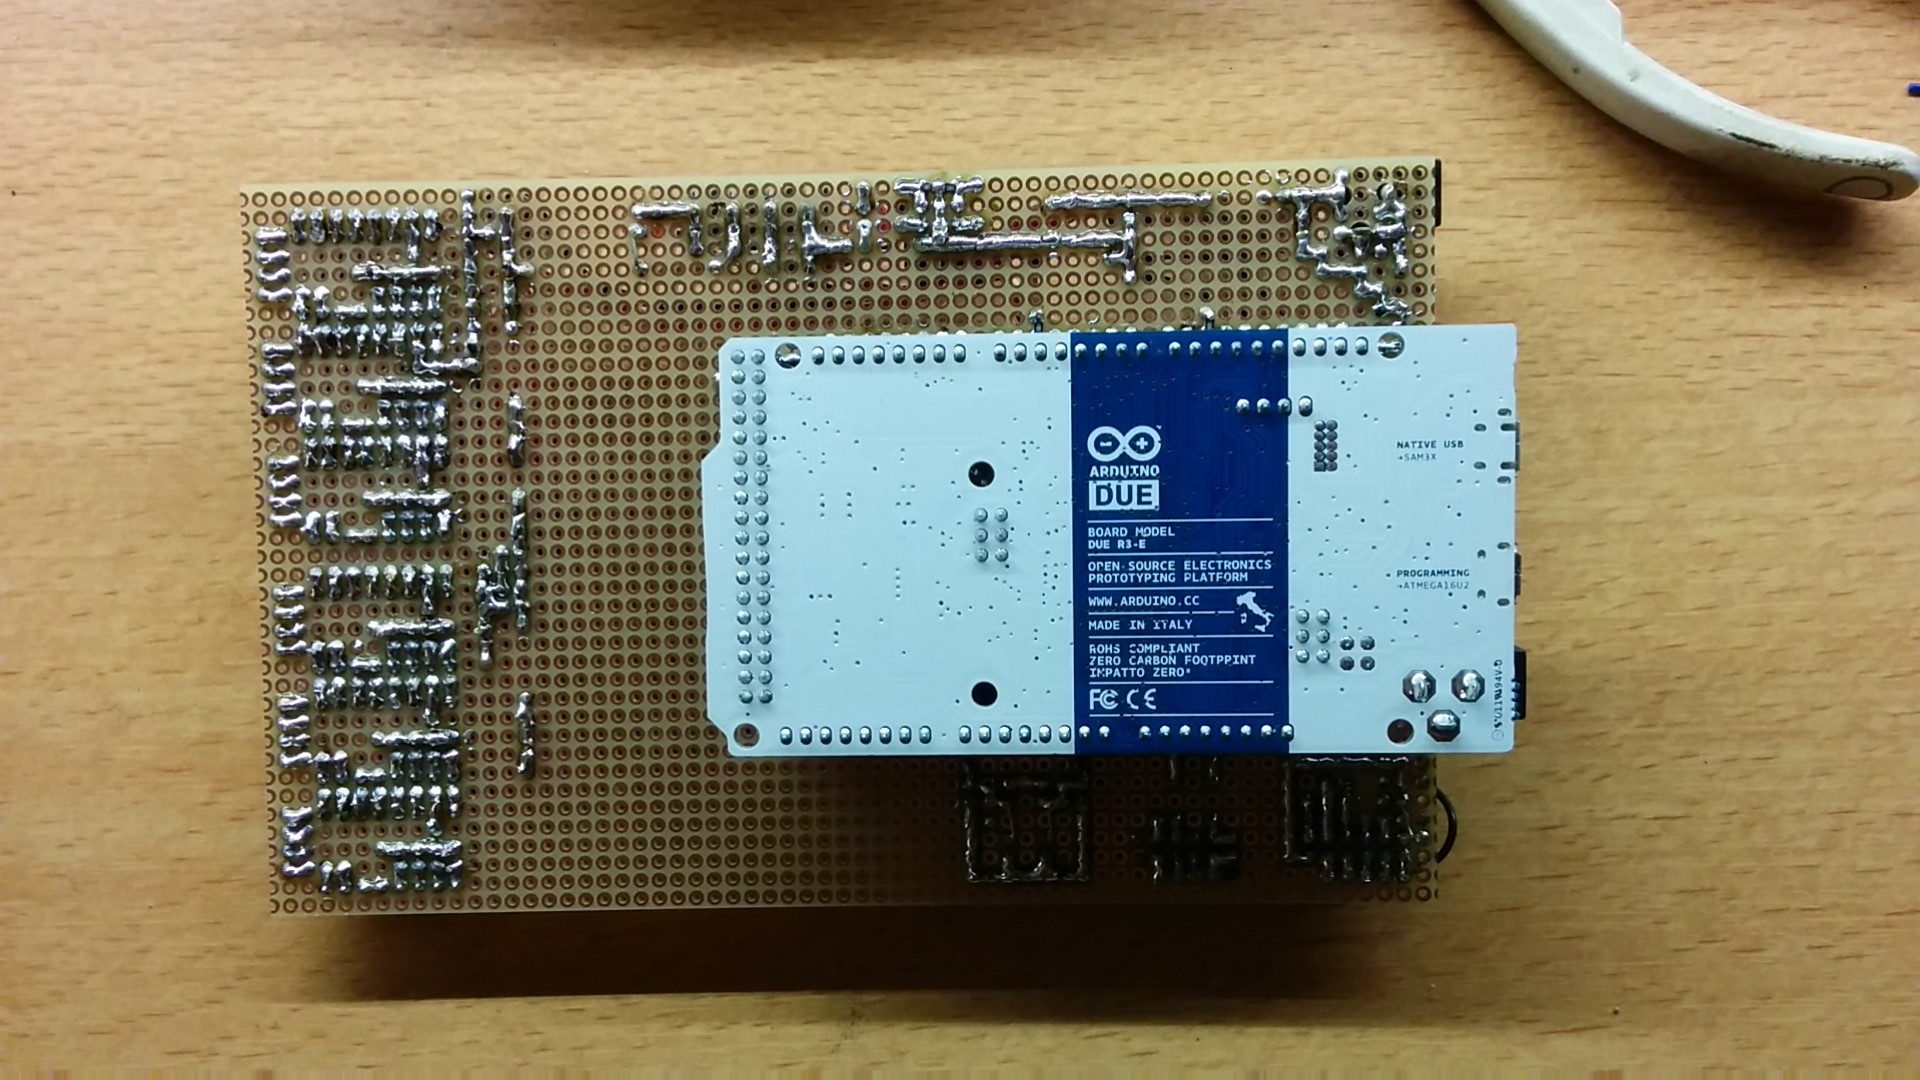
– Maybe the hopper overshoots will get proper containers.But first of is the most significant of the improvements will be the controller. The old one ran on an Atmega 2560, an 8bit 16MHz controller that works great for the light software ran on FDM printers, but lacks processing power for inkjet printing. This 2560 will be replaced with an Arduino DUE based controller that runs at a brisk 84MHz and is 32bit. The controller is now almost fully functional, the only feature that still needs to be added is the inkjet controller. All other features, like SD, stepper drivers, GUI and endstops have already been tested. I hope that the added processing power will help me reach the printheads limit of 150mm/s. Together with double direction printing, it should speed up the printing 5x.
More information on the upgrade will follow when it works.
Obligatory pictures:
 March 22, 2015 at 9:03 pm #2199Keymaster
Finally a follow-up regarding the upgrading currently happening to Plan B. I was sick for a week, so stuff happened slowly.
Plan B is now capable of printing at 150mm/s. This is due to the new controller, the Arduino DUE, and a few modifications to the firmware. Not only the increased speed of the controller is used. Also the massive amount of RAM memory is being utilized. Because the buffer is now 1000 lines big, an entire sweep can safely be stored in the RAM. Now, I do not have to read the SD card during printing. The SD card is read after each sweep is done. This means no interruptions, and this is very noticeable. Before, you could hear clicks in the X-axis movement when it was printing at speed, now, not any more.
First, the video how it was (start at 32 seconds), then, how it is now.
Also, I got around to upgrading the spreader. It is now rotating. I already had the design ready since the original Plan B, but I never got a way to fix the tube to the axis. I now have a system with a 3D printed holder (pictures later) with grub screws to adjust it. It takes some time to adjust, but it can be made on a 3D printer. It doesn’t have a drive, it has a wire that runs across the way. There are 2 guide pulleys that guide the wire once around the spreader. I haven’t printed with it yet, but it seem promising.
Time for more upgrading
-
This reply was modified 9 years, 4 months ago by
dragonator.
-
This reply was modified 9 years, 4 months ago by
-
This reply was modified 9 years, 4 months ago by
March 23, 2015 at 12:16 am #2203wonko
ParticipantLooking great. Congratulations! And I see a roller – very nice!
March 23, 2015 at 12:51 am #22043dphamster
ParticipantAlso congrats from my side!
Glad you take the time to move forward. Zcorp and co. will hate you 😛I like the rolling spreader, but does it maybe rolls too fast? Also should it not be rolling in the opposite direction?
I personally think the best way would be to mount a small stepper to the roller to be able to adjust the speed and rotation of the rolling.Apart from that, i am really happy that you started to improve plan b again. Can’t wait to build one.
Wishing you healthy days
March 23, 2015 at 1:10 pm #2205KeymasterRollers should have some speed to them, though I do not know whether this is too much or not. I am sure however that this is the right direction: Against the movement direction, forcing the powder up. This is how all powder printers do it. If you roll with the powder, it might jam or over-compact.
I would like to have used a small DC motor, but there simply isn’t any room. This system seems to work just fine for now and it has the added benefit of having no additional motors.
March 23, 2015 at 3:18 pm #2206ParticipantYes, you are right:should be against the movement direction and forcing the powder up.
I think i saw it the opposite way on your video. Anyway after testing the prints you can still improve if necessary.. -
This reply was modified 9 years, 4 months ago by
-
AuthorPosts
- You must be logged in to reply to this topic.