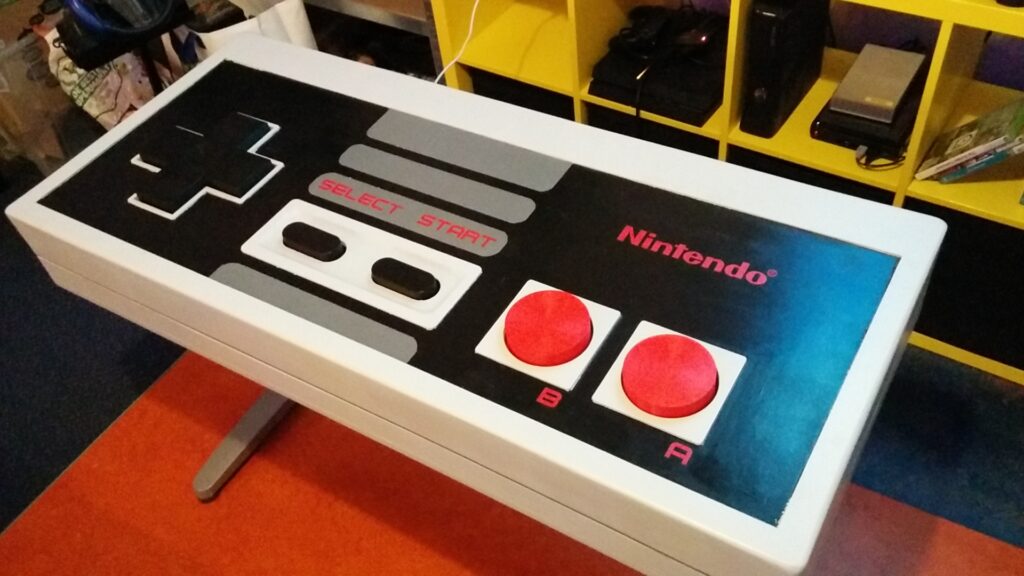
The title really says it all, this is a giant, full functional NES controller. At 120cm wide, it is around 10x the size of a real NES controller. All buttons are fully functional and on the inside is a Raspberry Pi to emulate the NES. The giant NES controller is ideally sized to be a coffee table or standing desk.
Why make a giant NES controller I hear you ask. Due to some circumstances my hackerspace Tkkrlab got a giant unfinished wooden base for a NES controller. During a cleanup it was decided that either we finish it, or we throw it away. Since throwing it away would be a shame, we decided to finish it.
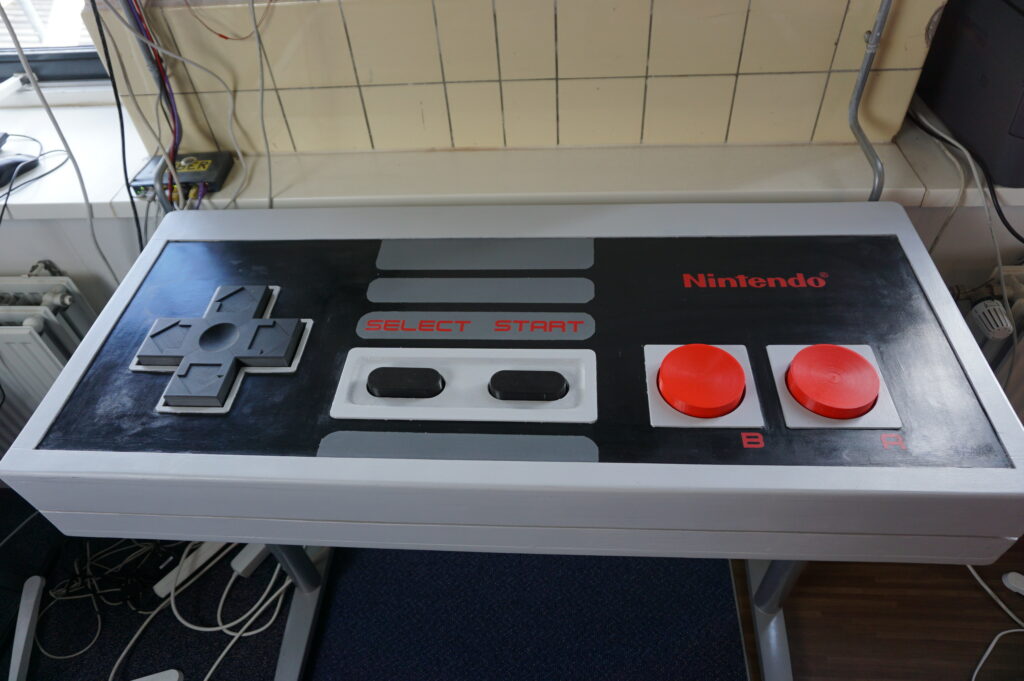
Each switch has its own mechanism to guide the motion. The D-pad needs to be able to move in all directions, the A and B are pushed frequently and hard, and Start and Select need to feel solid.
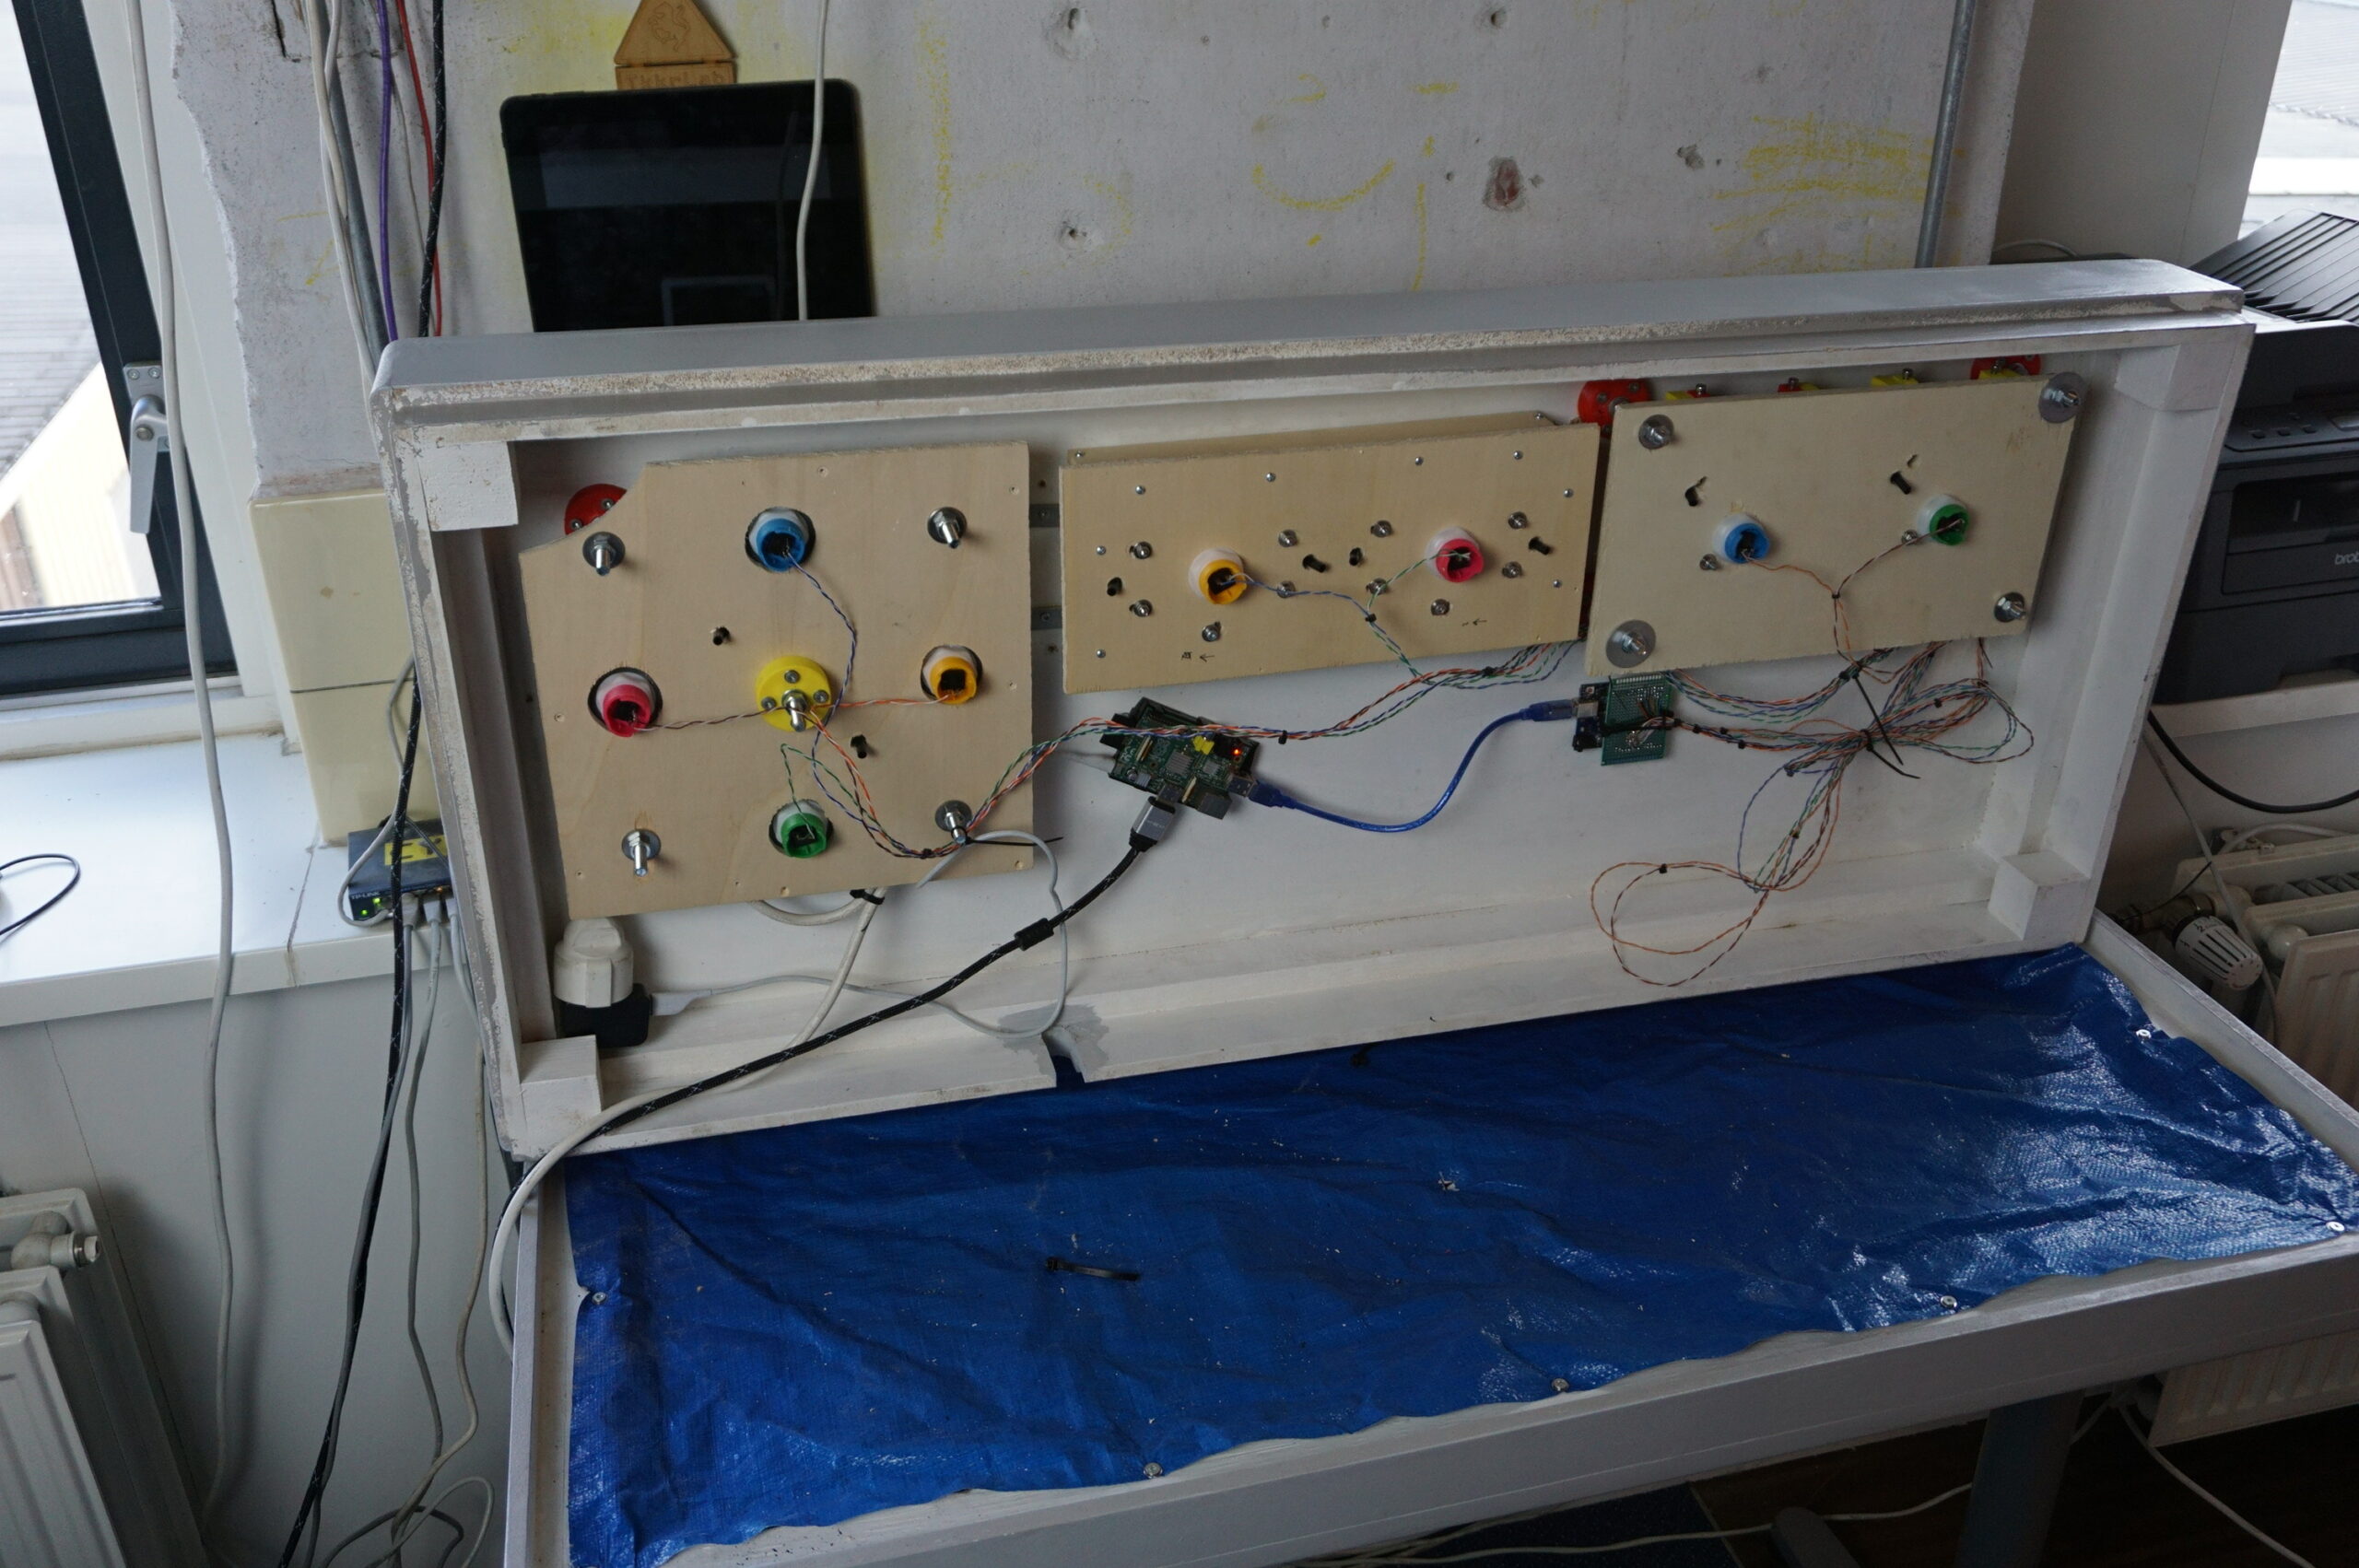
The electronics in the controller are no different from those in a Raspberry Pi driven arcade cabinet. Even the switches themselves are conventional arcade buttons. The HDMI from the Raspberry Pi can be used to connect the controller to any monitor or TV.
Making one yourself
This project is shared so people can attempt this project themselves. However, this is not a written guide. This project was made in a few weeks and it was only decided afterwards that it was cool enough to post it. You will need some of your own creativity when attempting to make this project.
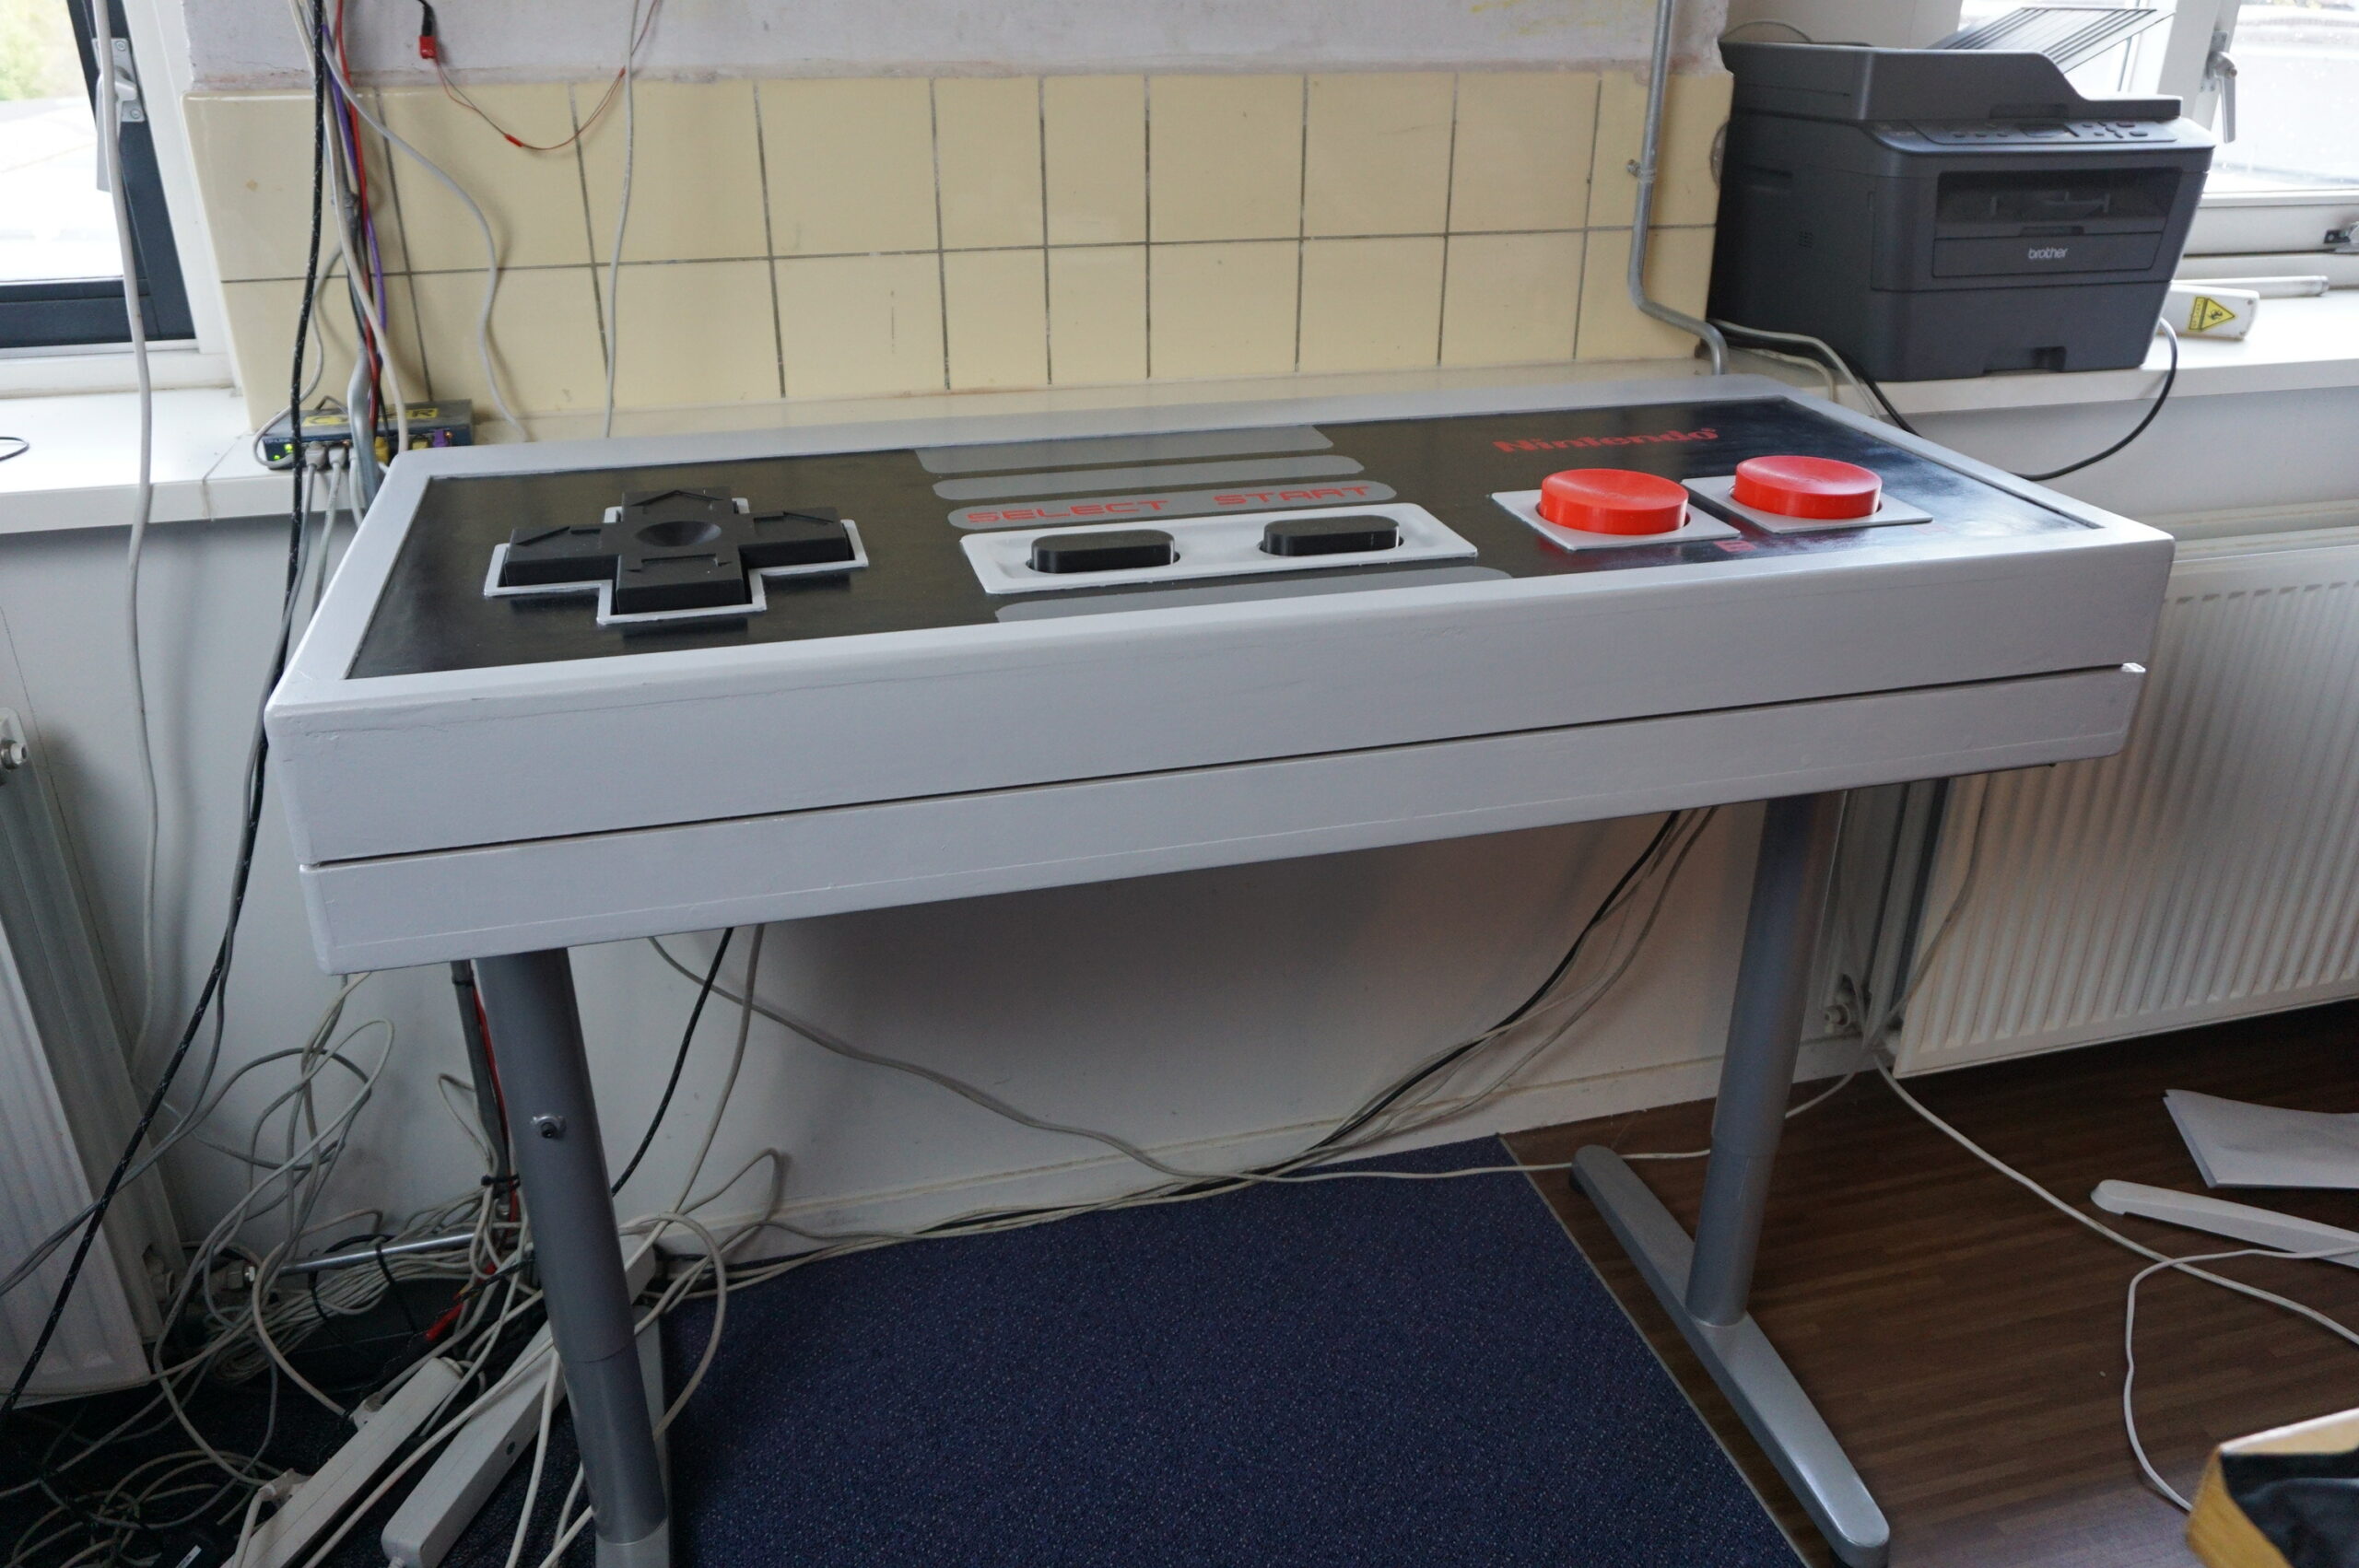
The wooden base is the part that is the least well documented. I measured it and put it in CAD, but I do not have a design that includes what planks go where. The base shape was made from several layers of MDF, and the bezels were made using laser cut plywood, but we did not do much of that ourselves. As long as the rough shape matches, and the holes for the buttons are accurate, the rest should fit fine.
The 3D prints are included. These parts are completely supportless, but not oriented to the printbed. The D-pad was split into 5 pieces to make it printable on most printers. Nuts and bolts are not included in the STEP and source files. Metric machine screws were used, though exact types and amounts are lost forever.
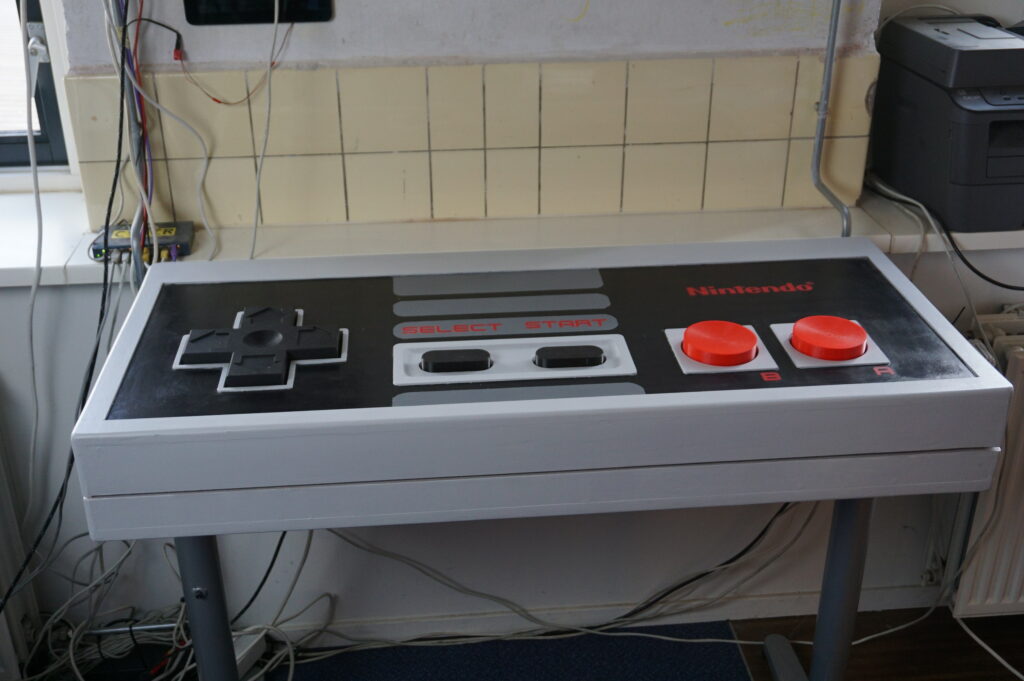
All buttons are mounted on adjustable bases. You can see these as the wooden planks with the buttons sticking out. This adjustment was used to make all buttons sit at the perfect height. The actual switches (arcade buttons) are mounted inside these adjustable bases.


Files for stickers are missing. We tried to find these, but they have been lost in time. A foil plotter was used to cut the stickers in red adhesive film. The stickers are: Start and Select, Nintendo, A and B.
The controller sits on an old table frame. We do not know the brand or type, we only know it is a good fit. The controller is 1200x520x160mm, so find a table frame that fits within these dimensions.
Download files
With all the instructions I have available out of the way, here are the files. I cannot guarantee that they will be useful, or enough, but I hope this does provide a decent stepping stone to anyone wanting to make something like this. The files also include STEP files and the model in Solidworks 2018 format.

License

The project described on this page is licensed under the Creative commons – Attribution – ShareAlike license.