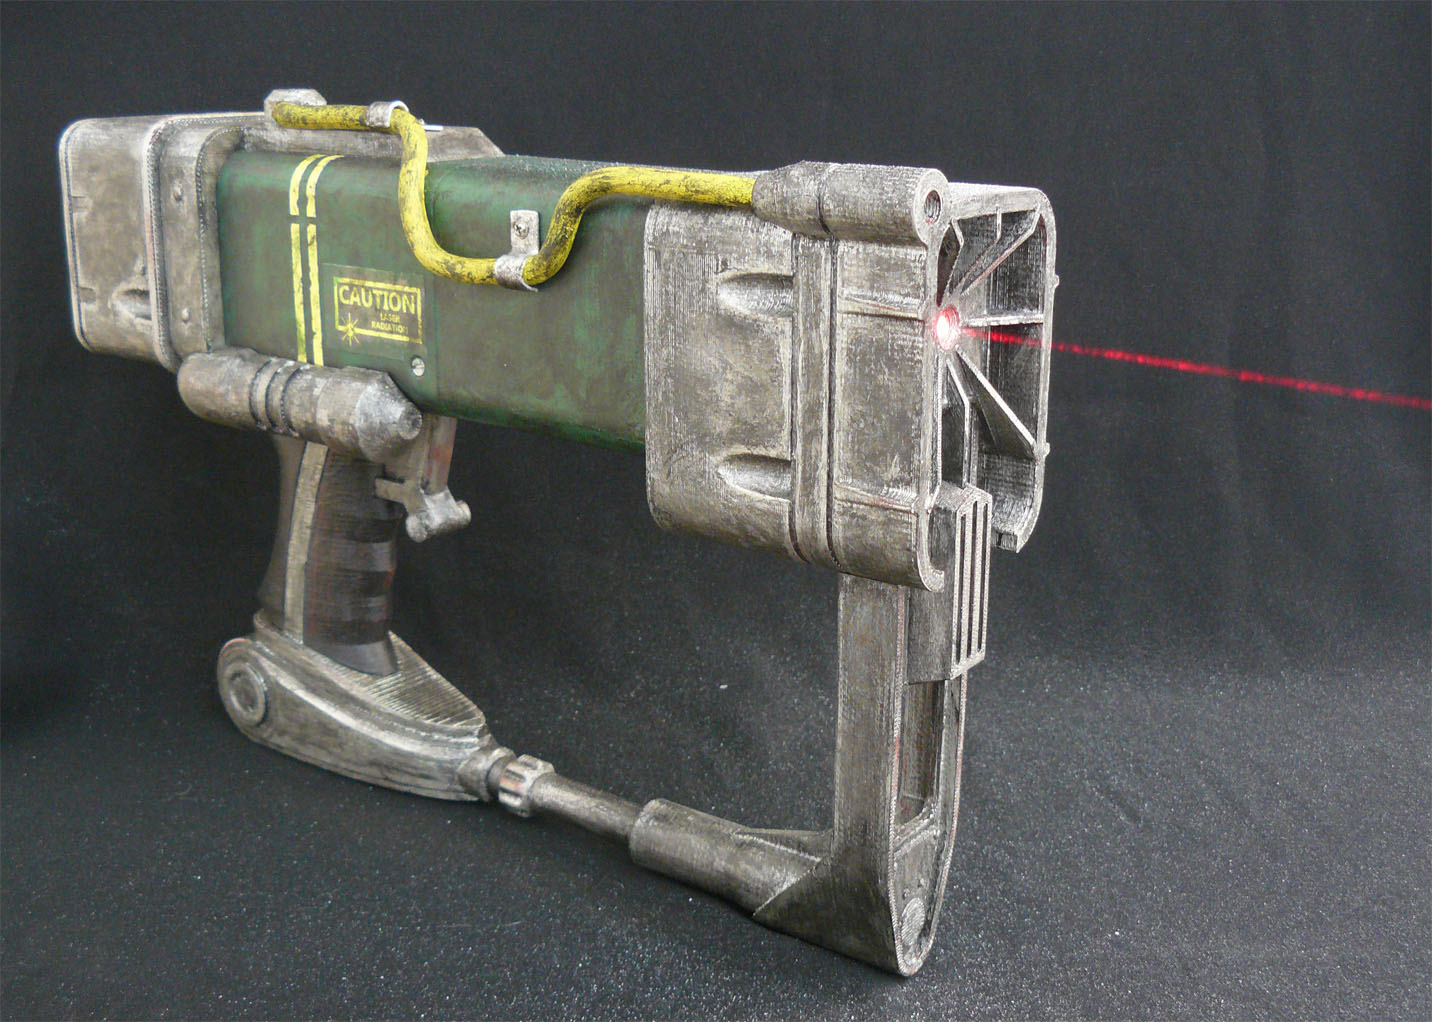
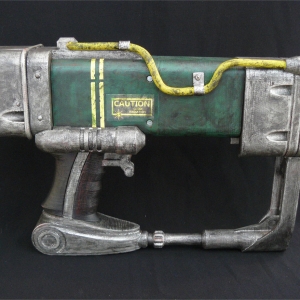
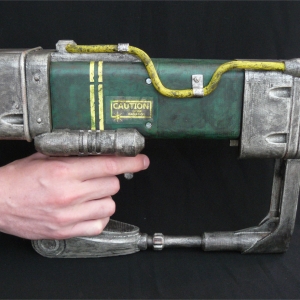
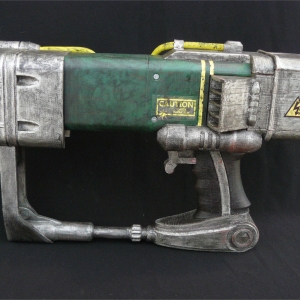
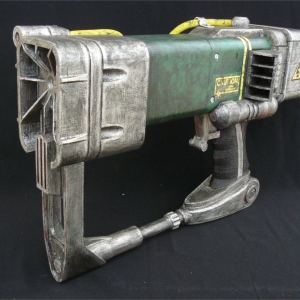
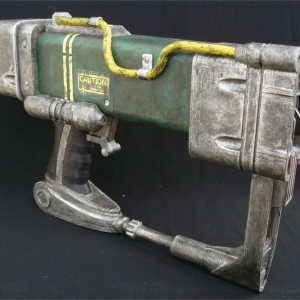
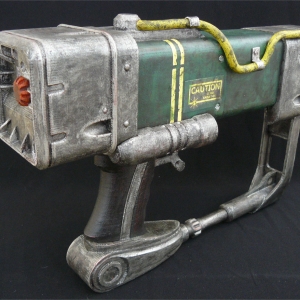
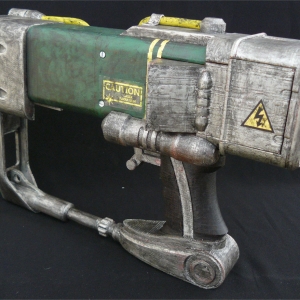
While the AEP7 laser pistol might not be the most powerful weapons from the Fallout series, it is one of the more beautiful weapons with it’s simple futuristic lines. Me being a huge fan of the series, I wanted a weapon that was easy to make on a 3D printer. With most weapons being too big, I chose a weapon I always carried with me, a laser pistol.
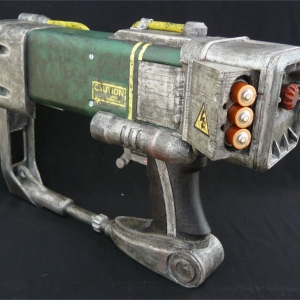
Besides a few props there were not very many attempts at the laser pistol. Most people make the laser rifle and skip the pistol (who can blame them). 3D printing a rifle is a bit much for me, so a pistol is the logical step down. First the 3D model was made in Solidworks. I didn´t just want it to be a simple model that only looked like a laser pistol, so I added a functioning magazine and a laser.
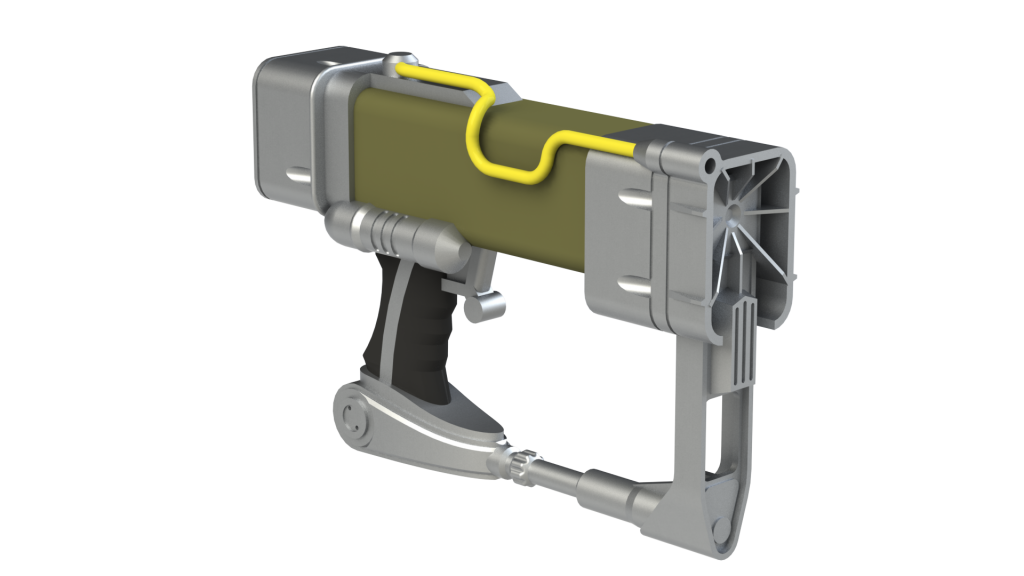
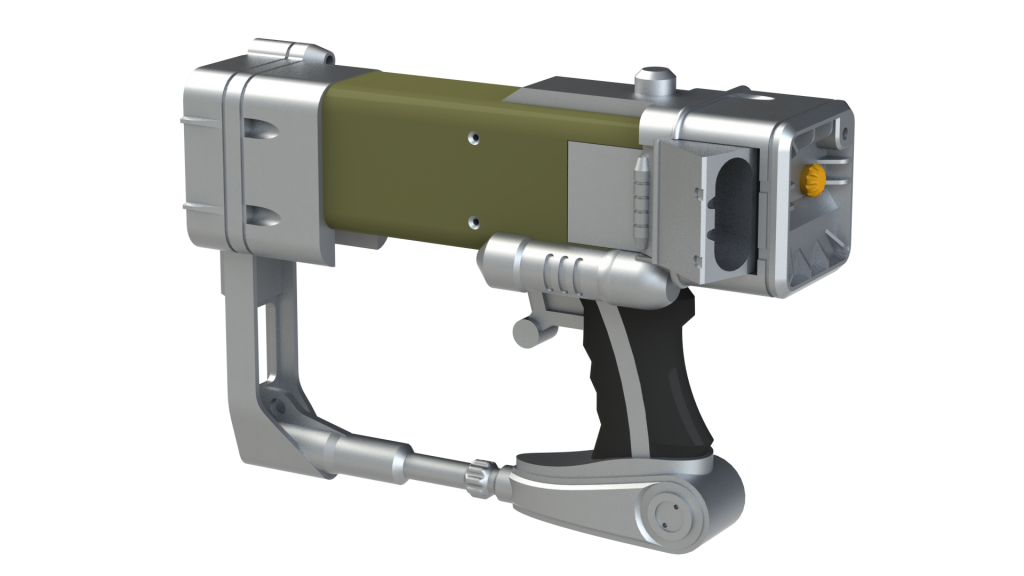
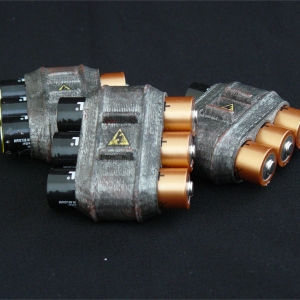
This model was split into 16 separate parts. The energy cells were not designed by me, there was already someone who took the effort to design them and they worked like a charm. Next step was to print all the parts and a few magazines (sorry no pictures). Around 40 hours of printing on my UP! later I was left with a bunch of PLA plastic parts.
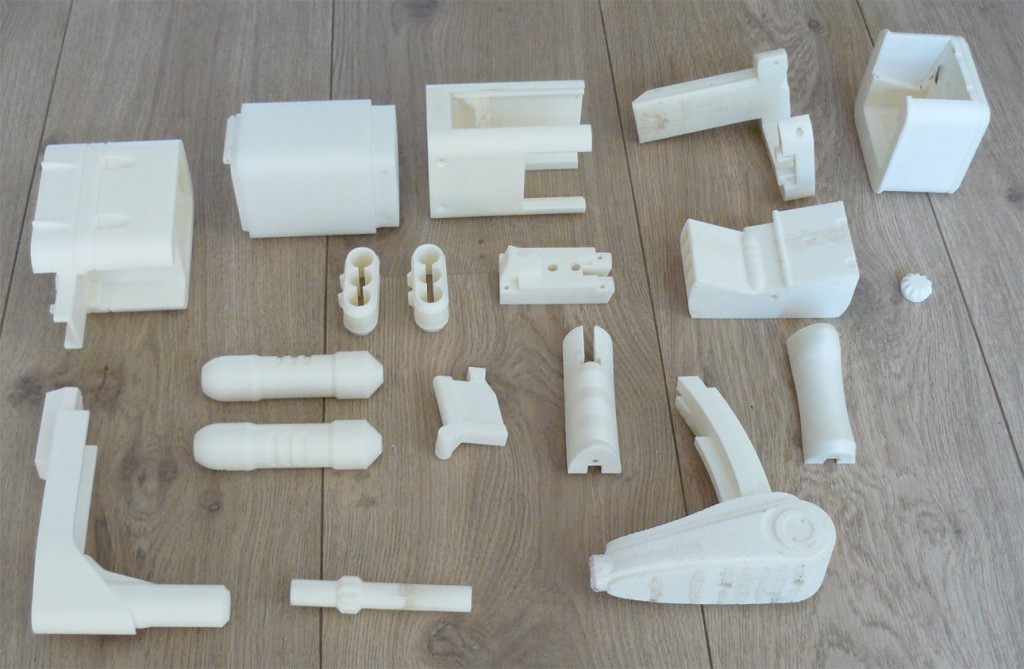
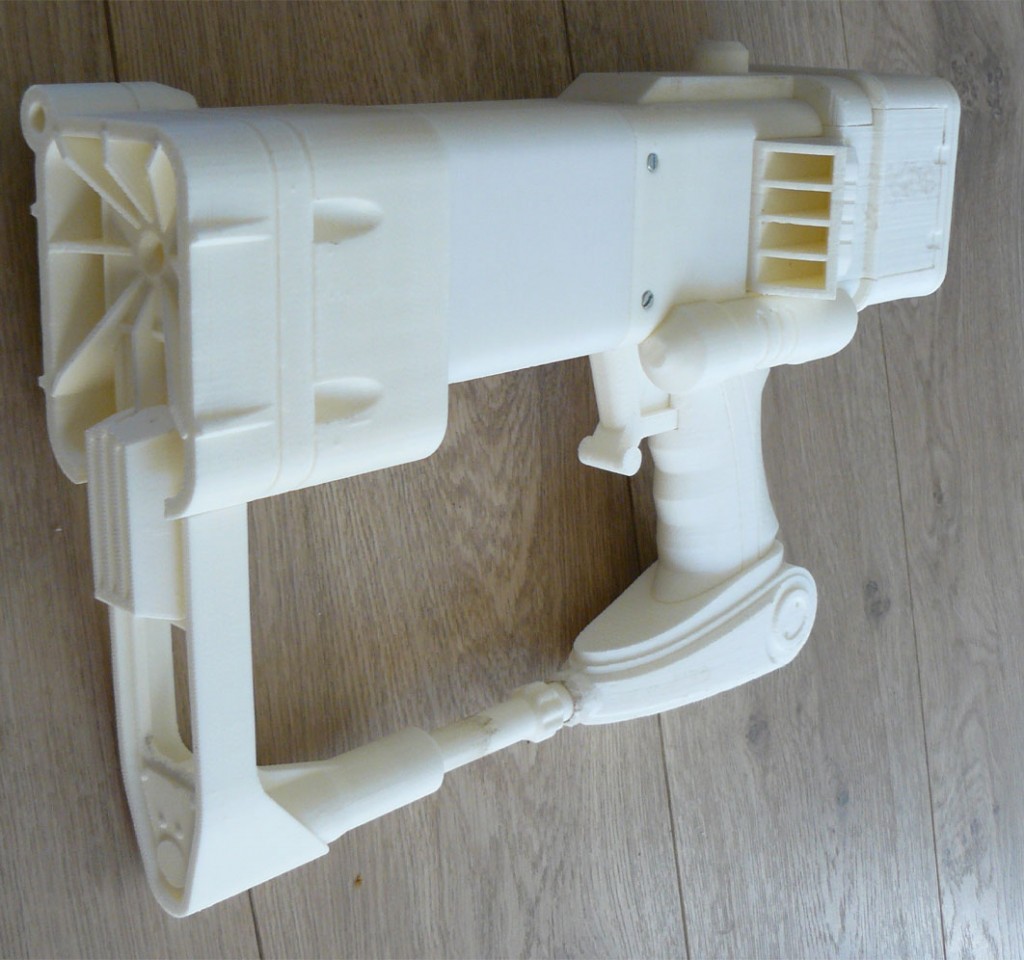
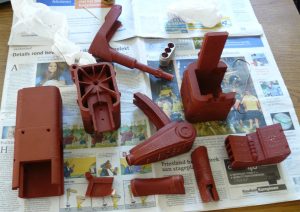
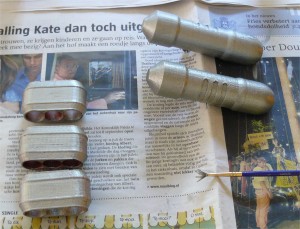
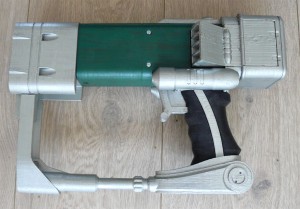
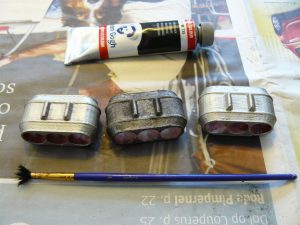
I didn’t print these parts on the highest accuracy (I am not made of time) so the parts were pretty rough. I used filler primer to fill up the major print lines. This was sanded down to a fairly smooth finish. I don’t need these parts to be ultra smooth since it is going to get the rugged look anyway. After that the parts were painted in the base colors: silver, green and black.
It is almost a shame to weather the parts. While the beauty comes from the rugged look, it is strange to paint parts in color just to add a layer of black paint to it later.
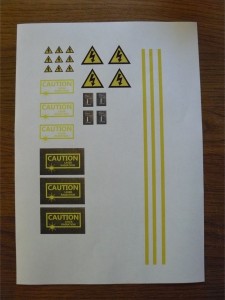
The decals were added in the form of a sheet op paper with the right decals printed on. I took a picture earlier to merge the fine detailed decals to the underlying weathered parts.
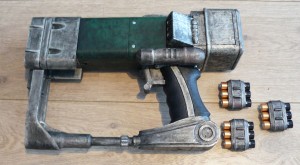
Some final electronics were added to add a laser, make the trigger work, hook up the energy cells to the laser. A piece of cable painted yellow was added to the side to complete the Laser-Pistol.
I am incredibly pleased with the results. With the Pip-Boy I was still figuring out how to properly paint and weather 3D printed models. With the experience from the Pip-Boy I was able to make it just the way I wanted. I think it looks just like the one from the game. The laser works and the magazine is a very nice addition to an otherwise plain design.
Make it yourself
I like to design and build these models, but I like it more when other people get to benefit from it too. I added a download to all the 3D models and decals, so anyone with a 3D printer can make it.
Edit 28-09-15: There have been people who have had a hard time printing the muzzle part of the pistol. If you want, you can try a split version. It has no mounting notches and holes, but it is split so it has next to no support material. Click here to download the split version of the muzzle.
Made one? go to the forum and share your pictures with everyone: http://ytec3d.com/forum/viewtopic.php?f=12&t=4
If you downloaded the files from this site and liked it, please consider going to the Donations page. This will help the development of more free designs and plans.
What else you need:
- 1kg of filament (PLA or ABS)
- Glue
- Electronics of your choice
- An unknown amount of M3 and M4 screws
- Paint
License
The project described on this page is licensed under the Creative commons – Attribution – ShareAlike license.


Hello is there a wiring diagram anywhere for this project? would love to know how to set up the laser function.
How do add the lazer in the gun.?
These prints came out amazing, incredible work! Two questions: What sort of paint did you use? Also, what were the lengths of the screws? Thanks for taking the time to make these available.
I used tubes of acrylic paint for most stuff, or spray cans if I have bigger surfaces. This is an older project, so I do not have a detailed list available.
I have the laser pistol parts in kit form, but I don’t know how to piece it together. Are there some printable instructions I can acquire in order to get started?
Short answer, no.
Is it possible for you to do the AER9 pistol from Fallout 4?
I am quite busy at the moment with a prop (http://ytec3d.com/forum/viewtopic.php?f=15&p=187#p187) but it is something I consider doing if I find more time. I might even make the laser weapon an upgradable system like in the game, but no promises.
how did you glue the decals?
a gluestick
Hey there
greetings from berlin, germany 🙂
I’ve a question for the printing. I’m going to send the data to an online-store to print it for me (my own printer will be hopefully my own xmas-present this year), and they are requesting if the measuring is in inch or mm…
Thanks for uploading this great piece of wasteland-art and your response 😀
armin
The parts are in mm
Hey, I’m building mine, but the pieces don’t fit together very well. There are gaps between the pieces when put together. It may be due to the printer i use (flash forge creator pro) causing the pieces lose shape a tiny bit. Can you suggest anything i can use to fill the gaps?
This might sound like trolling, but I suggest using filler. It does exactly as the name suggests. You can fill the gaps and sand it smooth after it has set. Filler for wood is fine.
hey i have printed mine out, almost finished putting it together, there was no file for “power clips”
In the text of the page there is a link to thingiverse of someone else’s design I used.
Hi, Dragonator, I am In the process of 3D printing your amazing model, and I was wondering if you could put togeather a quick video of how you wired your gun, that would be great. A fritzing file would also be nice
It is a battery, a switch and a laser diode. There is not much to share here.
Ok, Thanks!
Just a heads up, gametraders is using a cast of your print as a preorder incentive for Fallout 4 and they are not attributing you. I’m very sorry to see your work getting ripped off like that.
https://gametradersblog.files.wordpress.com/2015/06/fallout-4-bundle.jpg
While it does bear a lot of resemblance, it does not seem to be the same model. Look at the muzzle, it is stepped. Other key features are different.
Thanks for notifying me, but this does not seem to be my model.
Attempting to build it and have all of the body ready for assembly. I have holes for and no idea what they are for. Specifically the three on the back plate. Only one has access from another part so what are the other two for
can you make it pew pew (sound effect)?
Look in a cheap shop and find a toy laser that makes the sound you want and pull it apart see how it works and just wire it in
Could you give some pictures or instructions on how to do the electronics for the laser?
Hey, Love this print. Might try to make one to go with my Halloween costume. Quick question regarding printing on the non-highest setting.
Did you prime the surface, then sand it flush, then re-prime it? Or how did you get most of the print lines out.
I too am not made of time, and am going to be printing on a Makerbot on medium res.
Thanks!