Table of content:
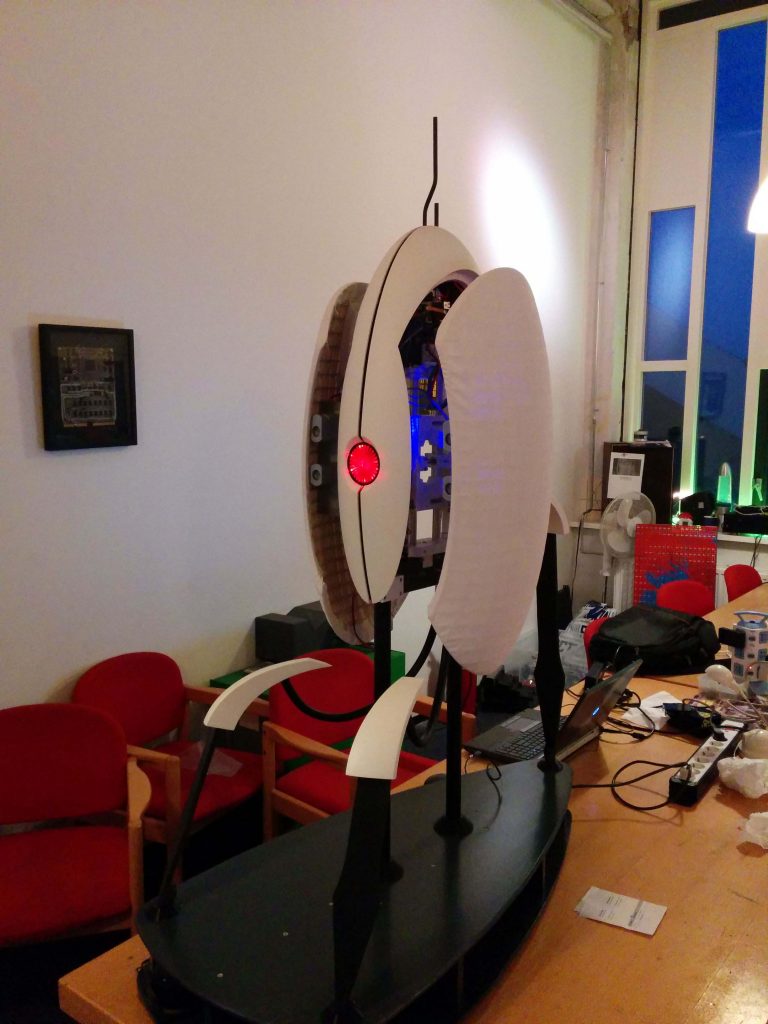
- Full Scale Portal Turret
- How It Works: Full Scale Portal Turret
- The Making Of: Full Scale Portal Turret (Part 1)
- The Making Of: Full Scale Portal Turret (Part 2)
The mad dash for SHA
A little primer of how I got here. Early summer 2017 I knew I was going to SHA2017, a massive hacker camp in the Netherlands. After some talking with some friends from my hackerspace who were also going, I had the idea that I wanted to make something. Something big.
Years ago (2014 to be exact) I had made this: a small scale Turret from the game portal. It could only move, not open and close, it was not standalone, and only had leds in it’s guns. I still have the old design for reference, what if I were to make a full scale Turret for SHA. Working this time. Wouldn’t that be awesome.
Now SHA was only 7 weeks away. I could not possibly make a full scale Turret in the span of just those 7 weeks, right? There is design, a boatload of 3D printing, electrical design, firmware, software. None of these steps were allowed to go wrong. Despite all that, somehow I decided that it would be a great idea to make a full scale turret for SHA. It would be a massive challenge, but imagine the geek cred.
With SHA only 7 weeks away, and an expected 160 hours of 3D printing even with some shortcuts, I knew I had to start printing as soon as possible. At the time I could only print around 40 hours a week, so 4 weeks of printing alone. This sadly meant that I had to design while I was printing, risking redesigns or modifications of existing parts. During the making of the Turret I was incredibly rushed, so the amount of photo’s will sadly be a bit limited. Also, the photo’s will not really be chronological. Everything was being designed, made and tested at roughly the same time.
Main movement
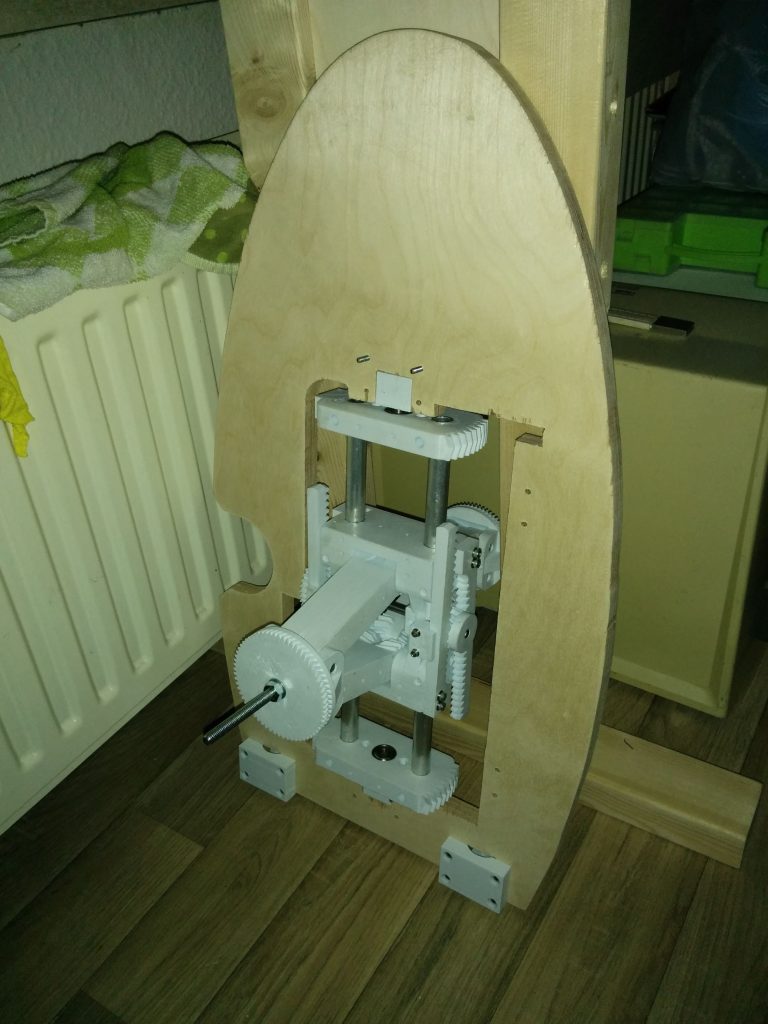
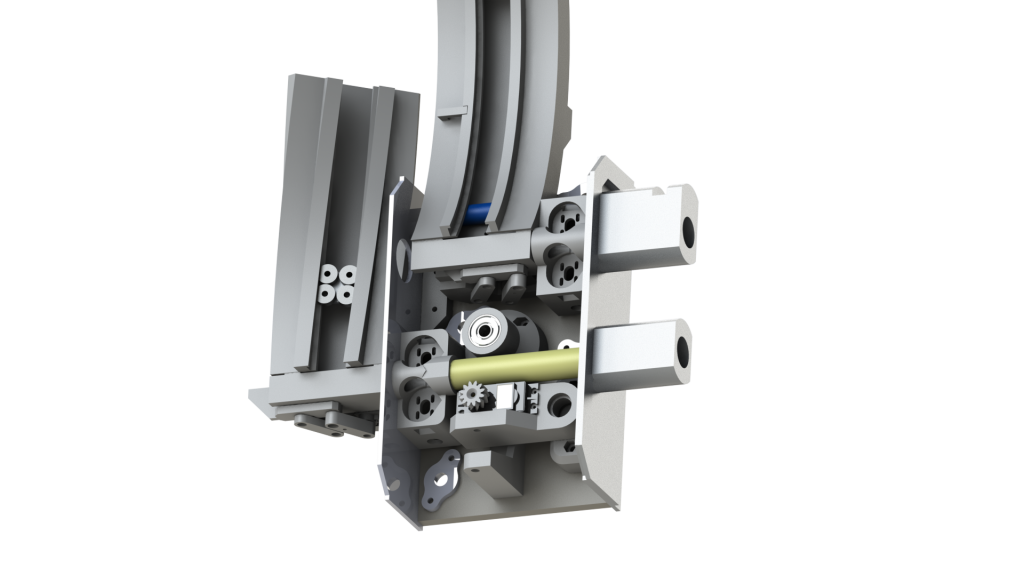
The main movement of the turret is the open/close, pan and tilt mechanism. This is a single assembly that has all these 3 motions in it. The main challenge is that the mechanism needs to be incredibly narrow. When closed, the guns of the original in game model practically touch. Even when you move around several parts in the guns and make the turret slightly wider, the mechanism only has around 70mm width. Another complication is that the guns still need to move when the turret opens, and so, each gun needs to move more than 90mm.
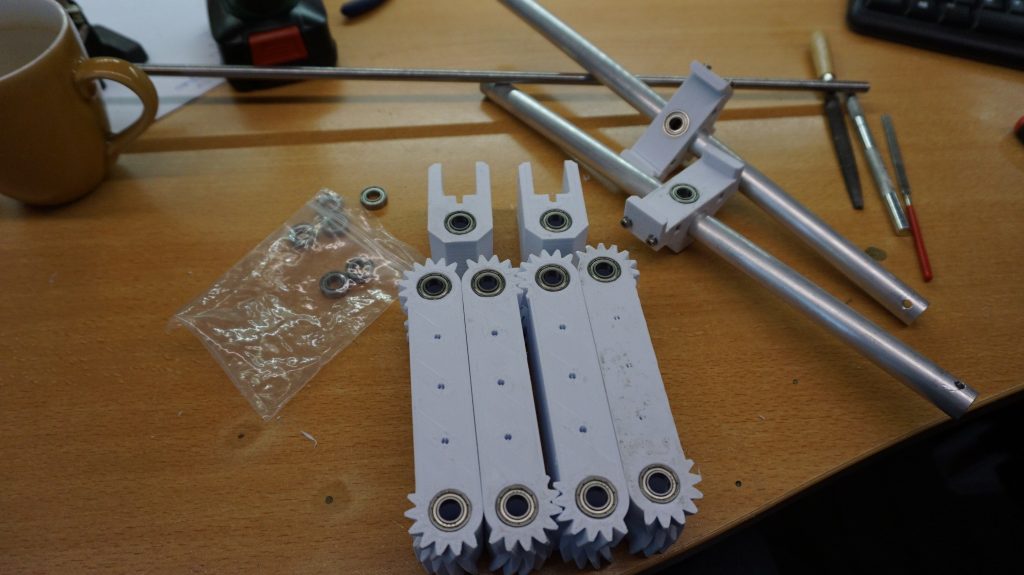
The list of requirements means that only a scissor mechanism really works for the opening of the turret. Anything else would either not fit, or be too weak. A scissor mechanism uses a parallelogram that can transfer movement from vertical to horizontal. If properly designed, they can be accurate and stiff.
The scissor mechanism is driven by a rack and pinion that is attached to both the top and the bottom.
The pan movement is achieved by moving the whole scissor mechanism sideways. This may seem a bit complicated, but panning the arm before the opening mechanism would be a lot more complicated. The whole scissor mechanism is in a standalone frame, and this frame can be panned by a set of gears that are printed in the scissor mechanism frame.
The tilt is mostly performed by the guns. There is a gear on the end of the scissor mechanism that the guns mesh in to.
Central turret frame
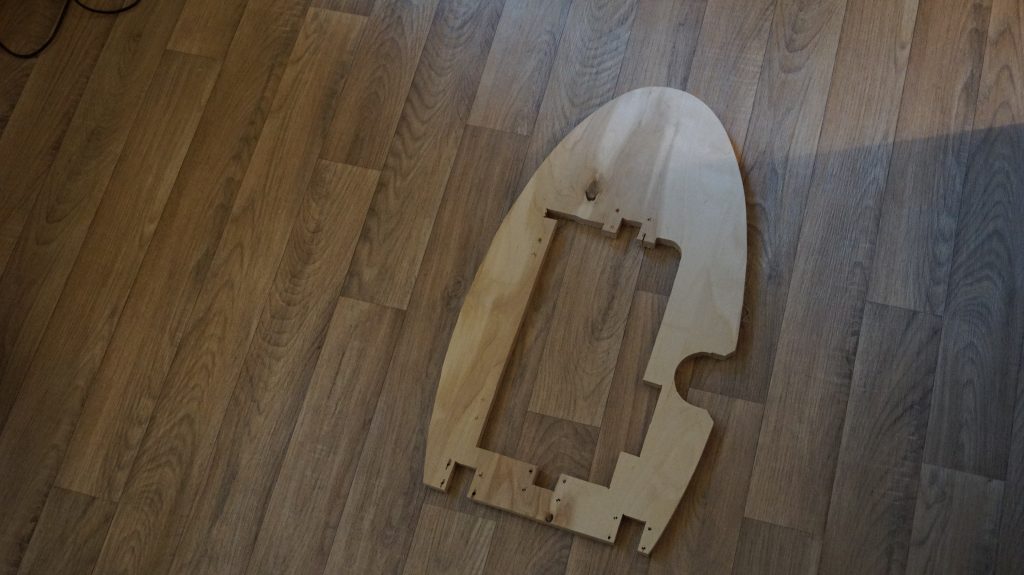
The turret needs a frame. A part that all other parts can connect to. In the case of the Turret, it is an egg shaped piece of plywood, 18mm thick. After the design had progressed enough, the design of the frame was printed on paper, glued on the plywood, and cut out using a jigsaw.
Wood can create a large surface with little time, and also provides an excellent base for future additions.
Eye mechanics and core
The most prominent part of a turret is the eye. It is the only part with a loud color, it lights up, and has a laser. My turret needs all of these things. It would hardly be a turret without.
Since the eye sits in the core of the turret (the 3D printed egg shaped middle of the turret) it needs to be completed before I start on the core itself. Any changed to the core would be impossible to implement after it is printed.
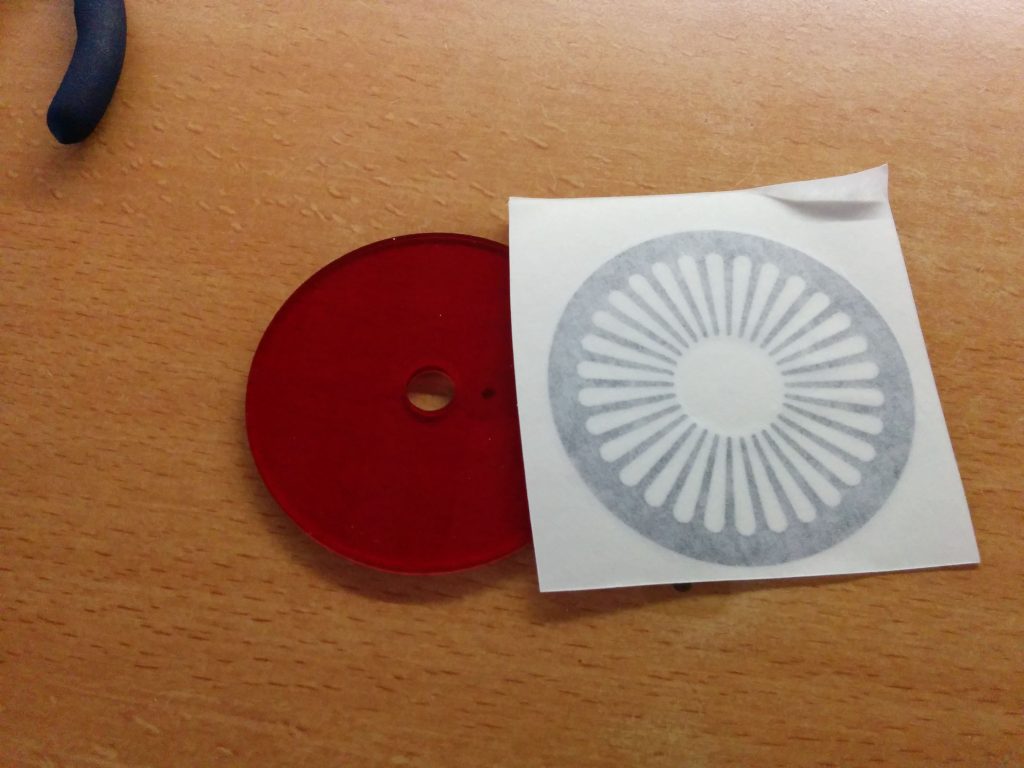
The eye consists of a red acrylic front with black cut foil to create the iris. Leds from the rim of the core light the acrylic up. The laser sits in a servo driven pan tilt mechanism. (The video is recent, but the eye never really changed)
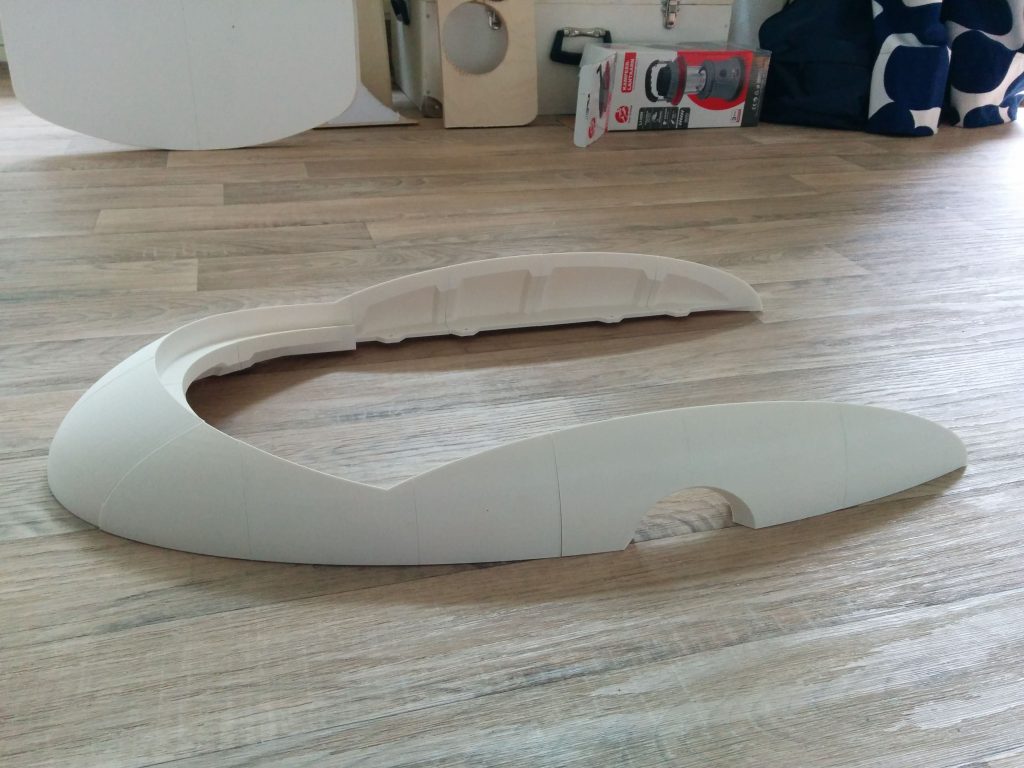
The core itself is a roughly turret shaped part, consisting of 14 separate parts (per half). It has mounting points to mount it to the frame, but not much more. It really only serves to light the eye, and look like a turret.

Gun mechanics
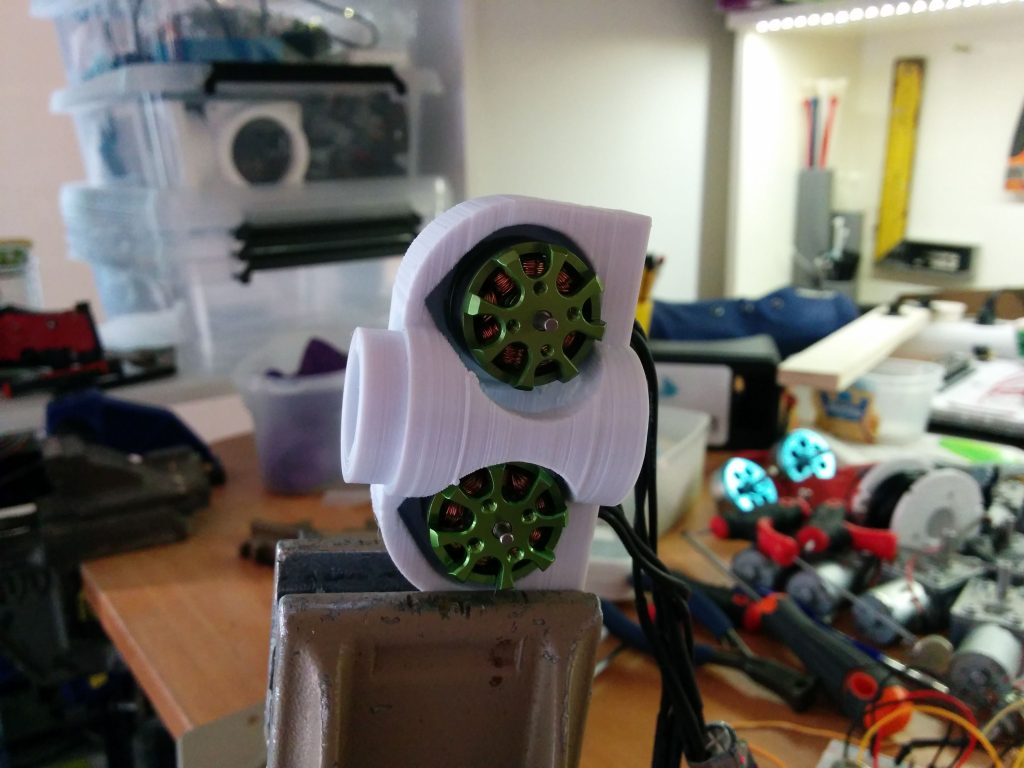
One of the most ridiculous requirements I set for myself is that I wanted the guns to shoot actual nerf darts. The most compact and automatic way to do this is with flywheel nerfs. I did have some brushless outrunners from my time as a model flyer, so I opted to use those. The first test with slow, big outrunners gave confidence. I then ordered small fast outrunners and printed a frame for them. This also worked great, and so I designed the rest of the guns around this flywheel dart launcher.
The magazines are a gravity fed hopper that can hold up to 18 darts each. A weight pushes all darts down. At the bottom of the magazine, a servo driven arm pushes the darts into the flywheels.
Also on the gun is a hobby servo with a small gear. This is for the tilt mechanism. A spring allows this gear to be released from the main gear on the scissor mechanism. This way, the shell can easily be removed. A nice feature considering the tiny gape between the guns and the core of the turret.
Legs
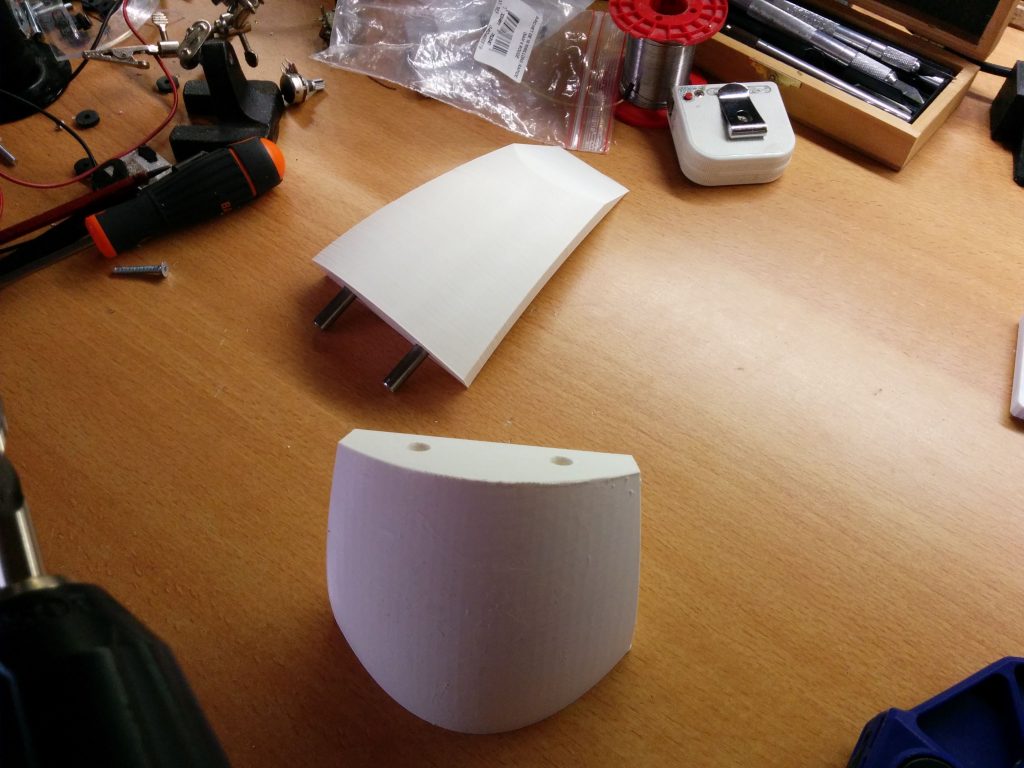
At some point, the legs were printed. They were printed by a friend of mine because time was starting to run out. They are comparable to the core. 3D printed, and then assembled, to be smoothed later. There is also some wood involved to make the feet, but I really do not have many photo’s of this.
Base
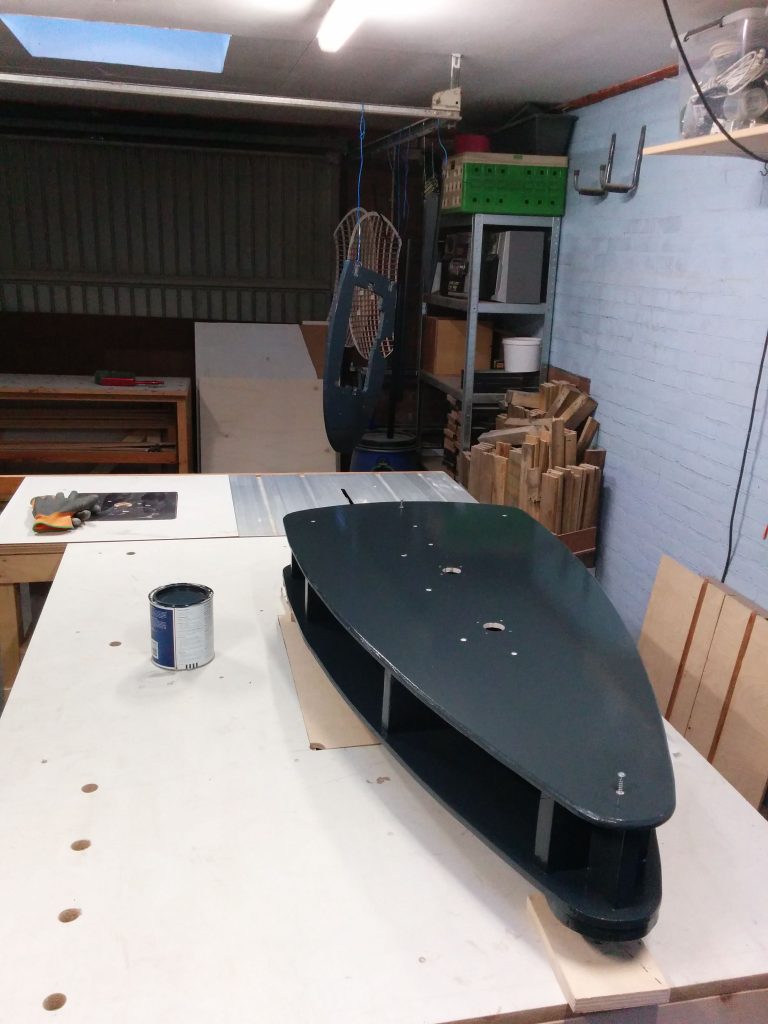
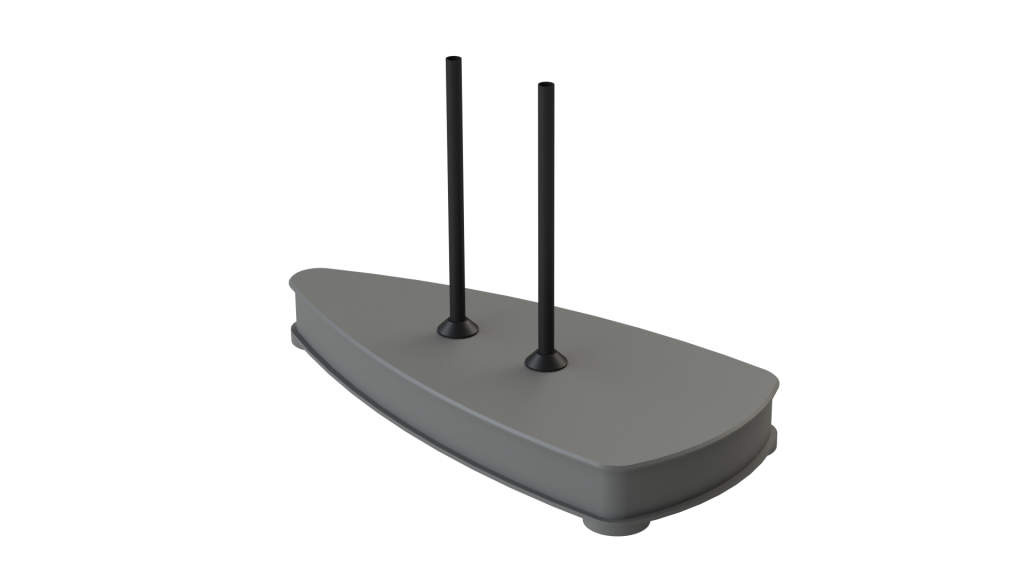
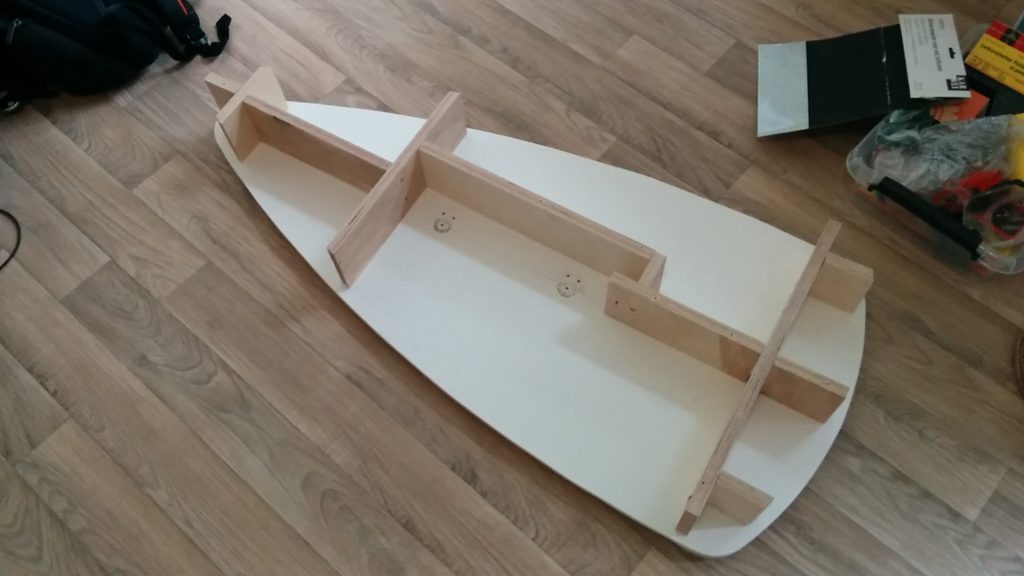
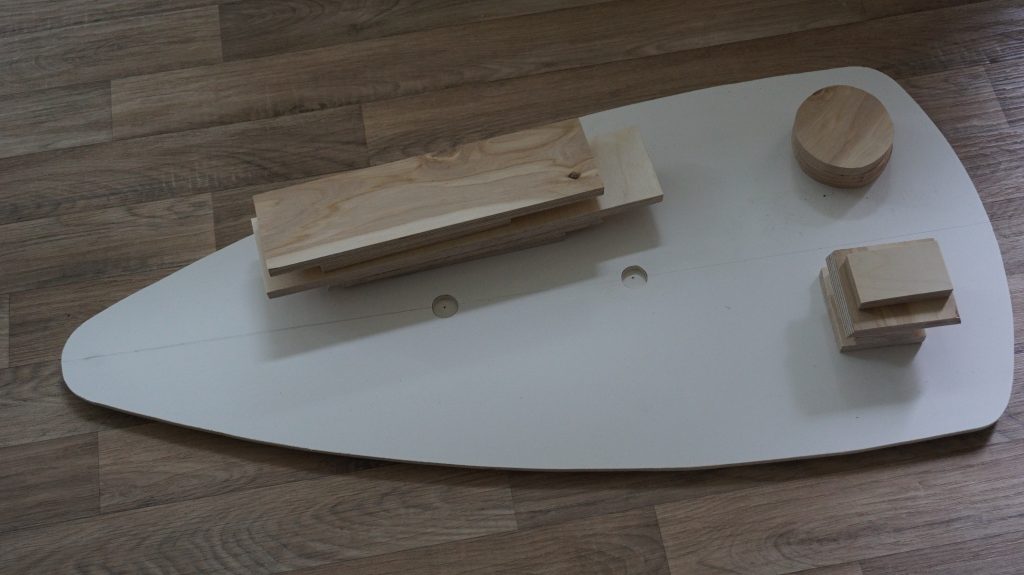
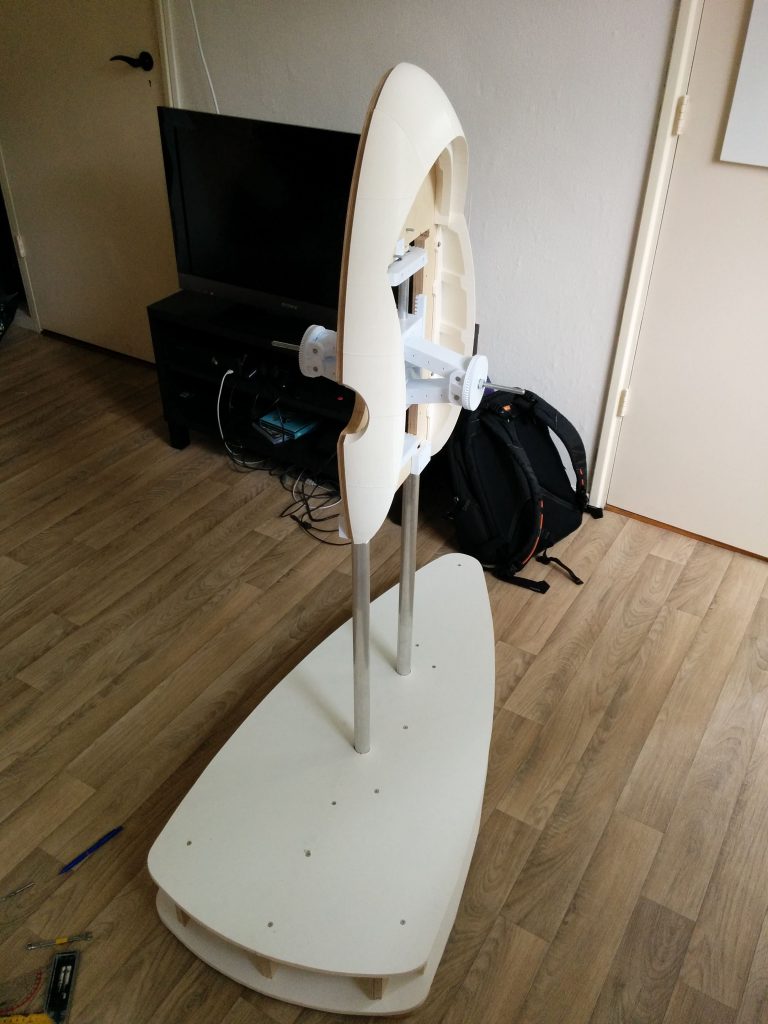
Due to the size of this turret and some time limitations, the turret would not be able to be a free standing machine. It would need a base. Additionally, the legs are too difficult to make load bearing. I opted for a wooden base with aluminium tube supporting the turret. The base consists of 2 layers for strength, but will also house all of the power supplies and the future speakers. The aluminium tubes carry the wires from the base to the core of the turret.
The shell compromise
One thing that was not going to be made in time were the shells. 160 hours of printing is for the core, the legs and the guns. The shells would also need that amount time, and I simply did not have that. I needed something faster. I turned to my local Fablab in Enschede, and their laser cutters.
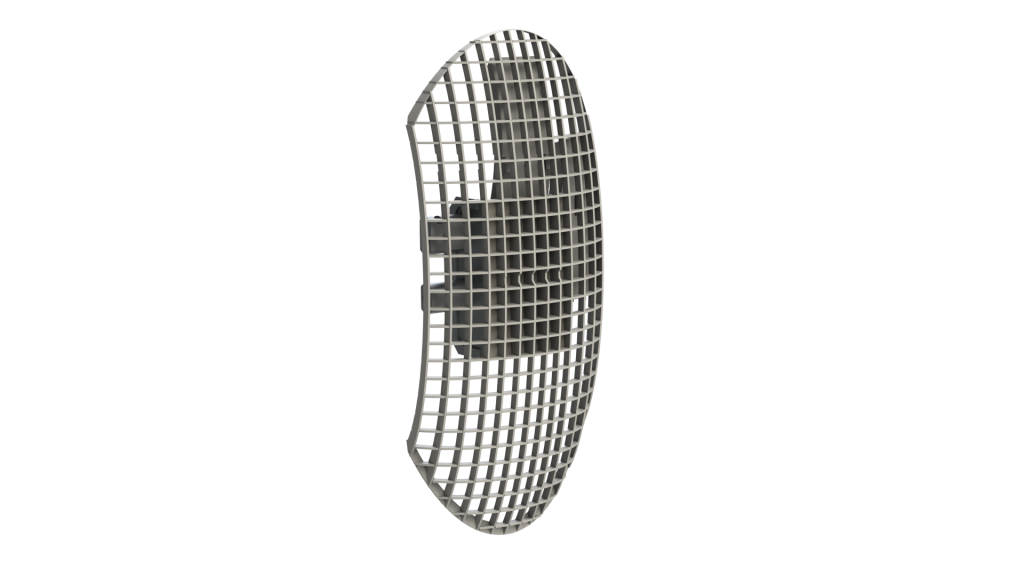
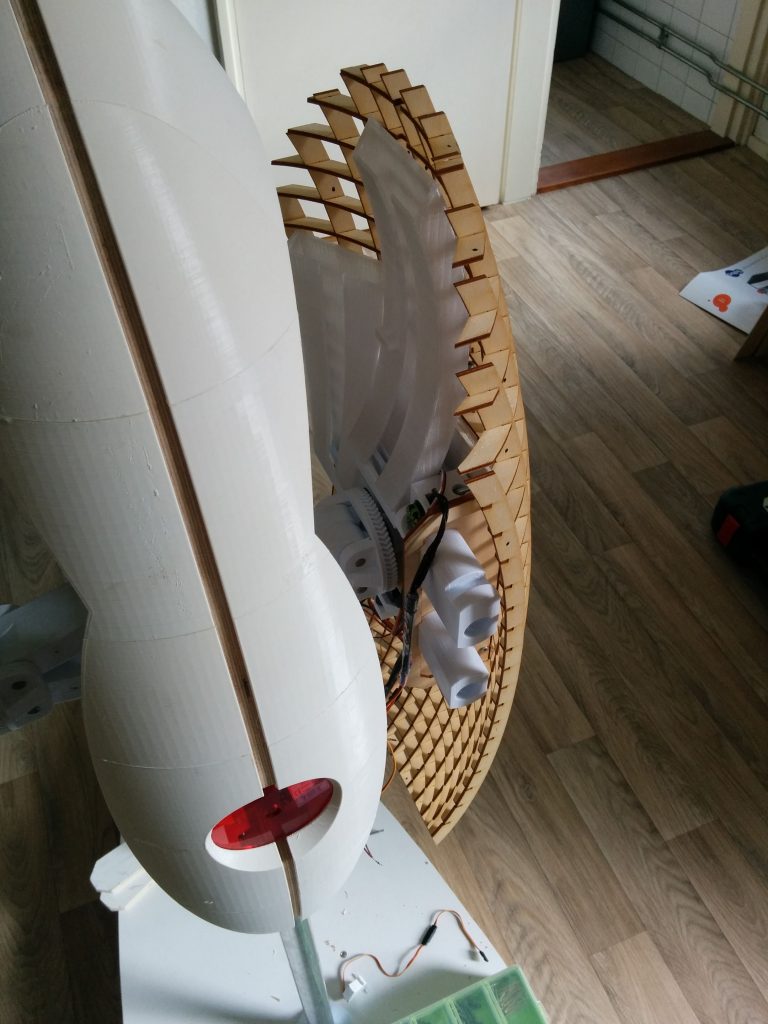
If I could redesign the shells so I could laser cut them, I could make the shells in a few days, not weeks. The design consists of a grid of laser cut strips of wood. These are glued together and then sanded. By then covering these shells in fabric, I could make a fairly smooth white surface. It is not perfect, but it was good enough. Most people did not notice it anyway.
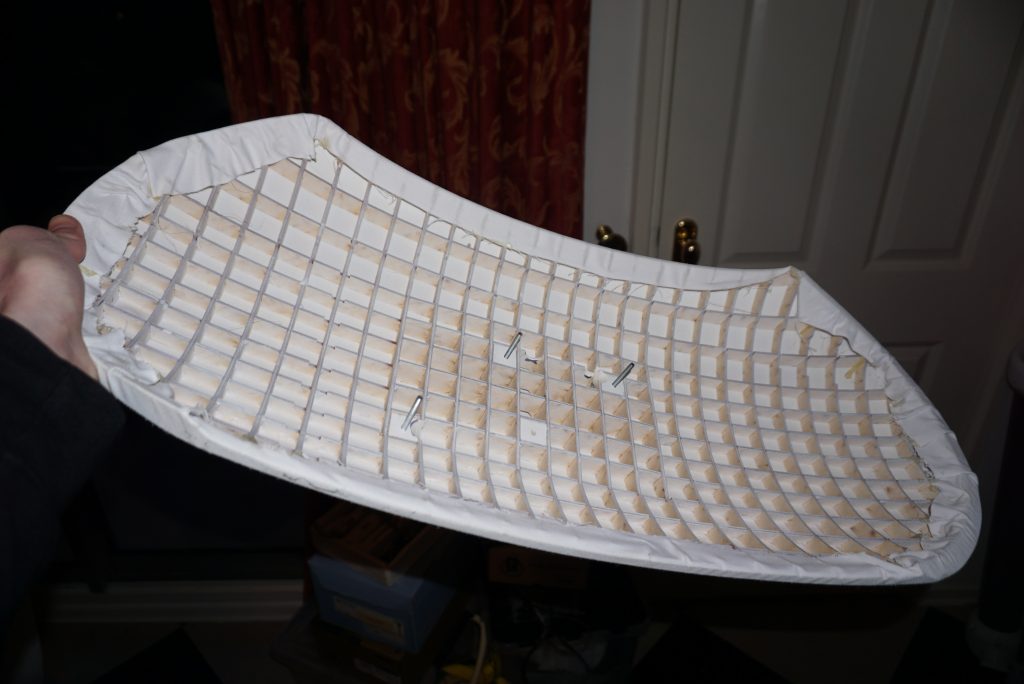
A Boatload of sanding and painting
Making a 3D print look nice takes effort. You have the lines of 3D printing, which are difficult to get rid of. The turret is supposed to be a smooth white egg, and so, I wanted to get the turret as smooth as possible.
The core and legs were first sanded with 80 grit sandpaper by hand to get rid of the worst of the lines. It was done by hand to prevent melting through the plastic. Then the parts were coated in XTC3D, a smoothing epoxy designed for 3D prints. It forms a thin layer of epoxy on the printed part which can easily be sanded and smoothed.
Sanding epoxy took the bulk of the time. After the epoxy is sanded, the parts need to be as smooth as you want them to be. After this step, there is little you can do to improve the parts. Also, epoxy is hard, and sanding it is slow going. After the epoxy layer was smooth, primer was applied, then several coats of matte white paint. The parts were finished with matte clear coat.
All the wooden parts also got a layer of paint. Dark grey. Most of these parts are not official turret parts, and so I picked a color that was not that obvious. A brush and roller make quick work applying the matte dark grey color.
Full assembly
The thing that is conveyed poorly through this whole page is time. I only had 7 weeks, and up to now, everything happened, all at the same time, all the time. Now we get to the final assembly. At this point we less than 2 weeks left. Luckily, all that was left to do all of the wiring, all of the electronics, software and firmware. No problem right?
The turret was transferred to the Tkkrlab, my local hackerspace, to be finished. Me and one of the members worked for a full week getting it wired up and getting the basics of the code to run. It were long days with SHA looming all of the time.
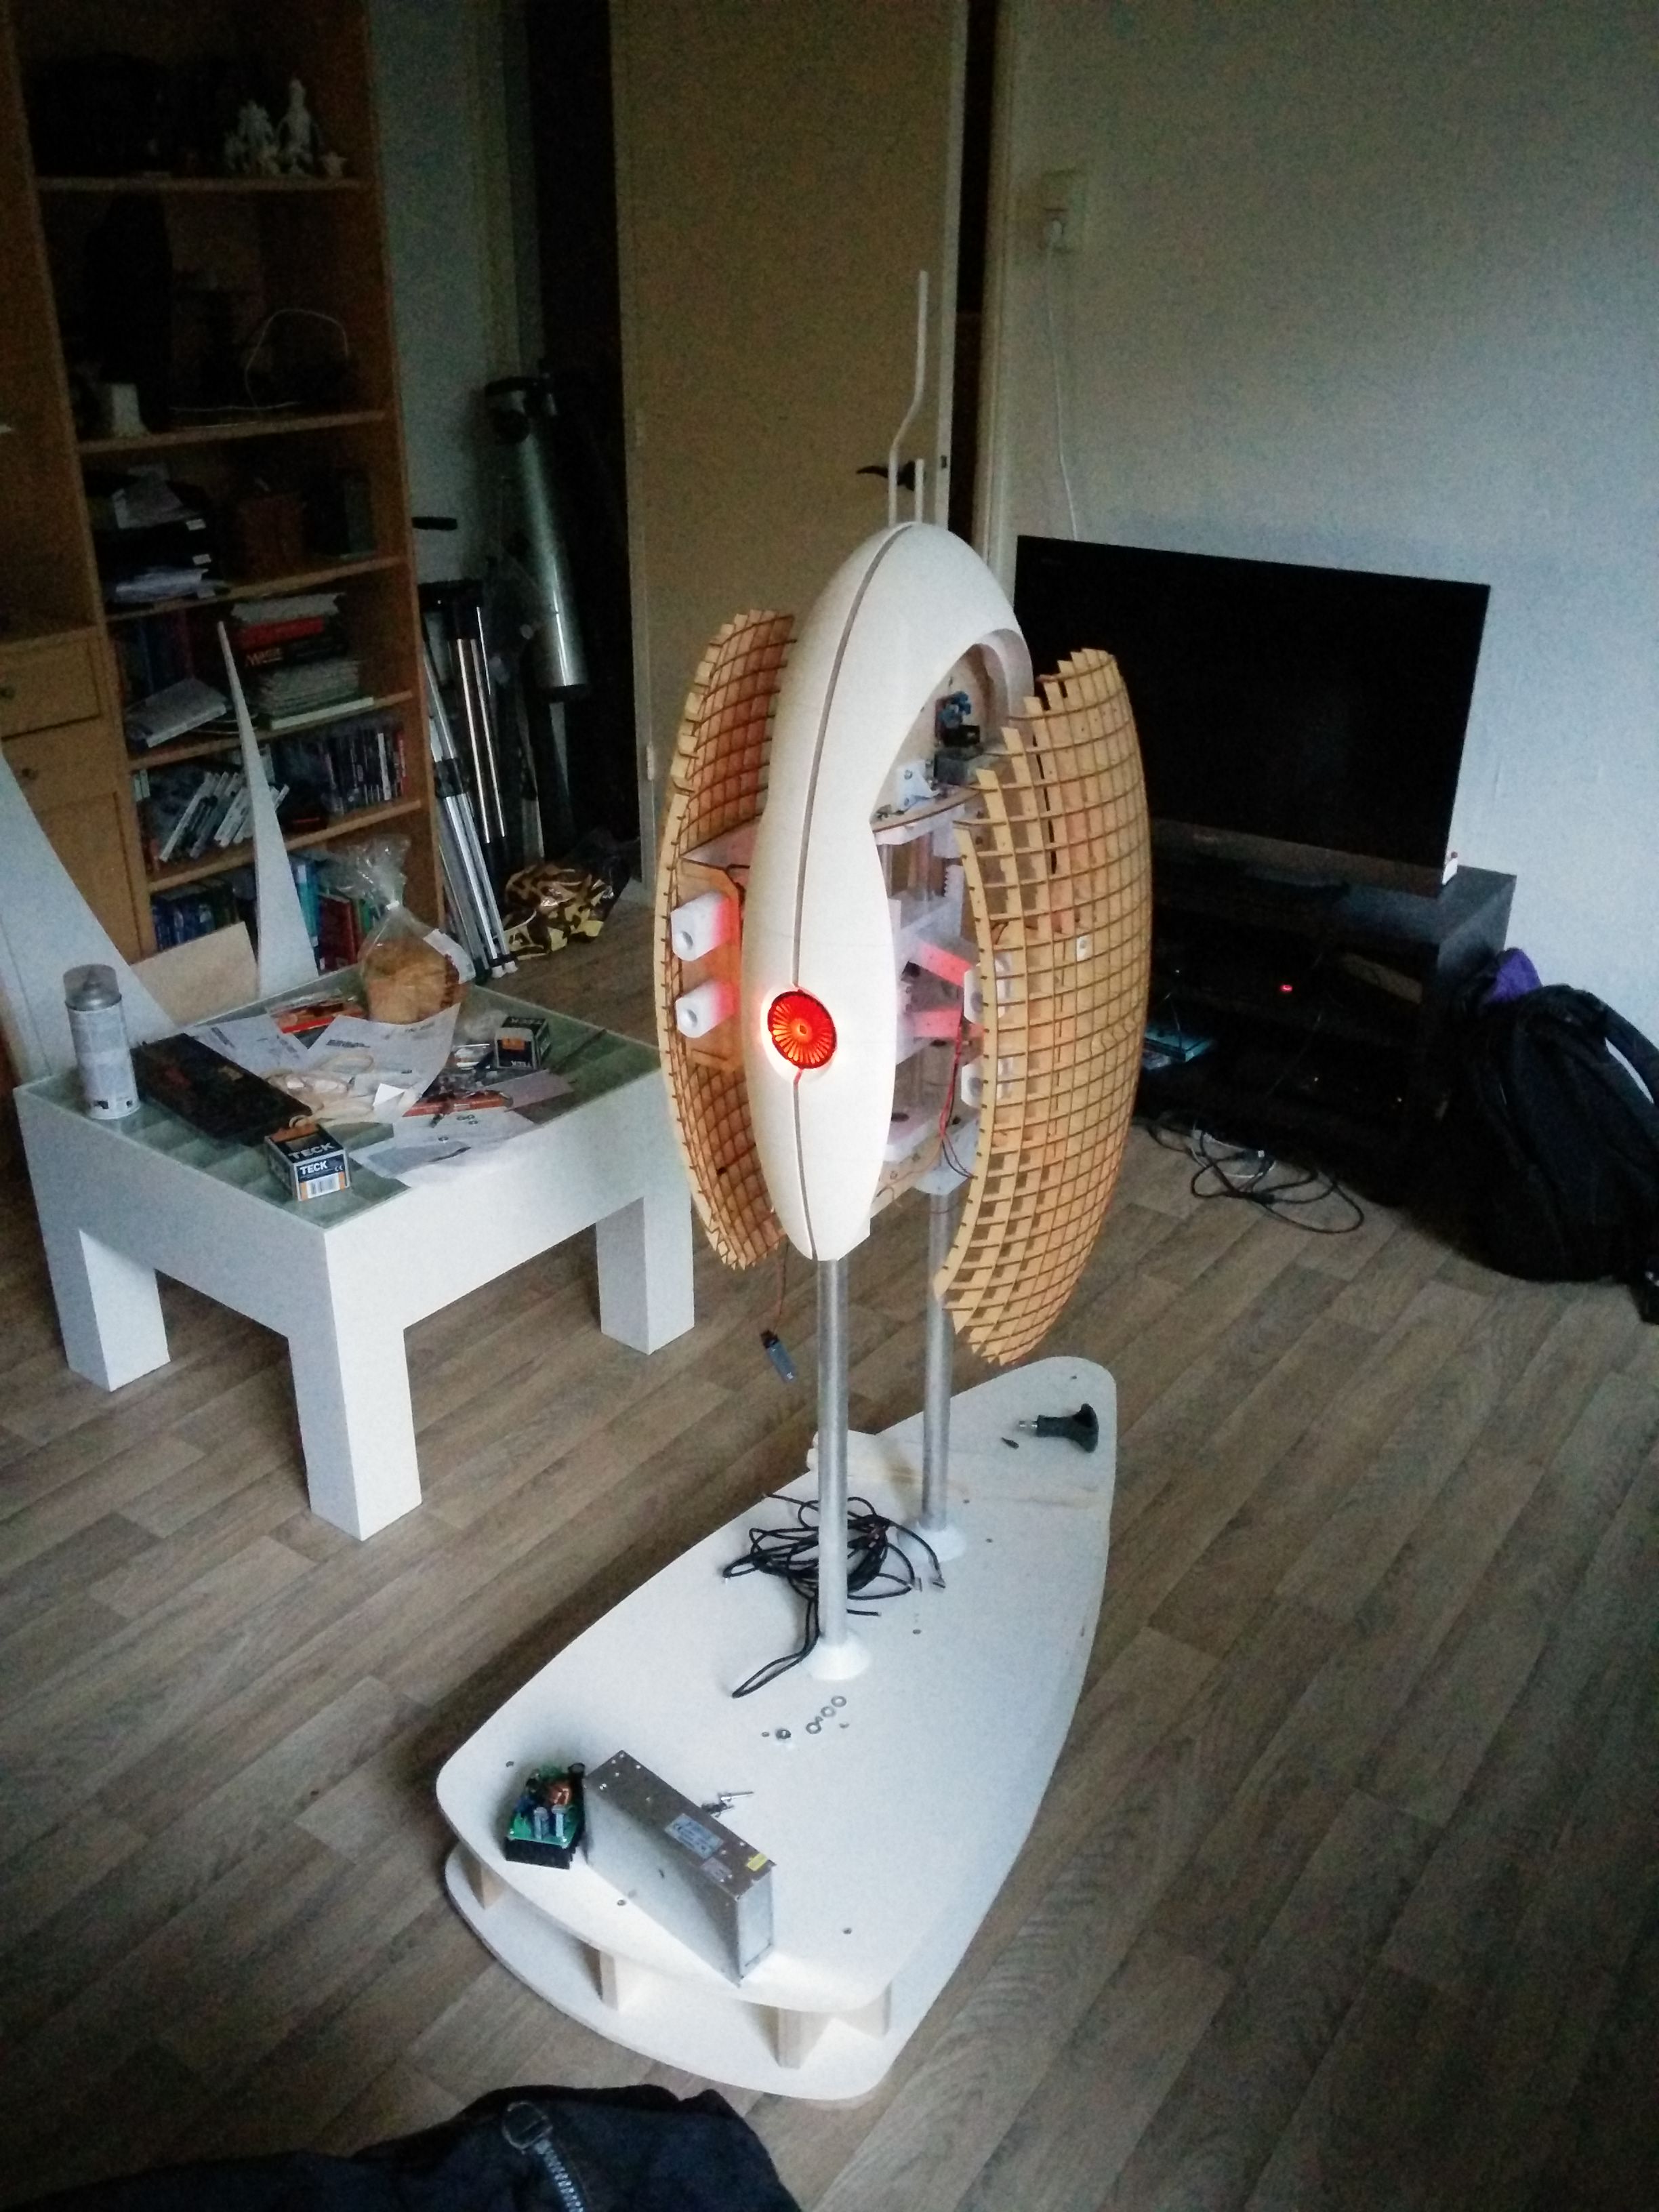
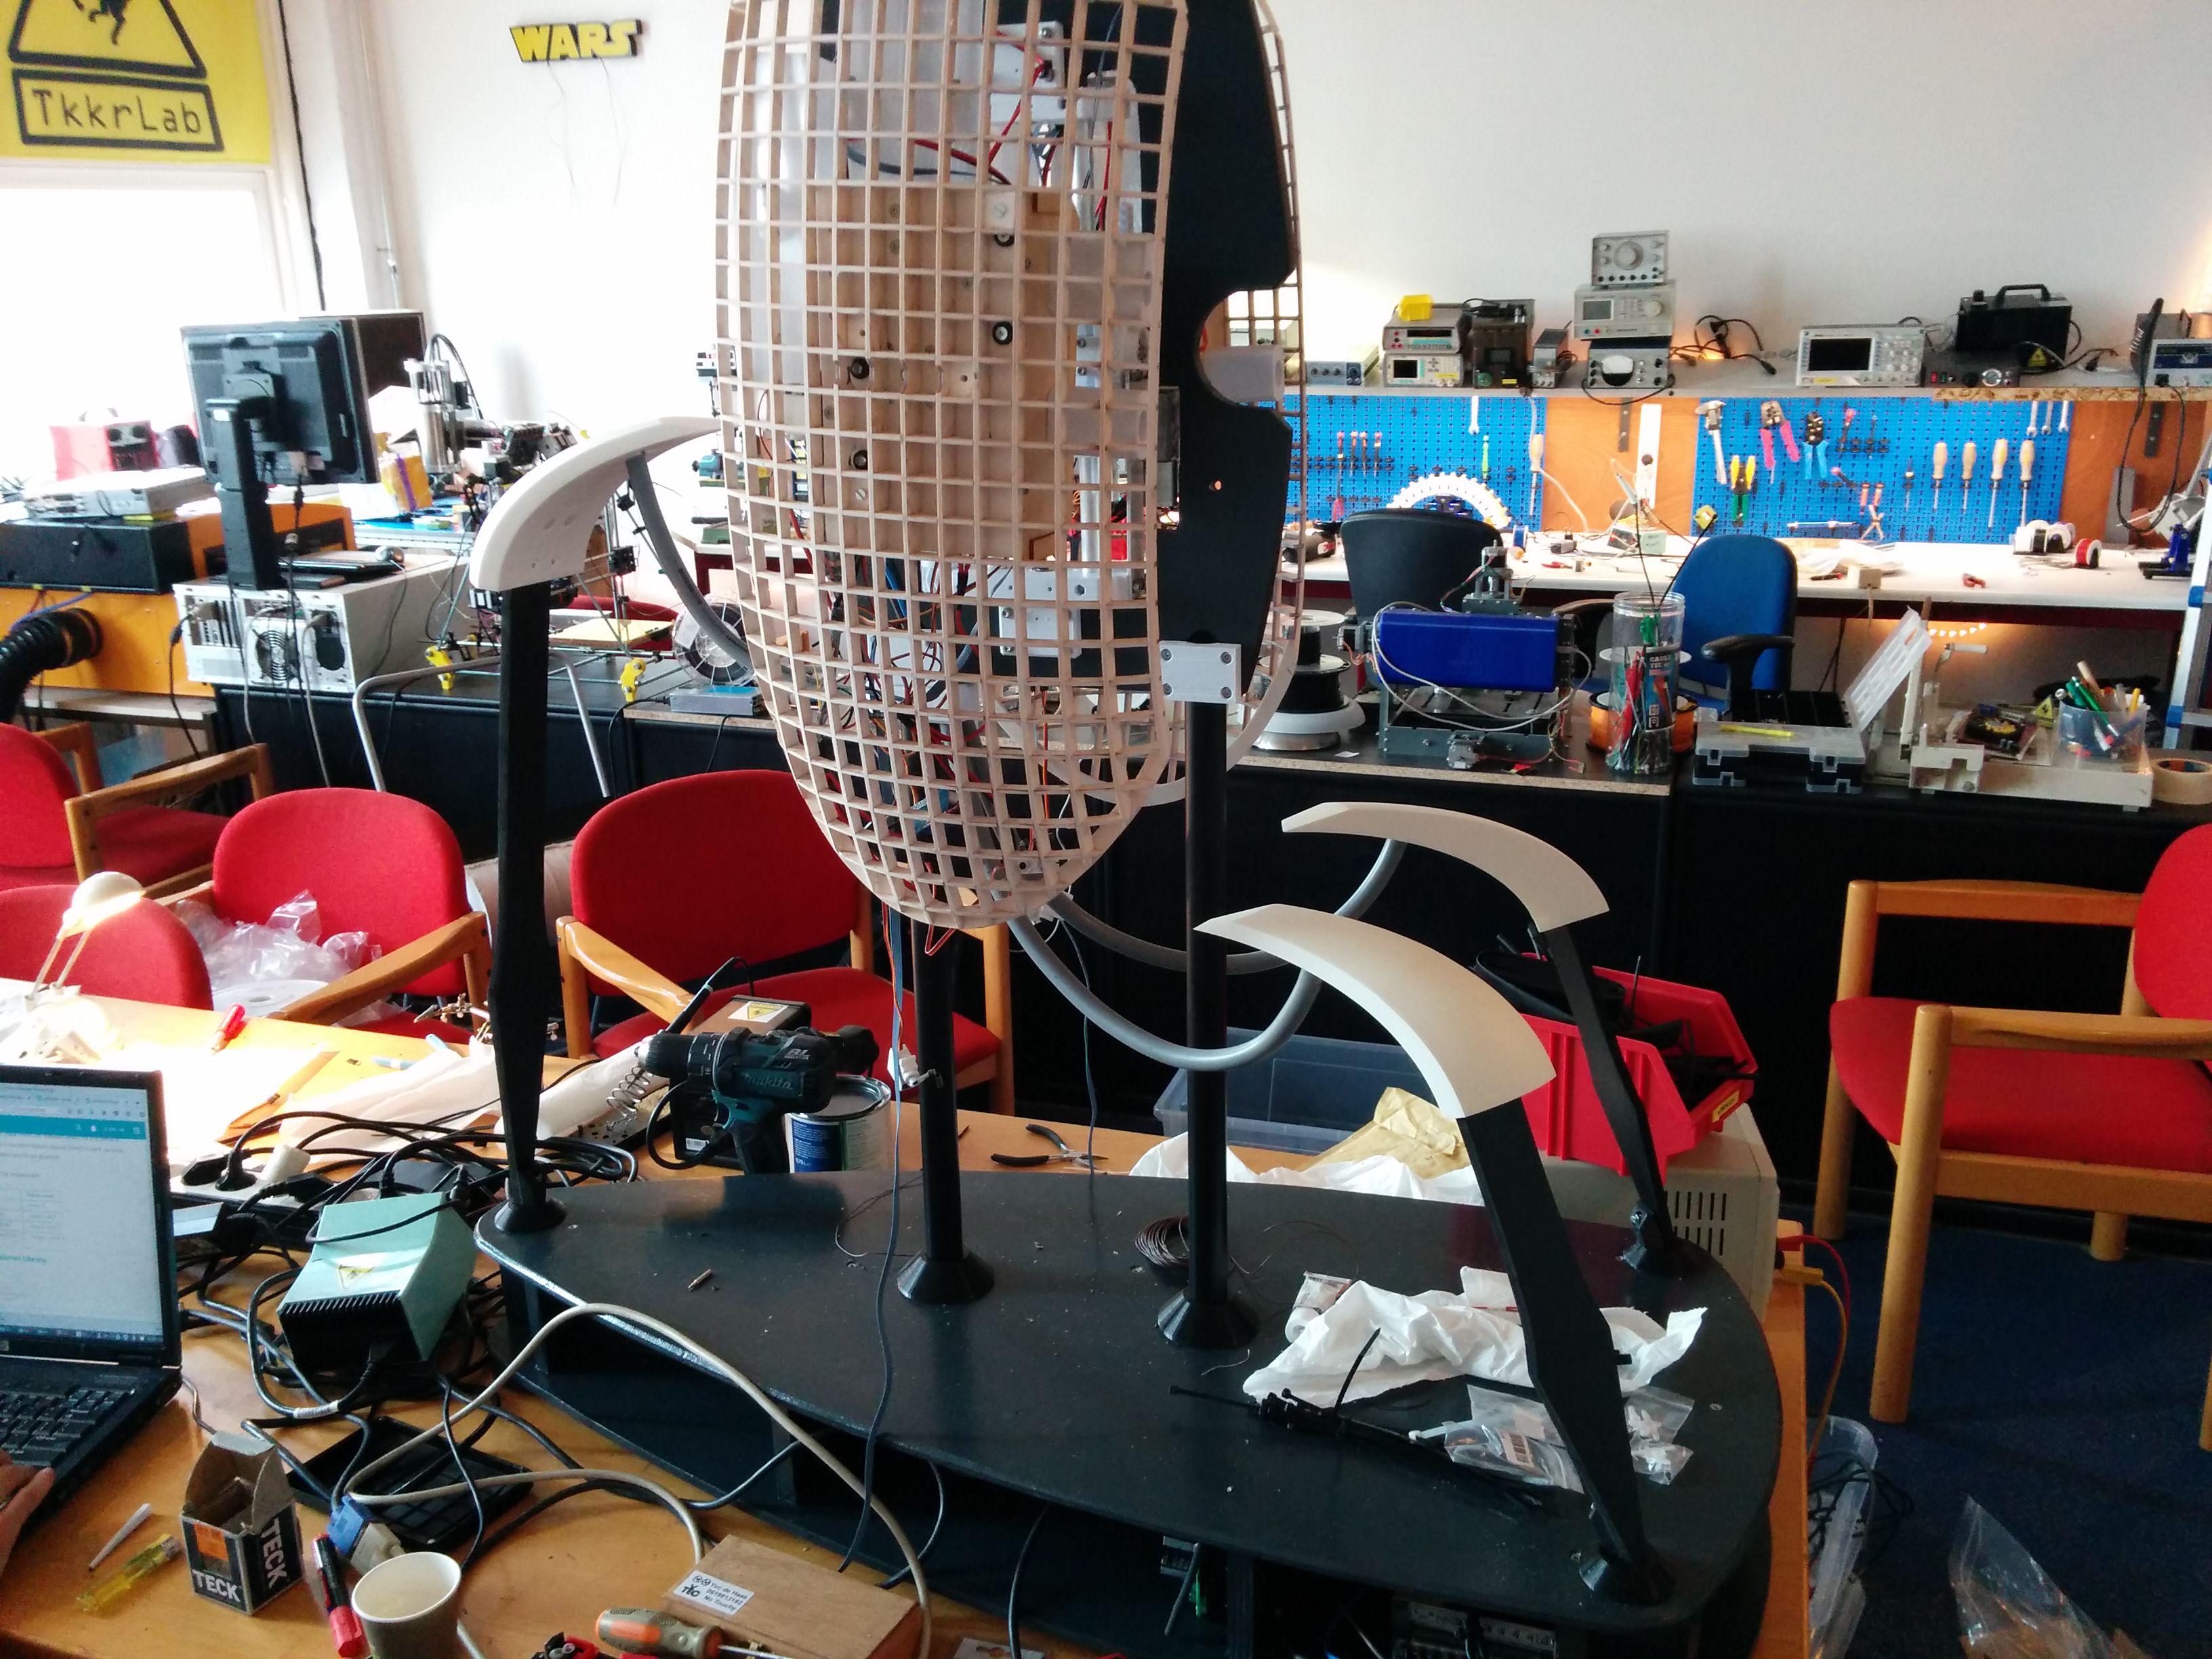
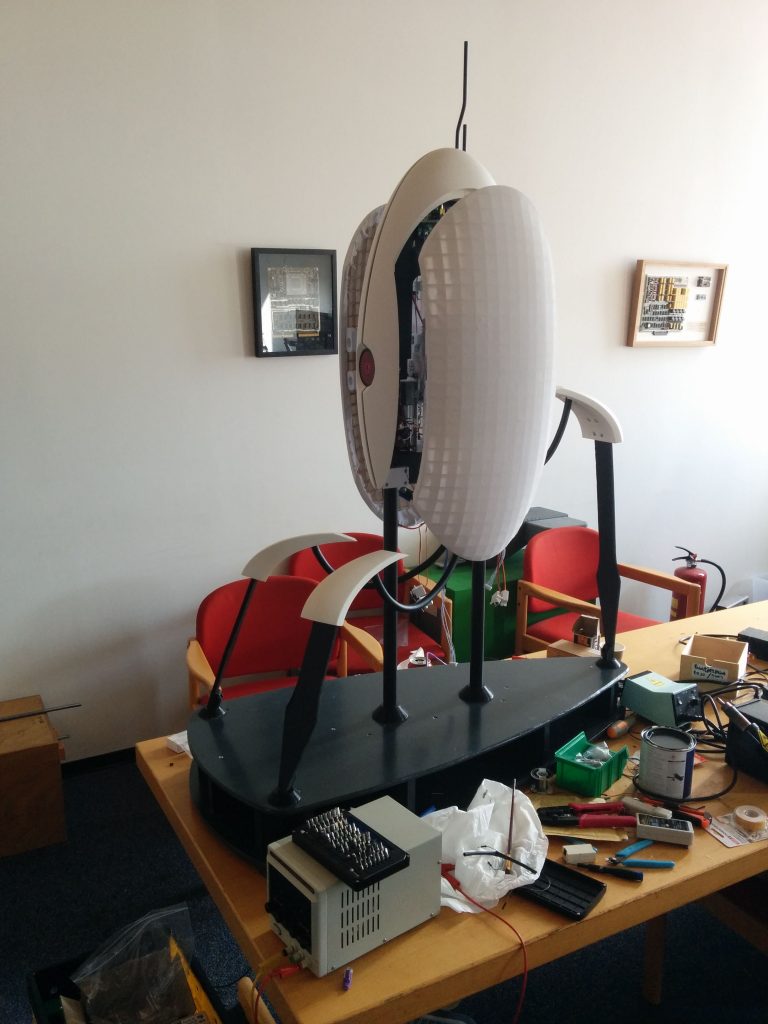
The almost working
And then SHA happened. Mechanically it was mostly done. Electronically it ‘worked’, the firmware could move the turret, and the software was non-existent.
The gravity fed nerf guns would constantly jam or fail to load a dart, the electronics had wire breaks every other day. The initial open and close mechanism was based on plain bearings and had too much resistance. This was replaced right before SHA. The camera that sits somewhere in the frame melted. As it turns out cameras need cooling, who knew.
After 7 weeks of constant work, I had a moving turret. Very impressive, and it certainly turned heads at SHA, but it was not yet done. However, after the mad dash for SHA, I was done working on turrets for a while. I would not pick up work on the turret again until part 2.
The Making Of: Full Scale Portal Turret (Part 2)
