Table of content:
- Full Scale Portal Turret
- How It Works: Full Scale Portal Turret
- The Making Of: Full Scale Portal Turret (Part 1)
- The Making Of: Full Scale Portal Turret (Part 2)
After the year and a halve break
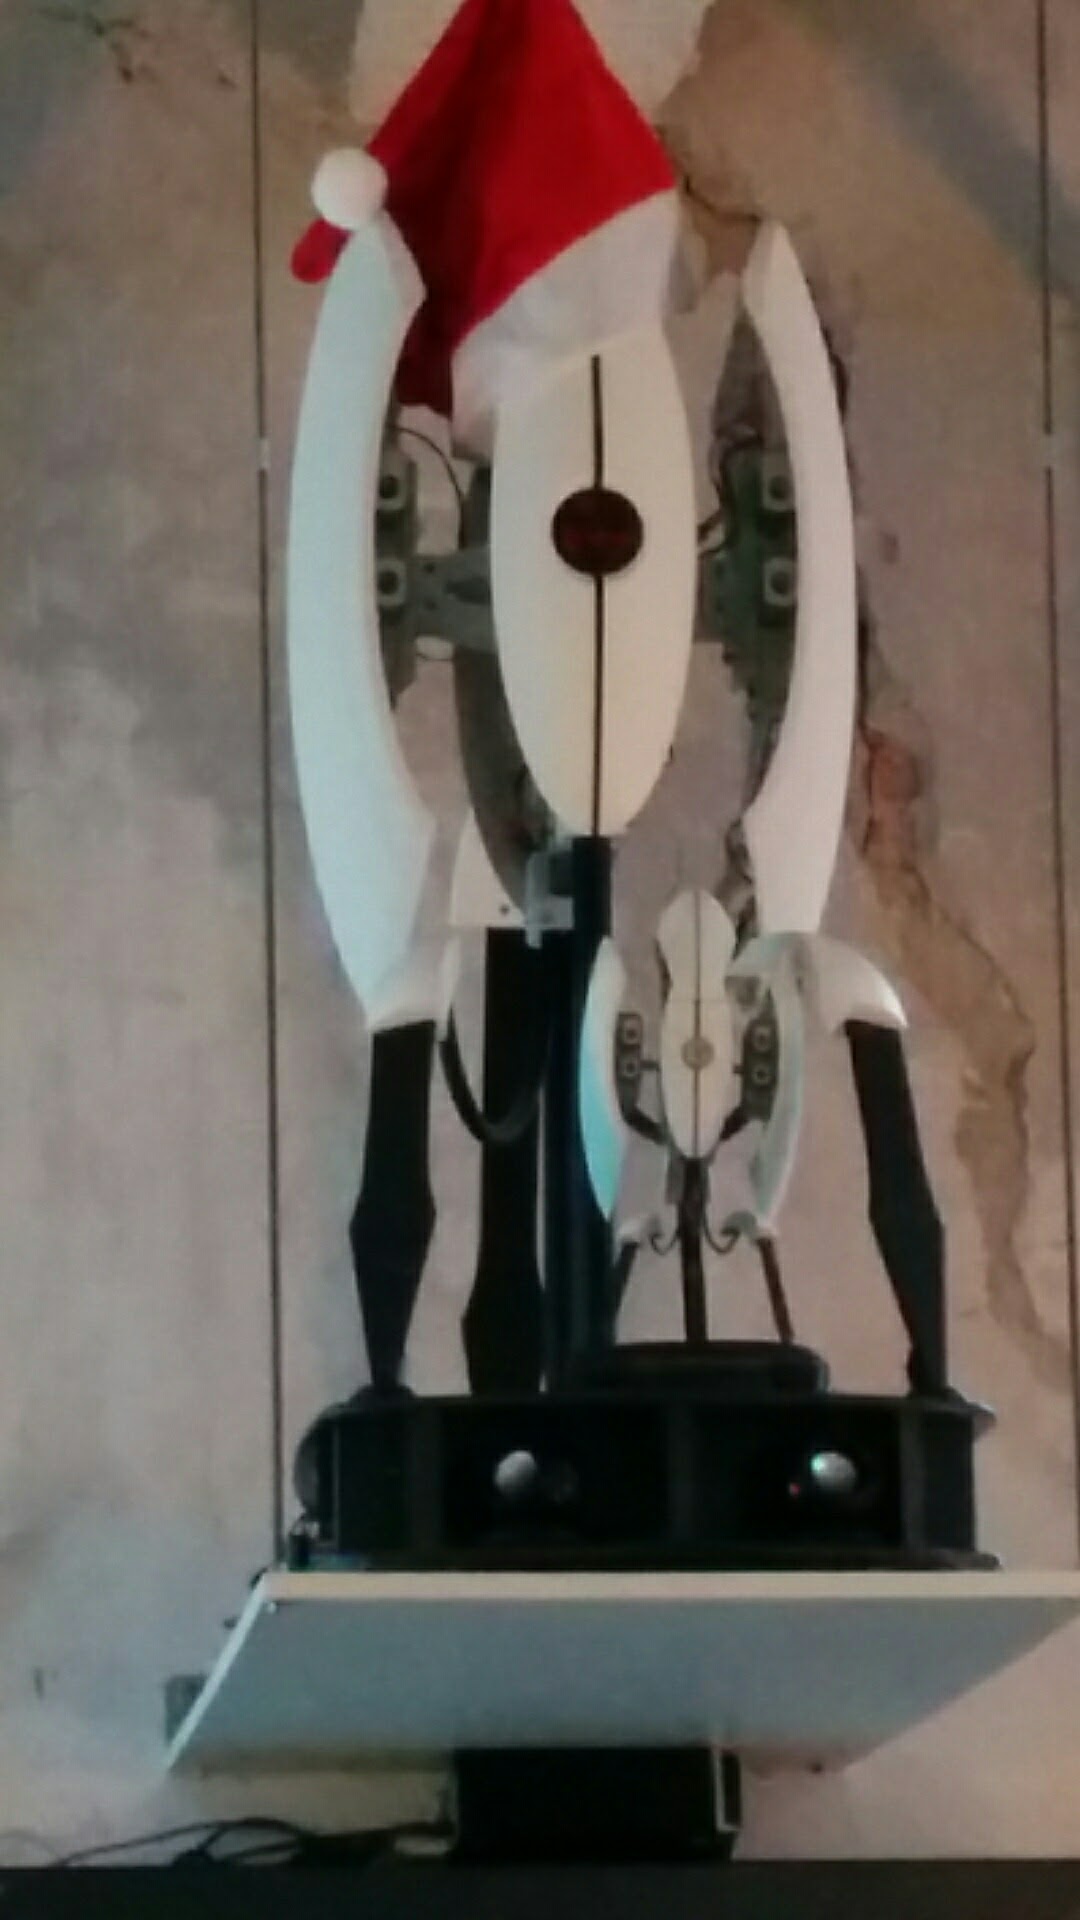
A year and a half has passed at this point. Plenty has happened in the meantime, but none of it is turret related. The Turret has been standing at my local hackerspace on a pedestal for the past year. It had been long enough, I needed to finish the turret.
The big benefit. I have more time than I had last time. The biggest problem. I want it done properly. A short list of things that need to be done.
- Repairs need to be made to the core. Nothing major, but small nicks and problems from the past year and a half;
- The shells from the guns need to be replaced with 3D printed ones;
- The guns need to be redesigned and reprinted so they work;
- Miscellaneous covers need to be 3D printed, mainly the big green ones at the top;
- Complete rewiring with built in safety systems. I need this to be able to run standalone without breaking itself;
- Add speakers so it can talk;
- Rewrite of the firmware so it has these safeties;
- Writing of the software so it can track people;
Redesign the shells
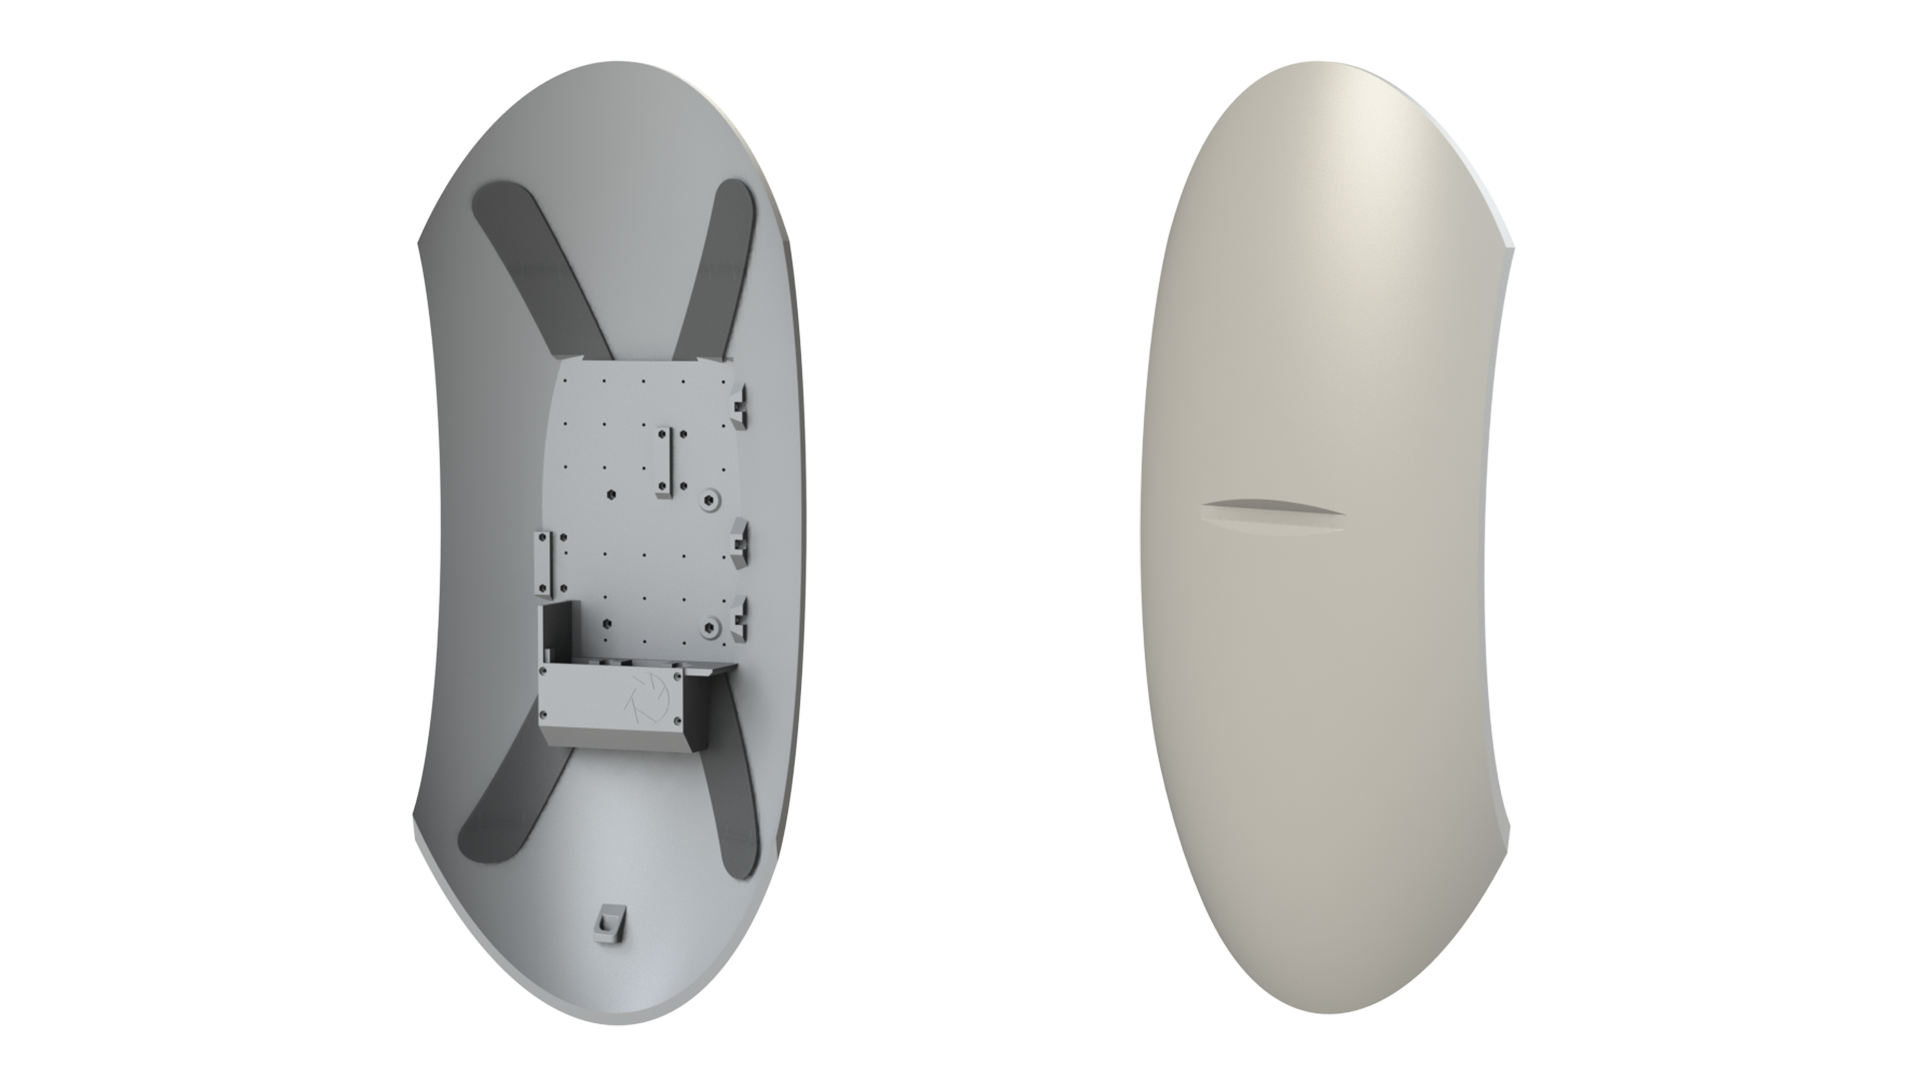
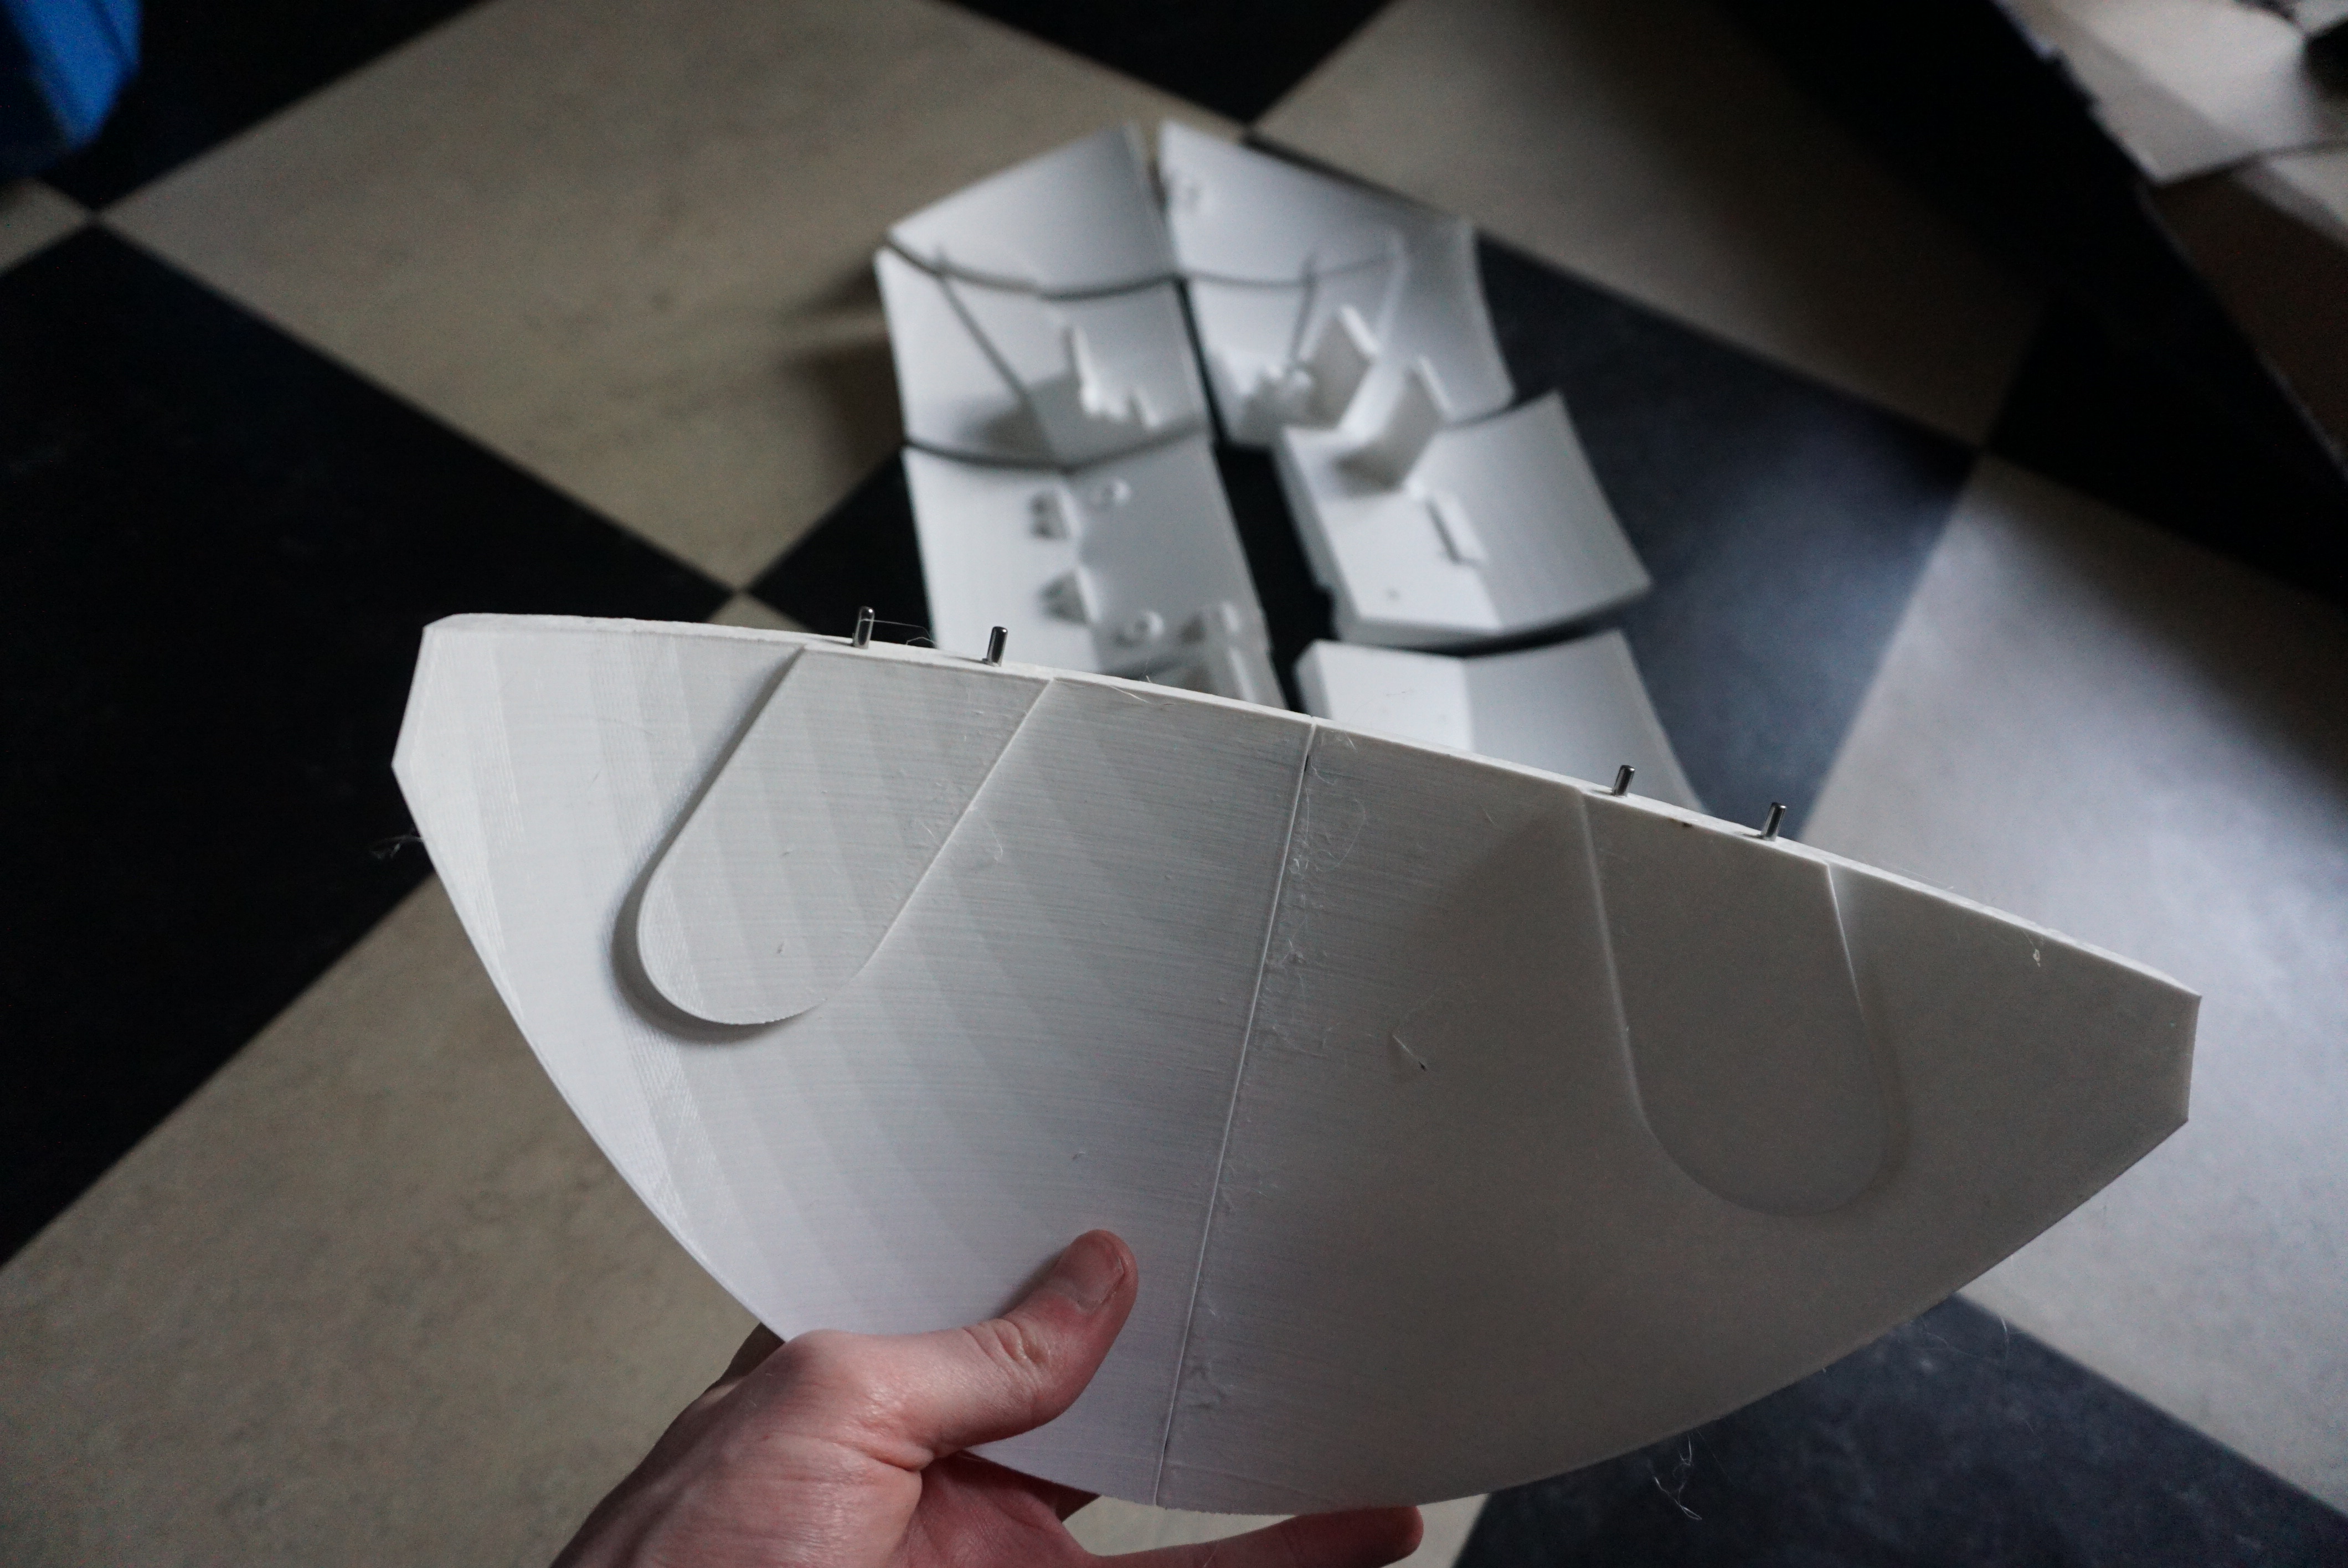
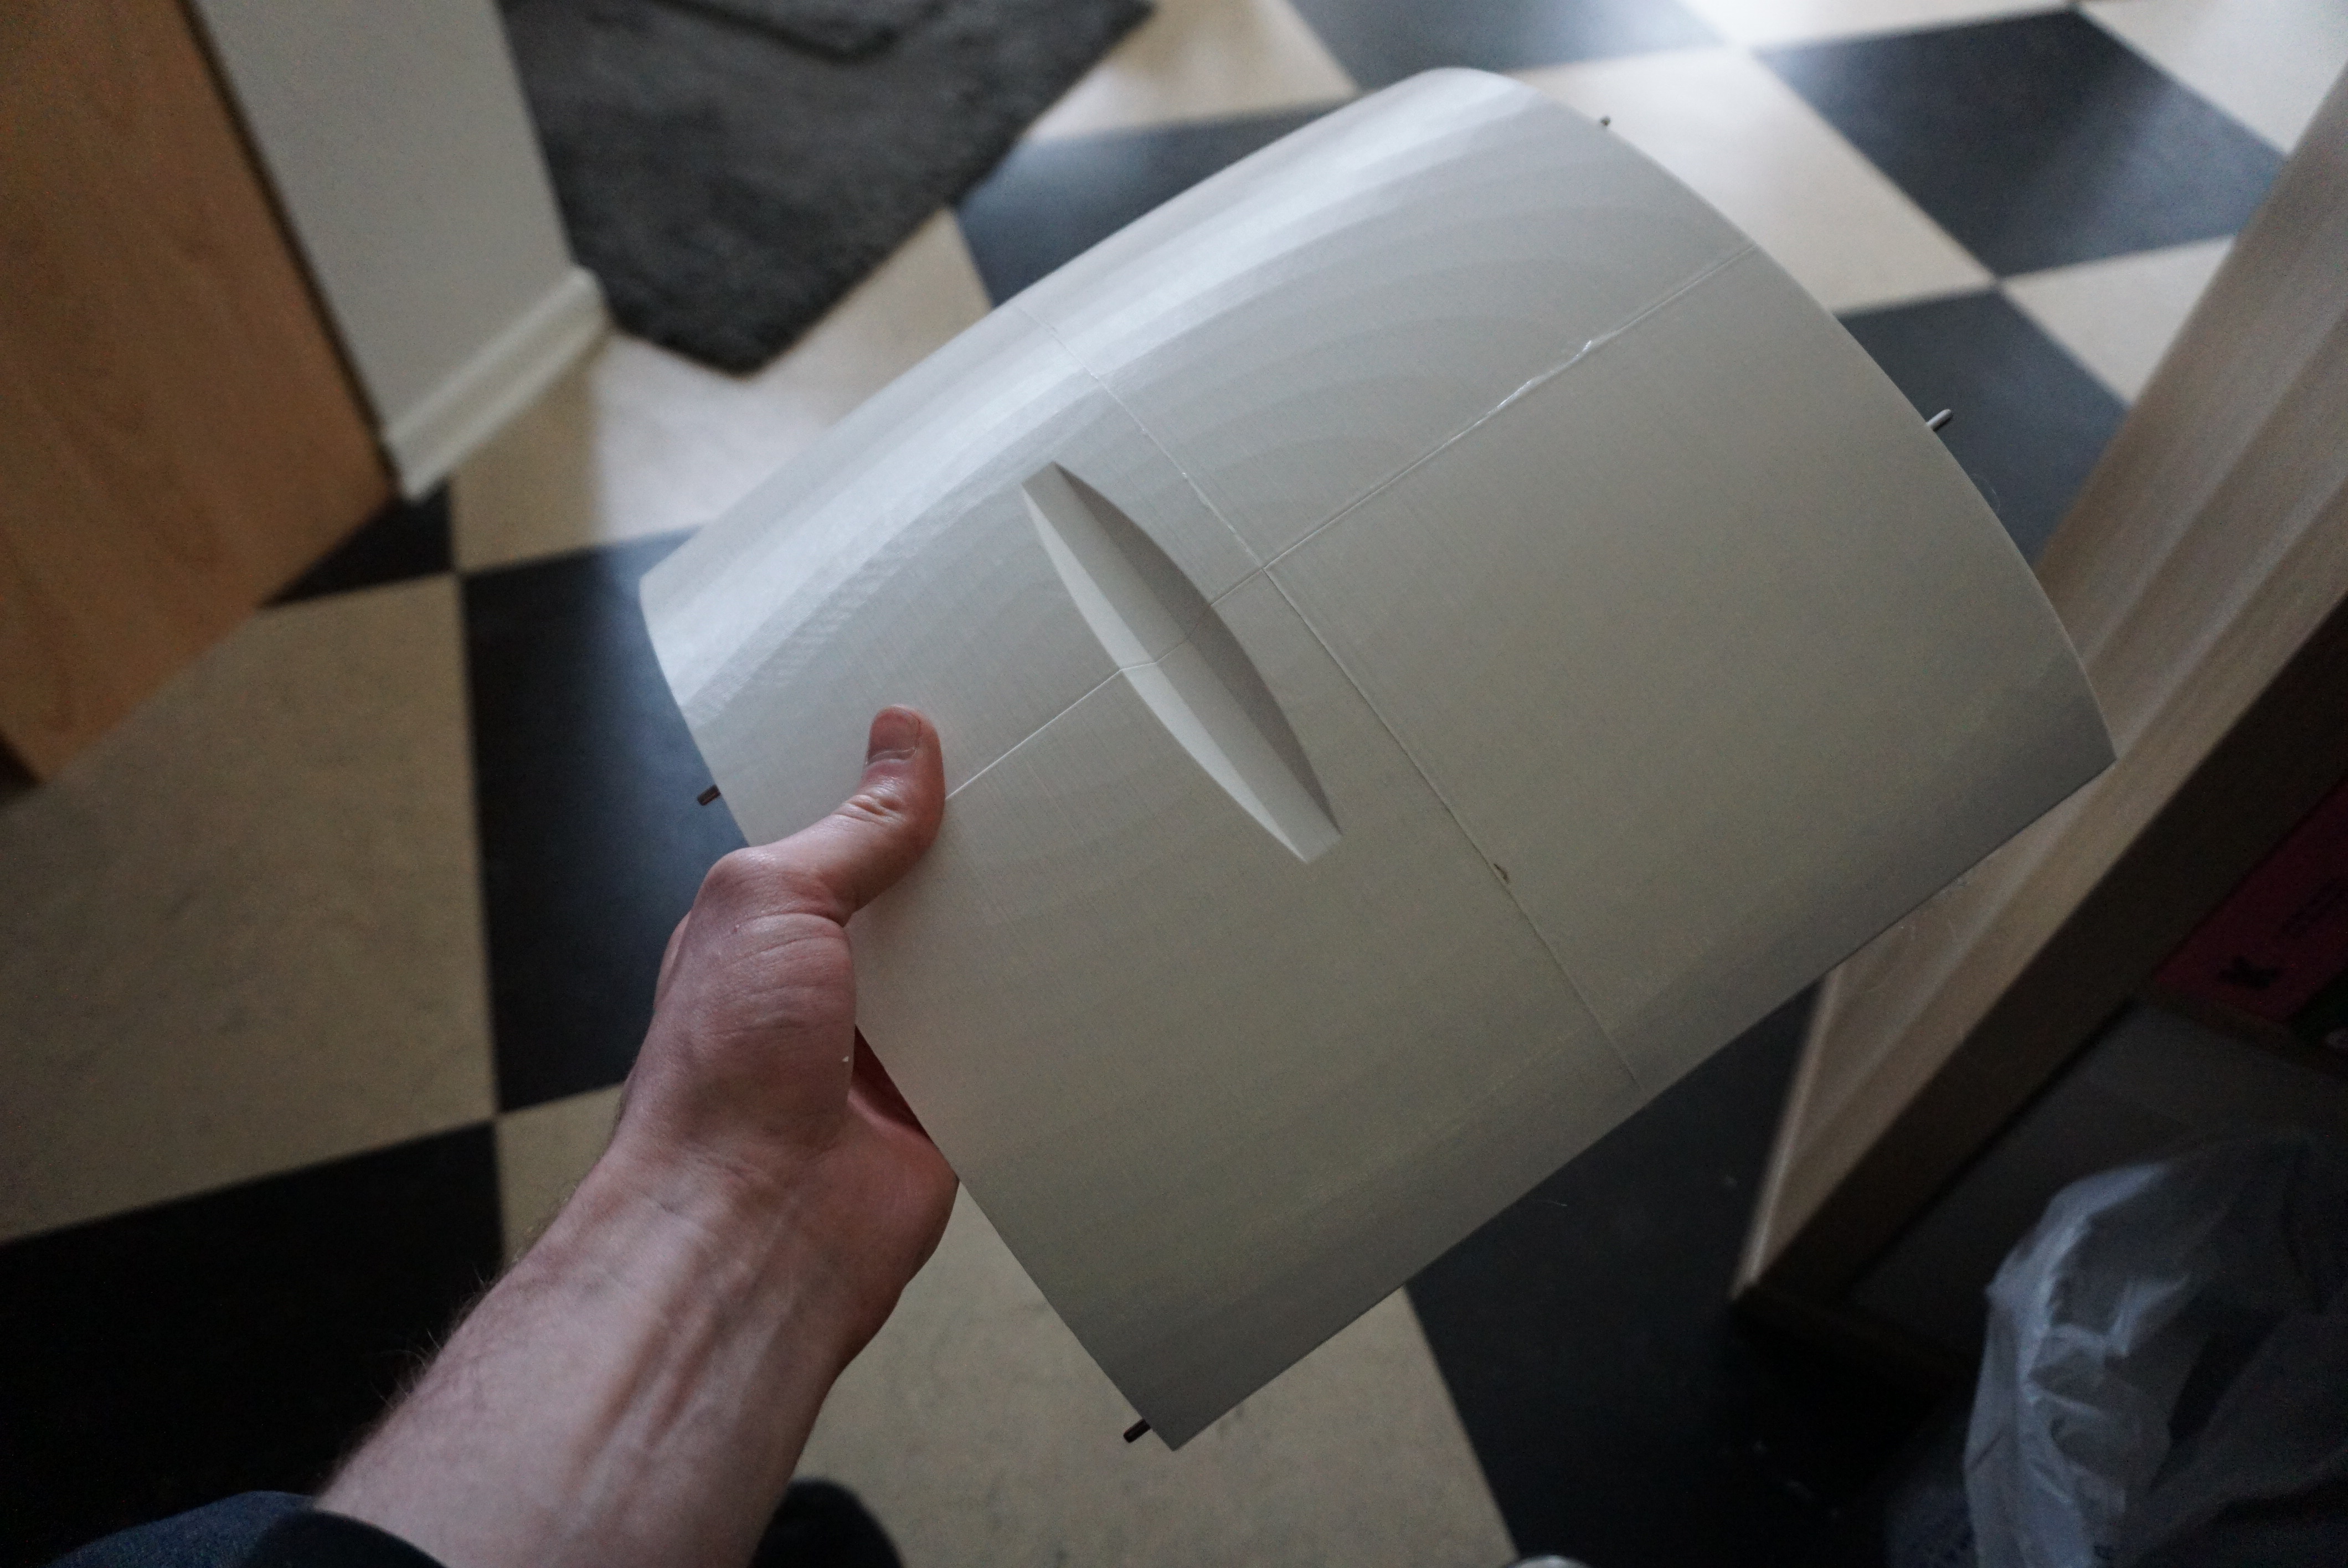
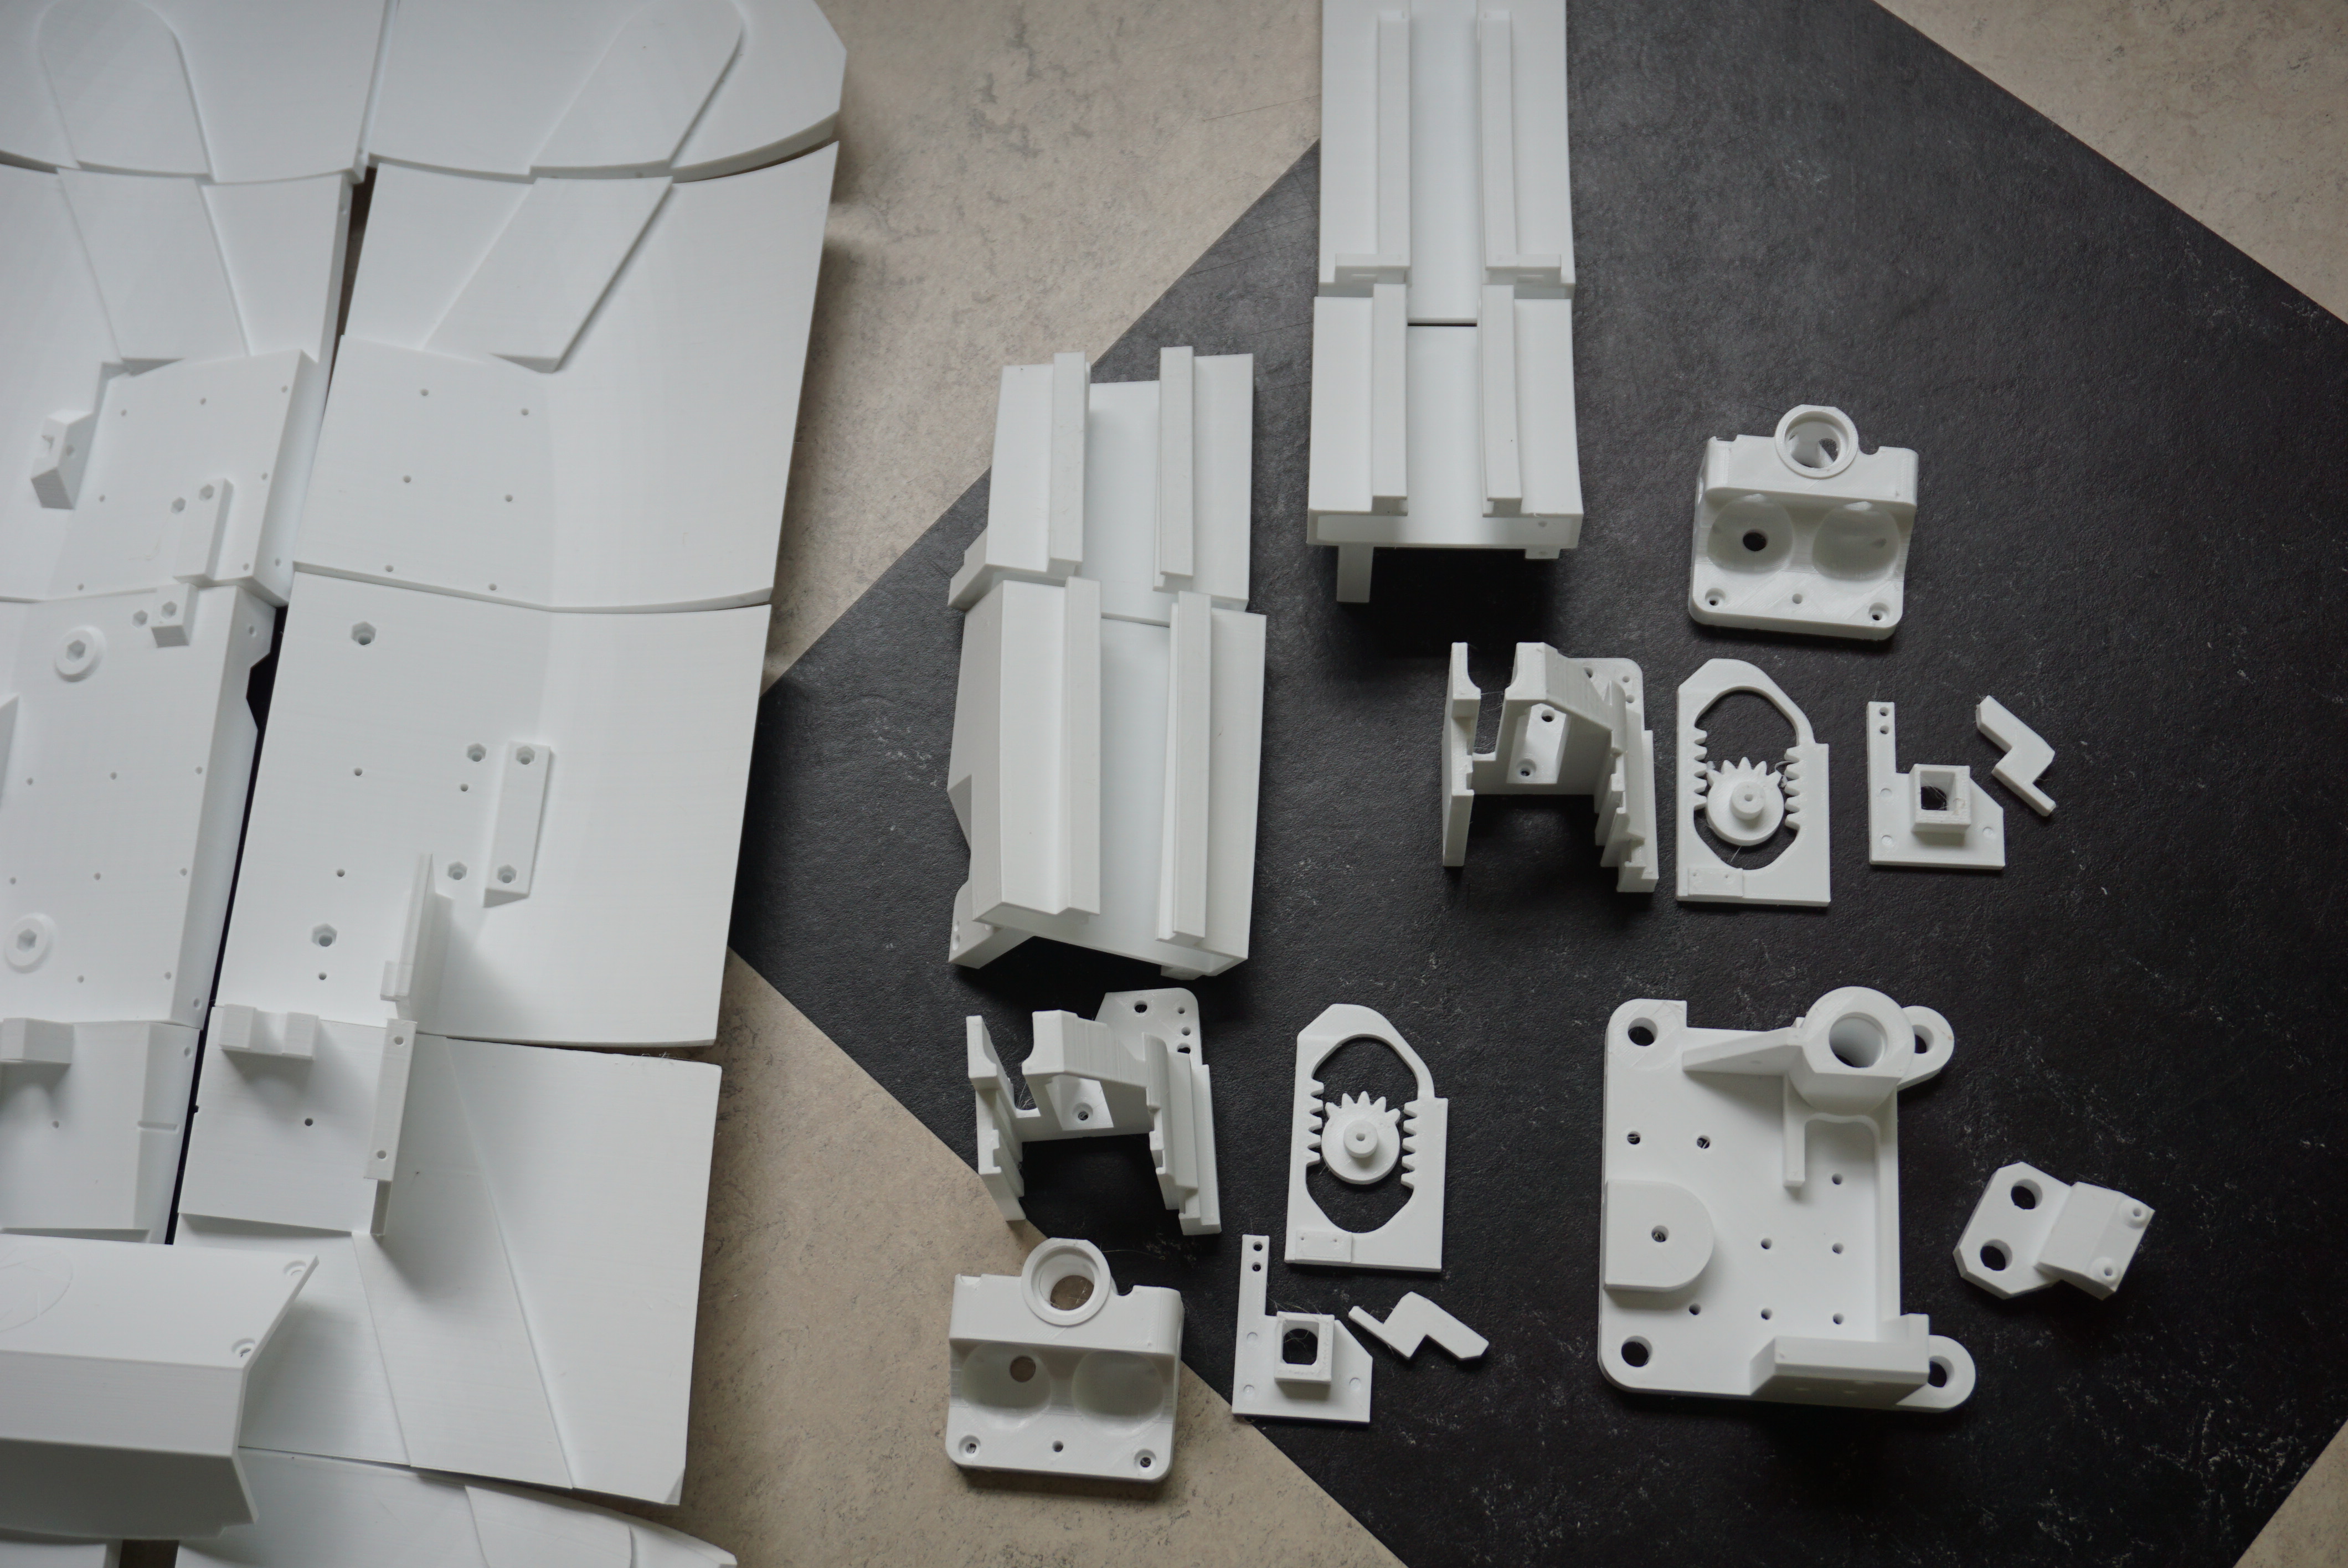
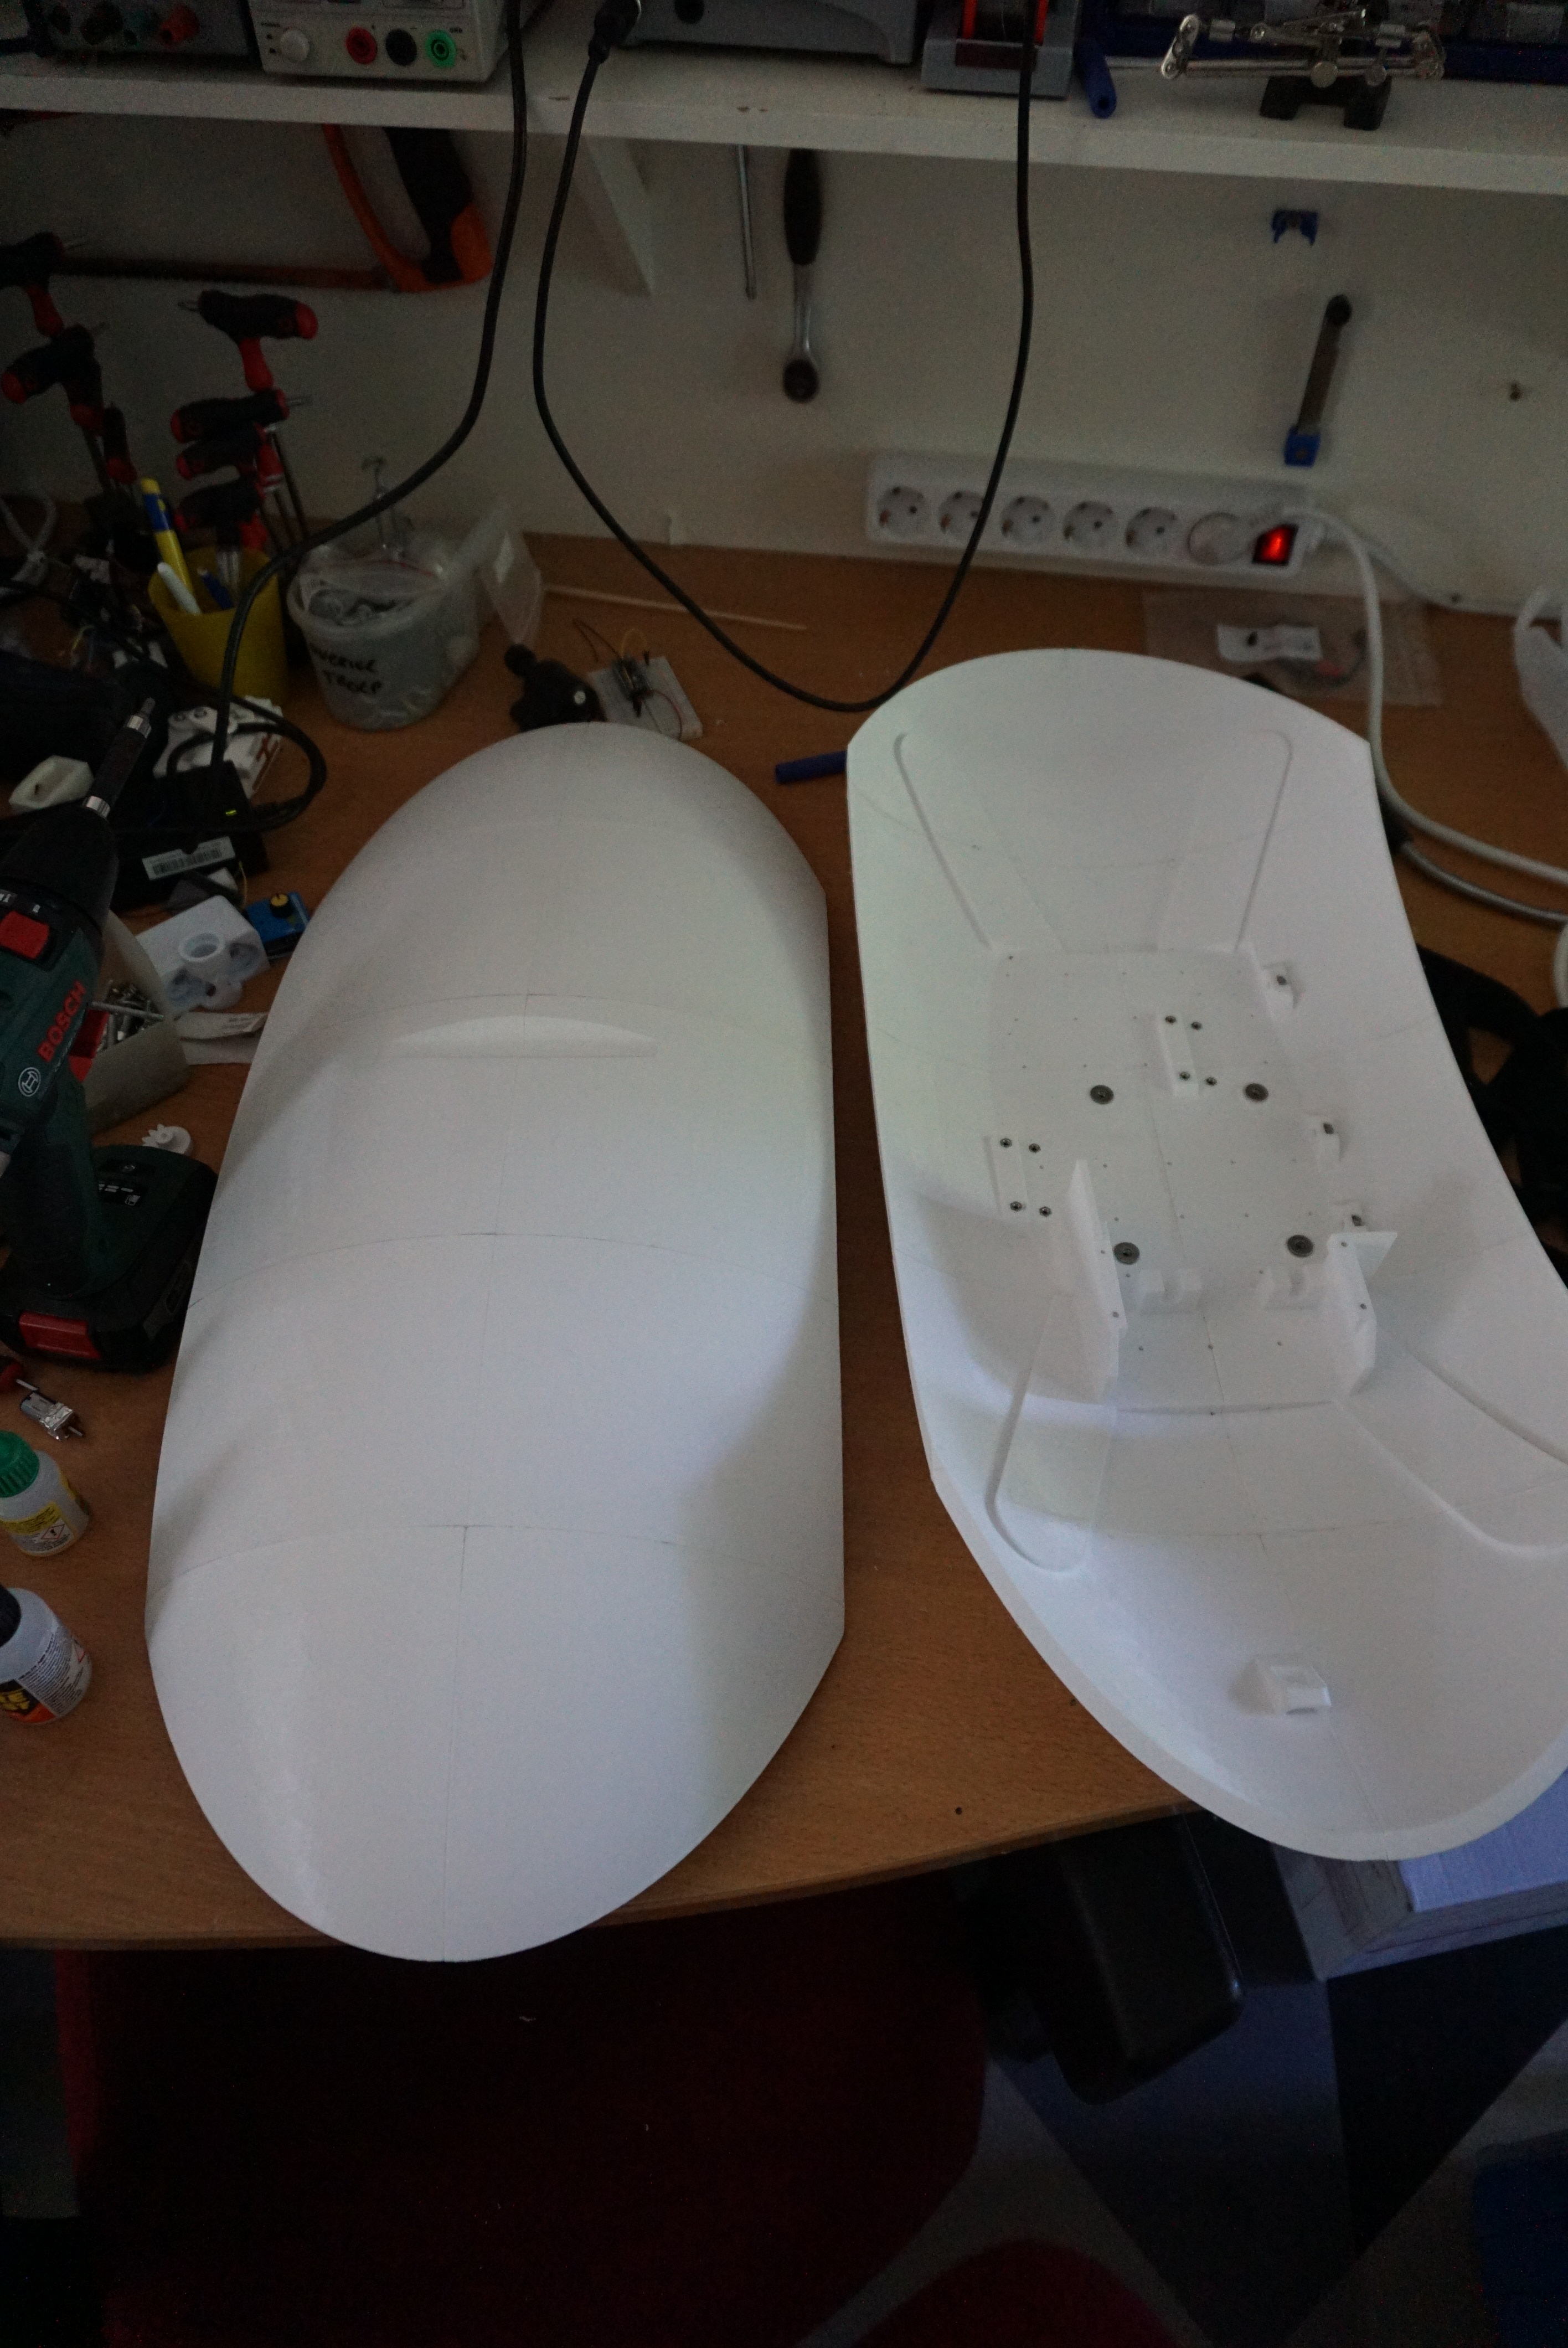
The biggest parts that needs to be redone are the shells. Now that I have the time to do it right, I want to do it right. The shells were to be completely 3D printed, just like the core. I added adjustments in the shell so that the shells can be made to match the core.
A shell consists of 11 pieces printed (10 shown) that are aligned with dowel pins and glued together. Printing these took over 60 hour each, for the shells alone. On the inside there are mounting holes and hexagonal holes to mount nuts. I can now manage around 80 hours a week, but it is still a beefy print.


New gun mechanism
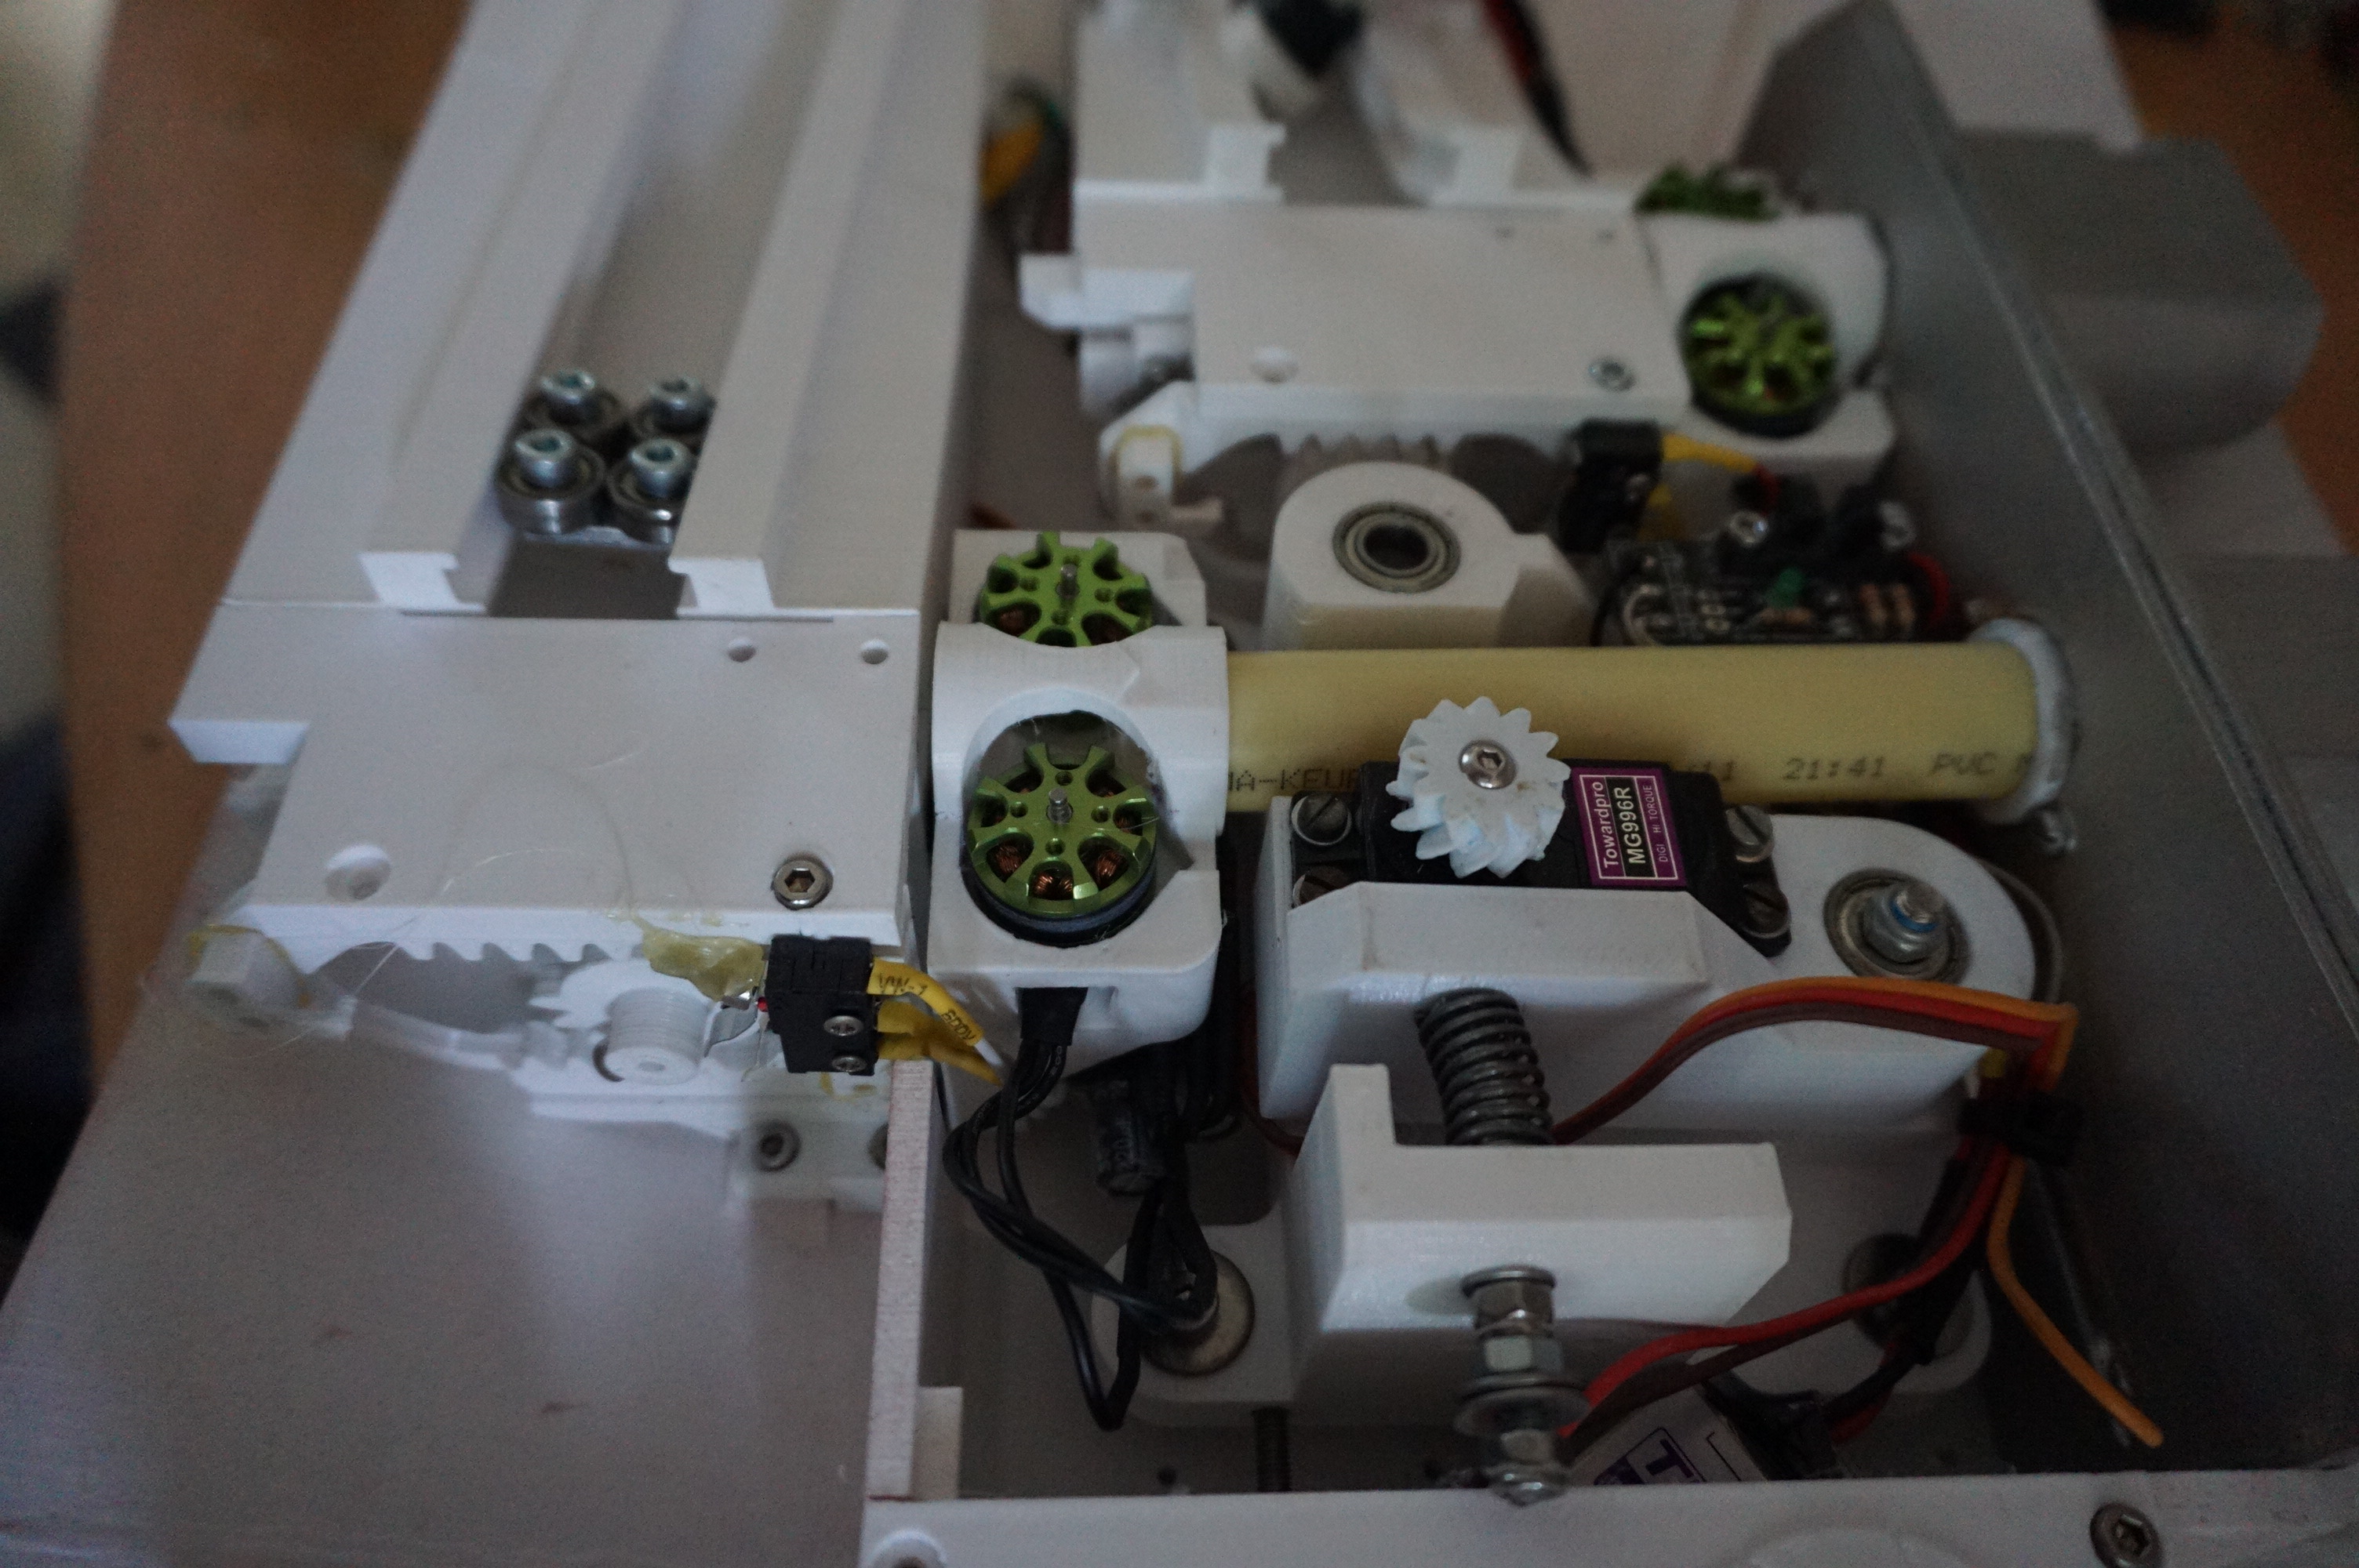
With new shells being made, I had to make a decision. Modify the old guns that to fit the new shells, or print new guns. While the flywheel mechanism on the old guns worked fine, the feeding mechanism was a disaster. The hobby servo’s would fail to load a dart, or jam and burn the motors out. It also required a lot of active management. I decided that I was going to print new flywheels and feeders with the new shells.
The basic design consists of a DC gear motor and a switch to stop it. When it receives a signal, it starts to feed darts, and when the signal stops, the feeder moves to a home position. Think of it like a windscreen wiper.
The way the DC motor feeds the darts needed to be tested. I made several designs and eventually settled on a rack and pinion system where the pinion is the moving part. Below some videos of some feeder tests.
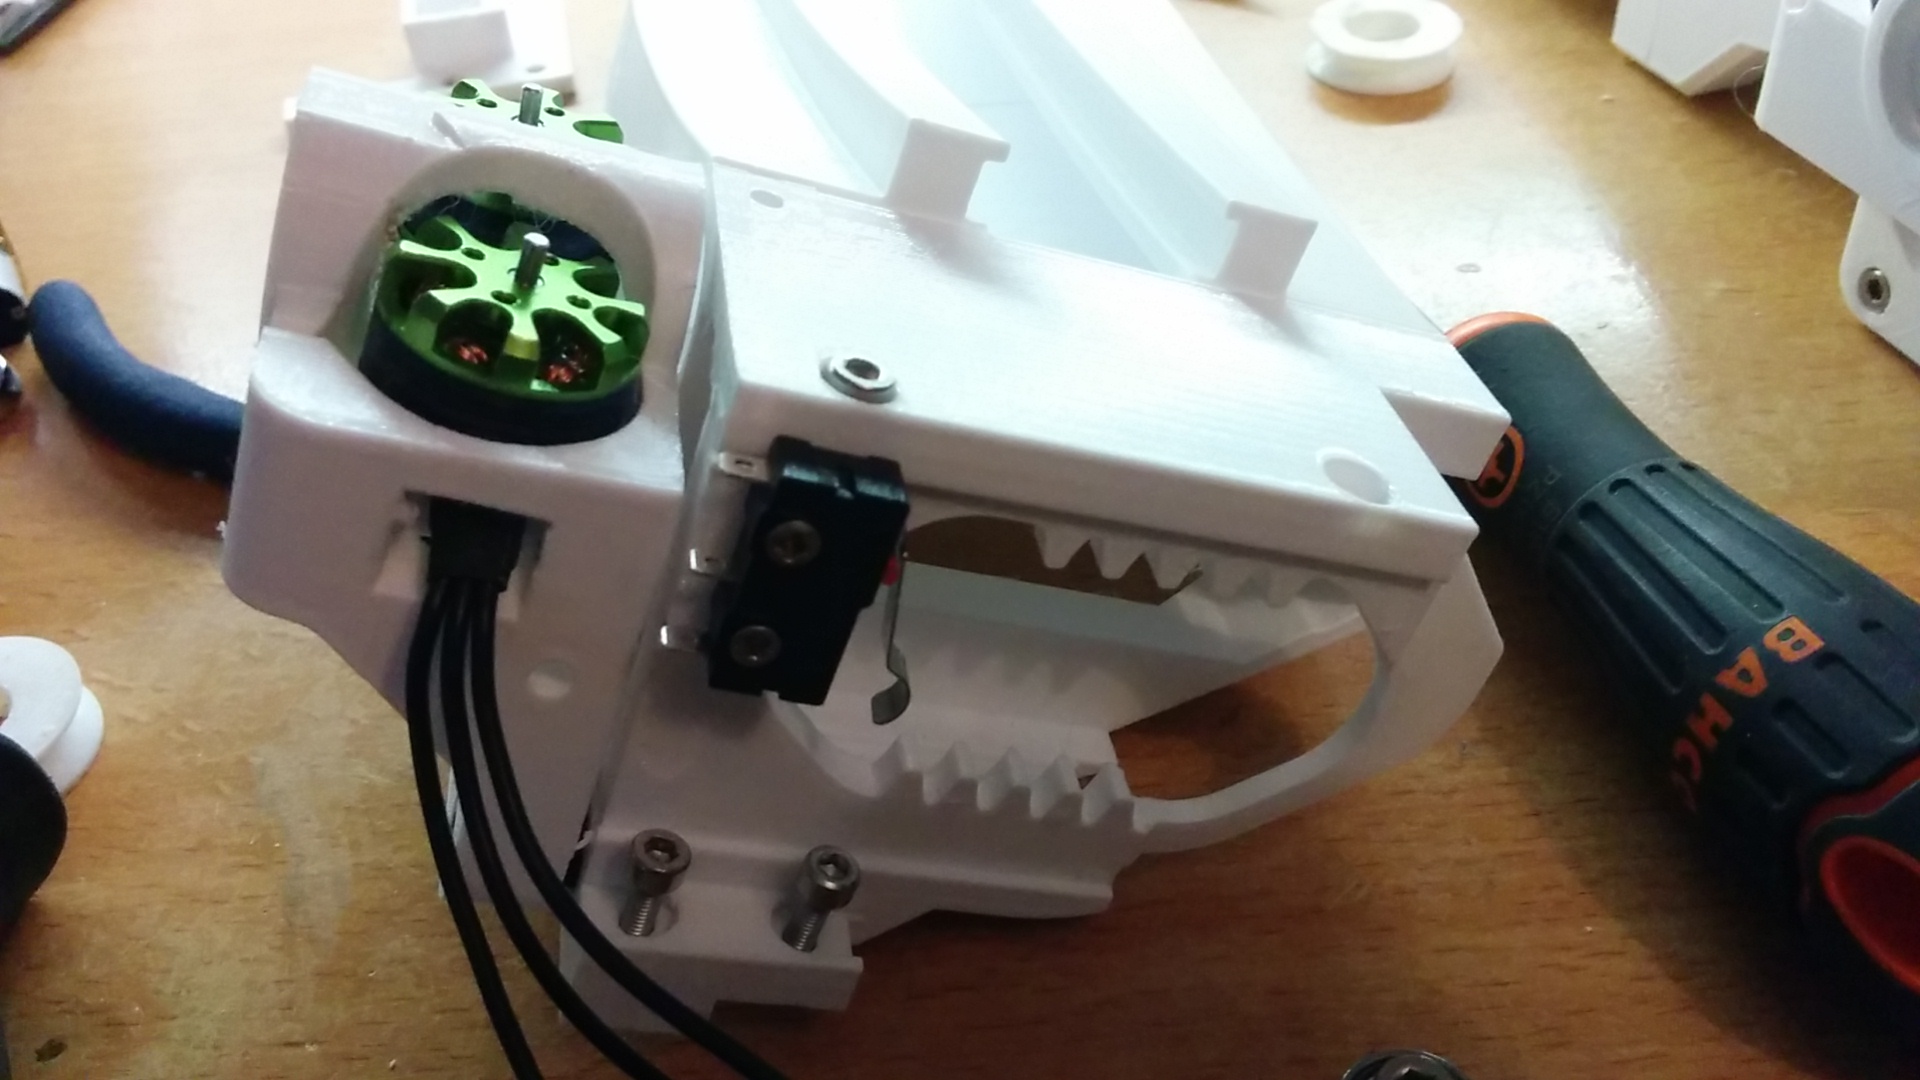
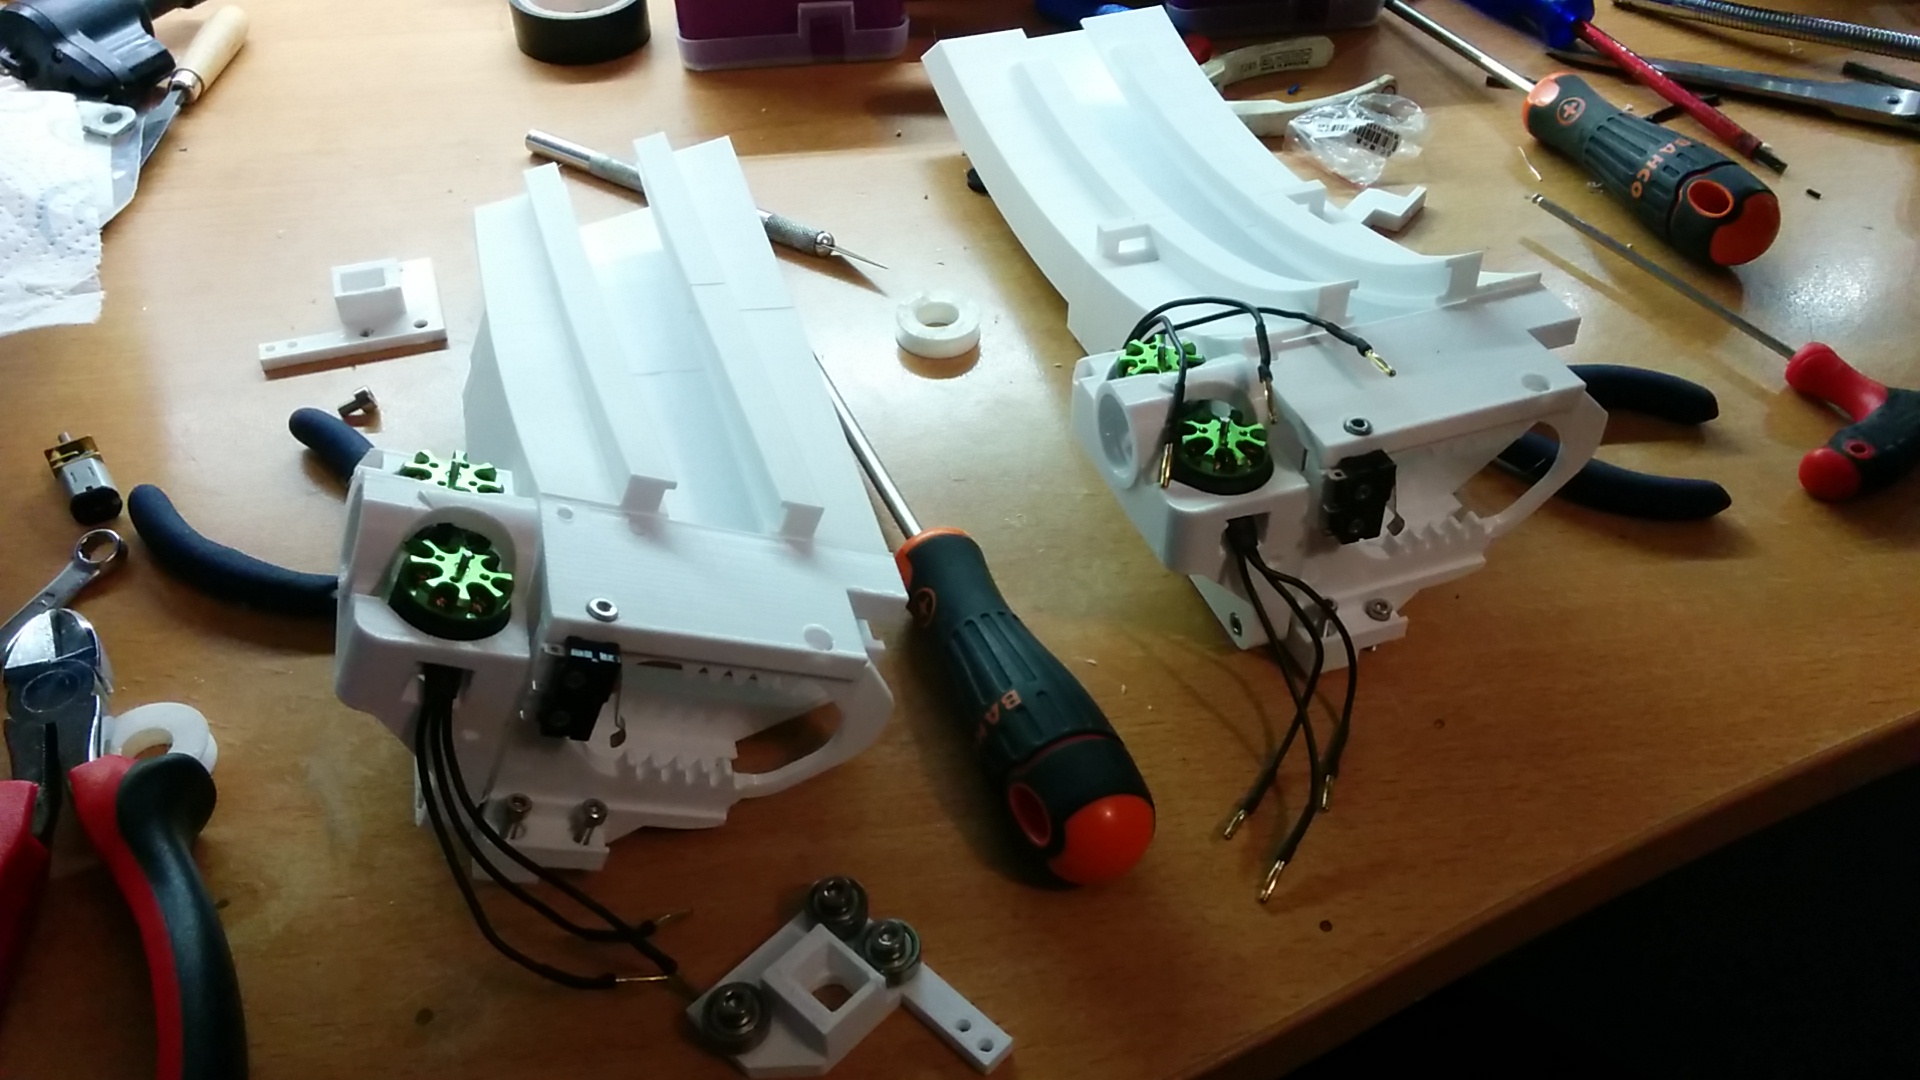
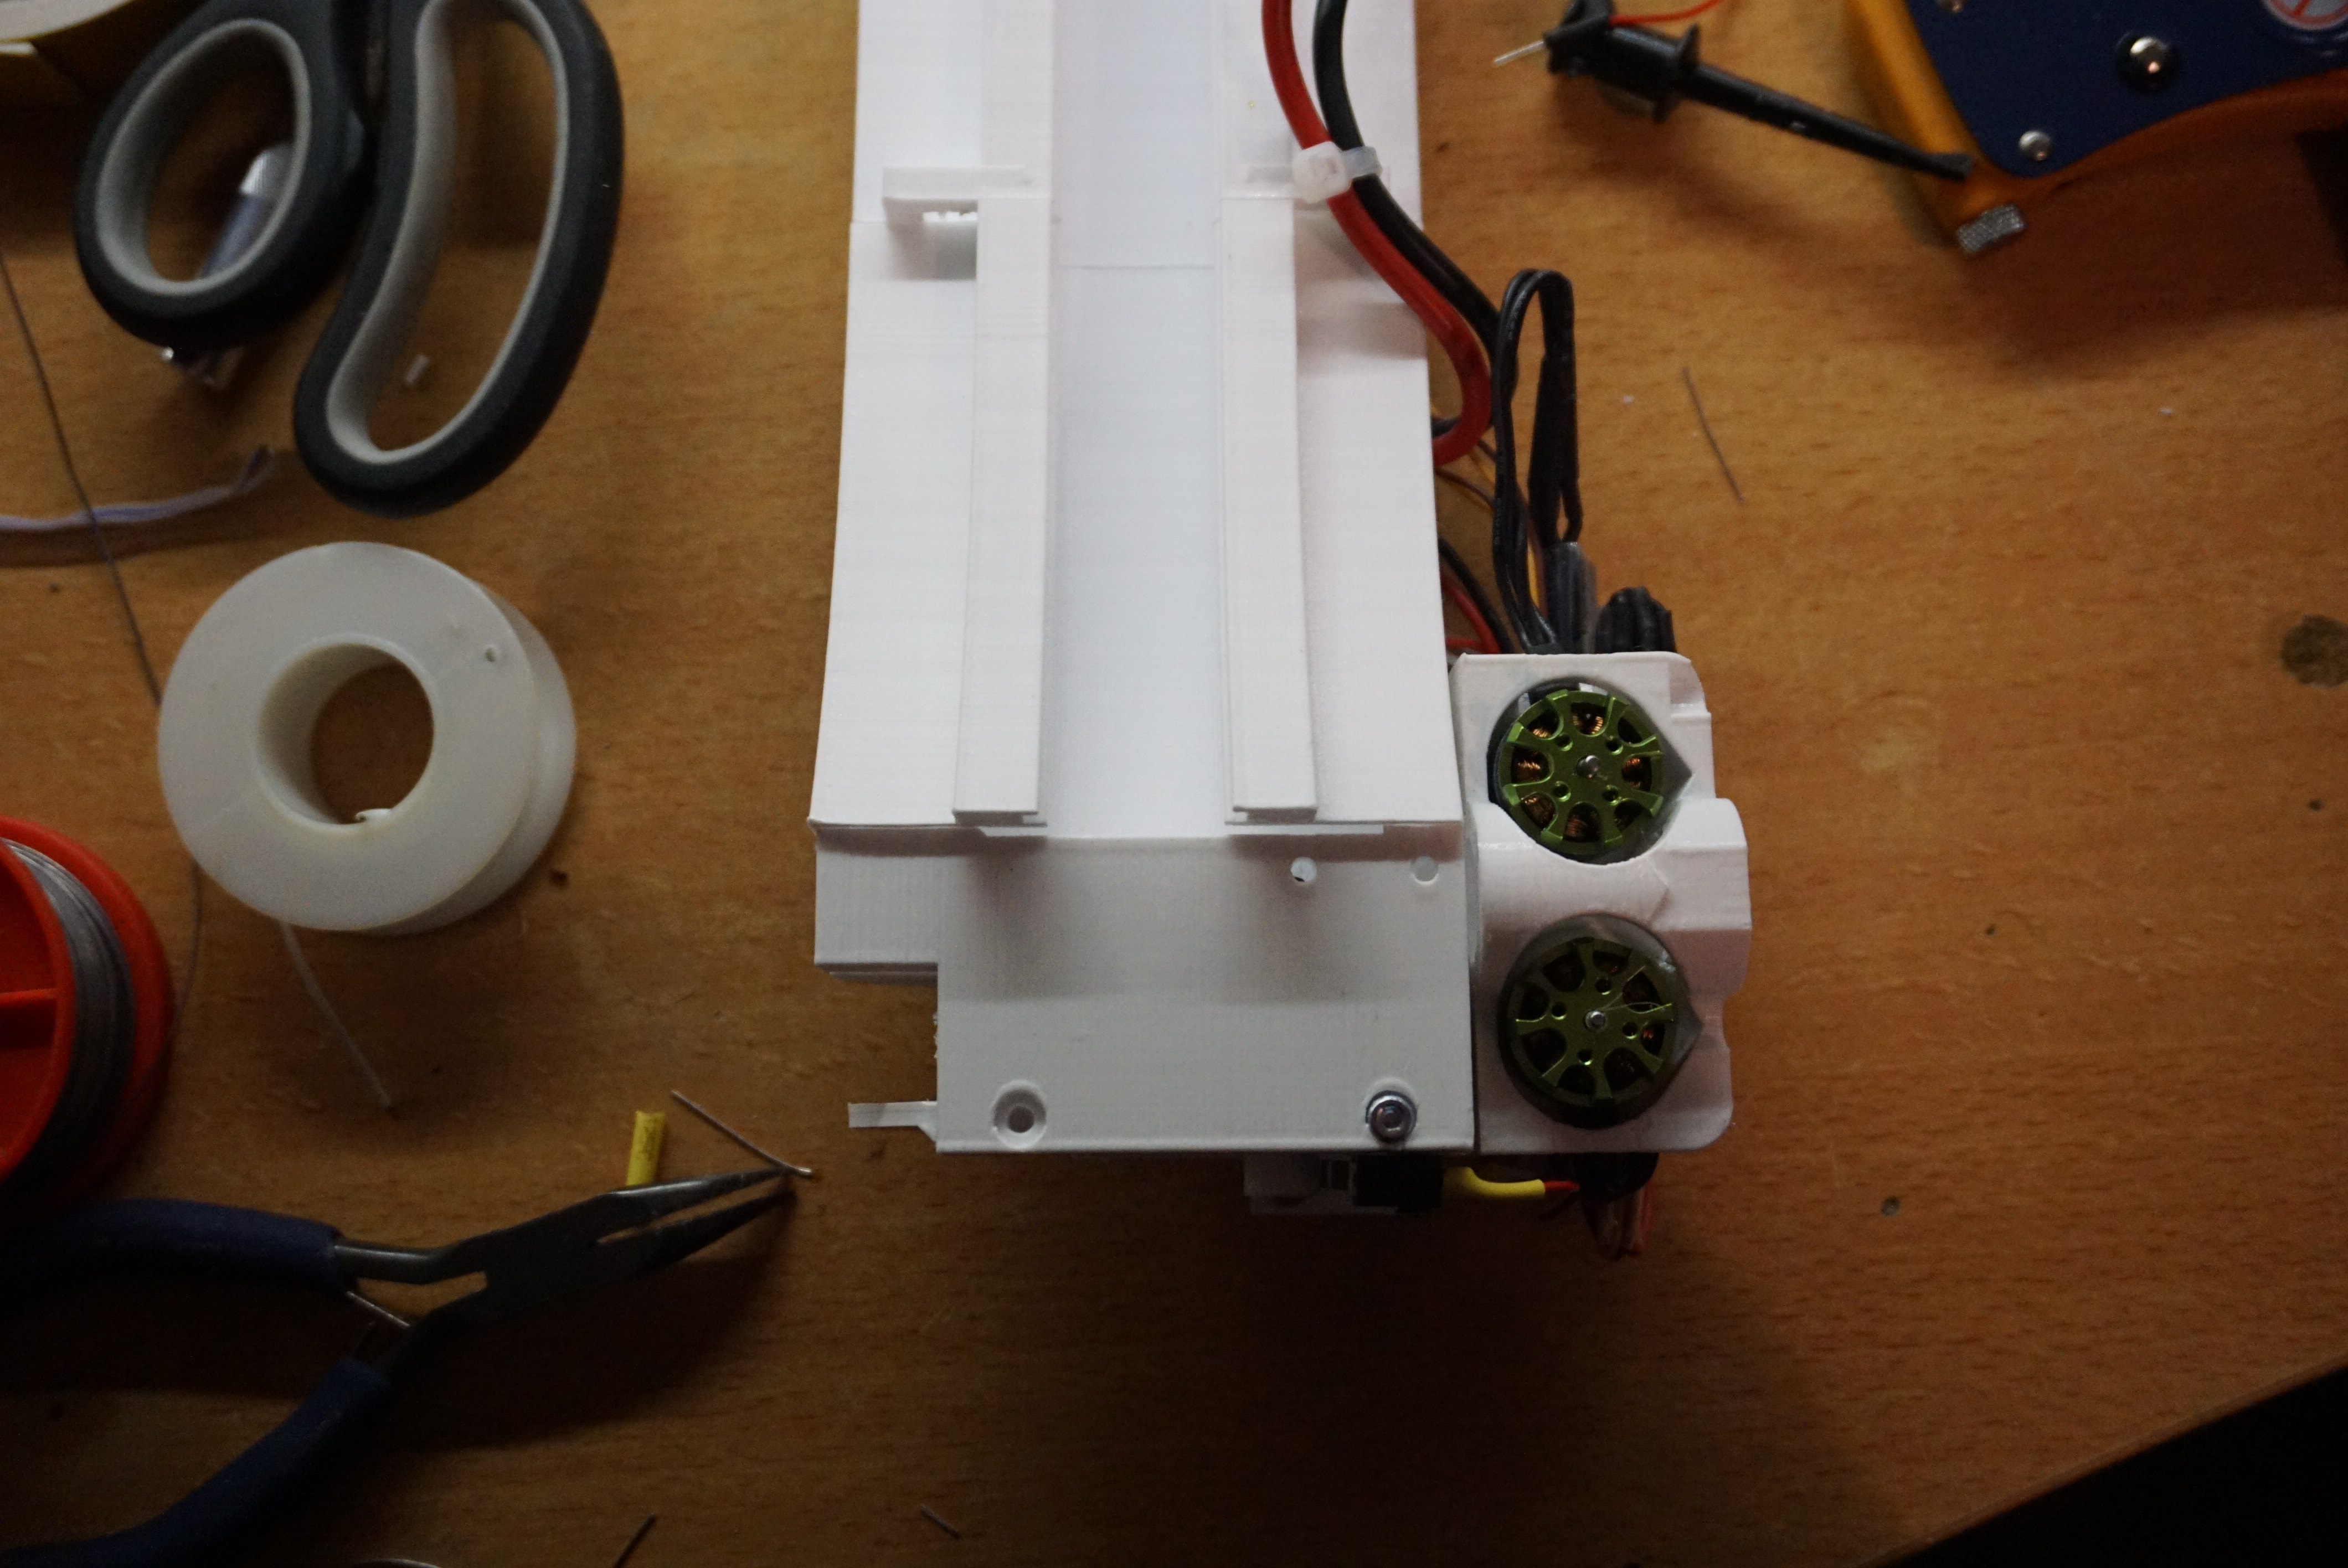
Printing for each gun with feeder too another 25+ hours. Each gun consists of 2 flywheels that are somewhat insulated from the rest with rubber dampers. A rack and pinion system to feed the darts into the flywheels. A vertical hopper hold 18 darts. A rail in the hopper provides guidance for the pusher weight that forces the darts down.
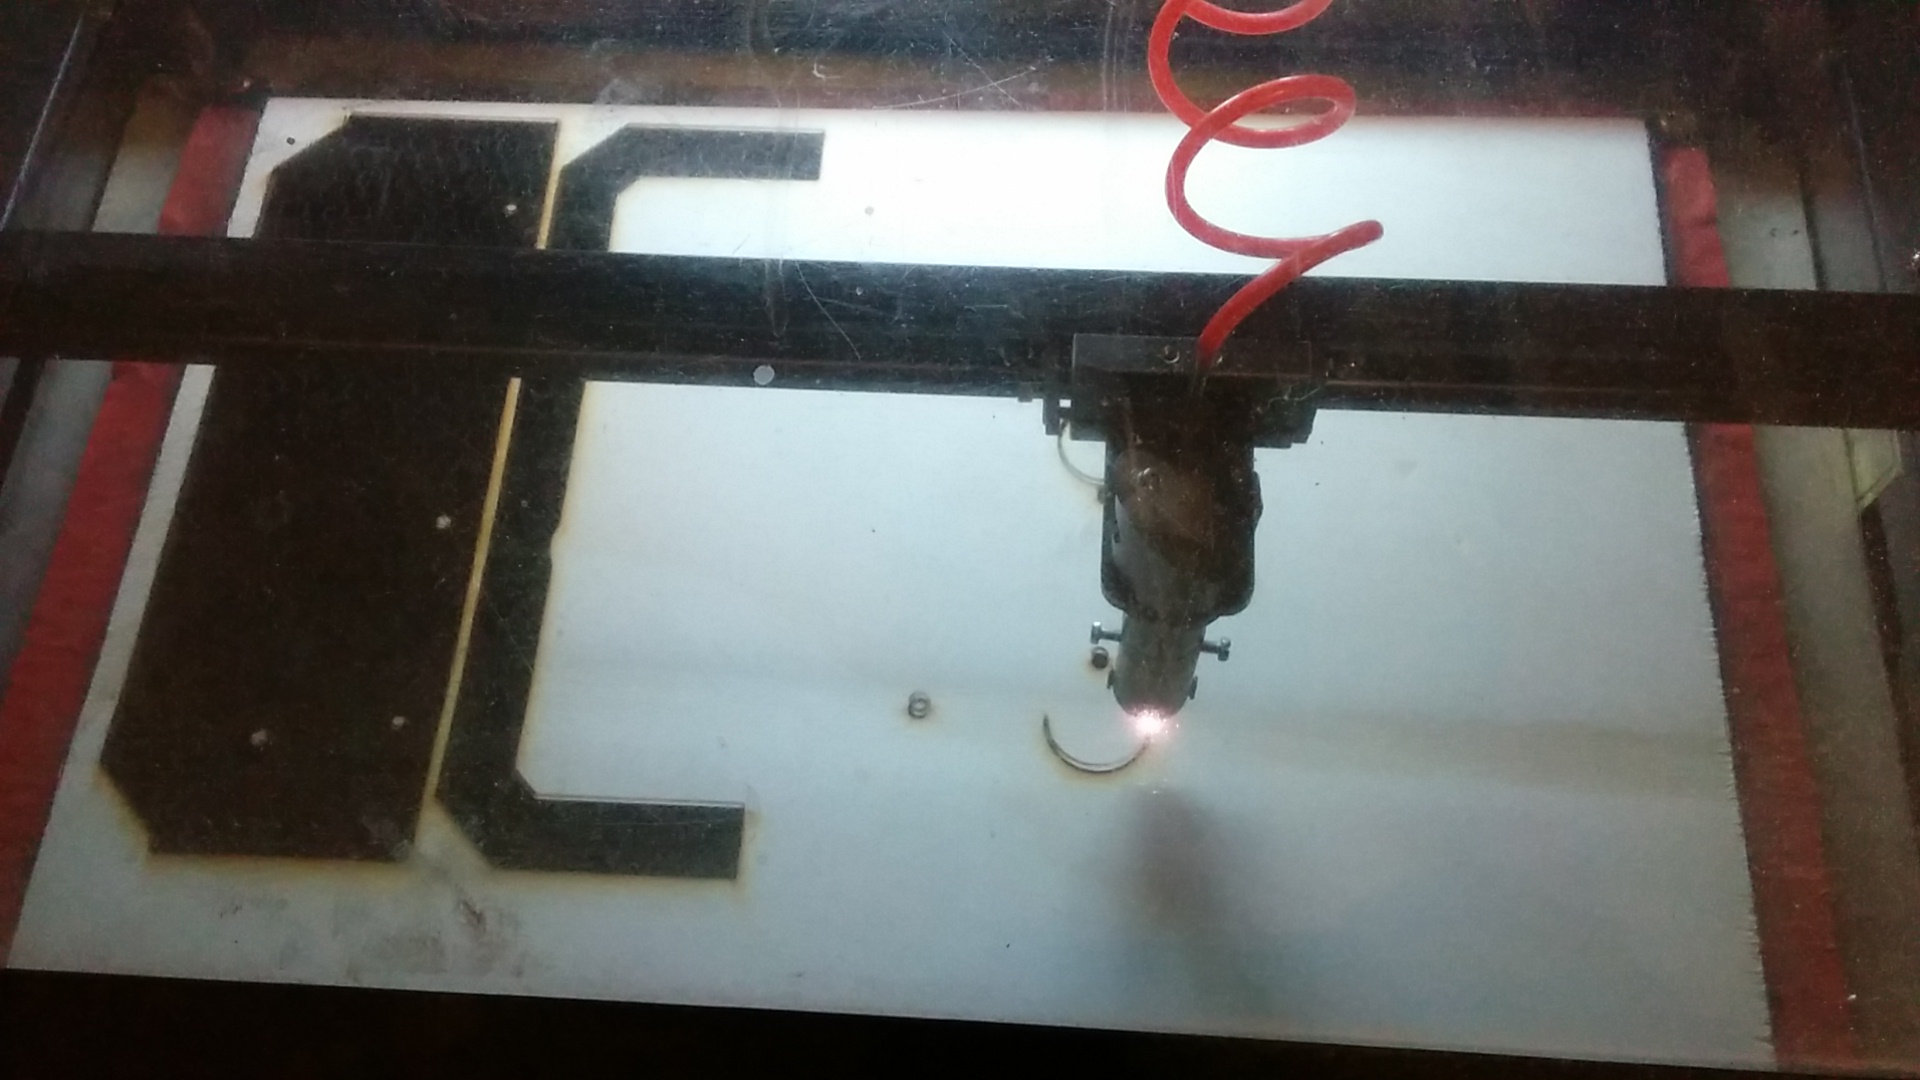
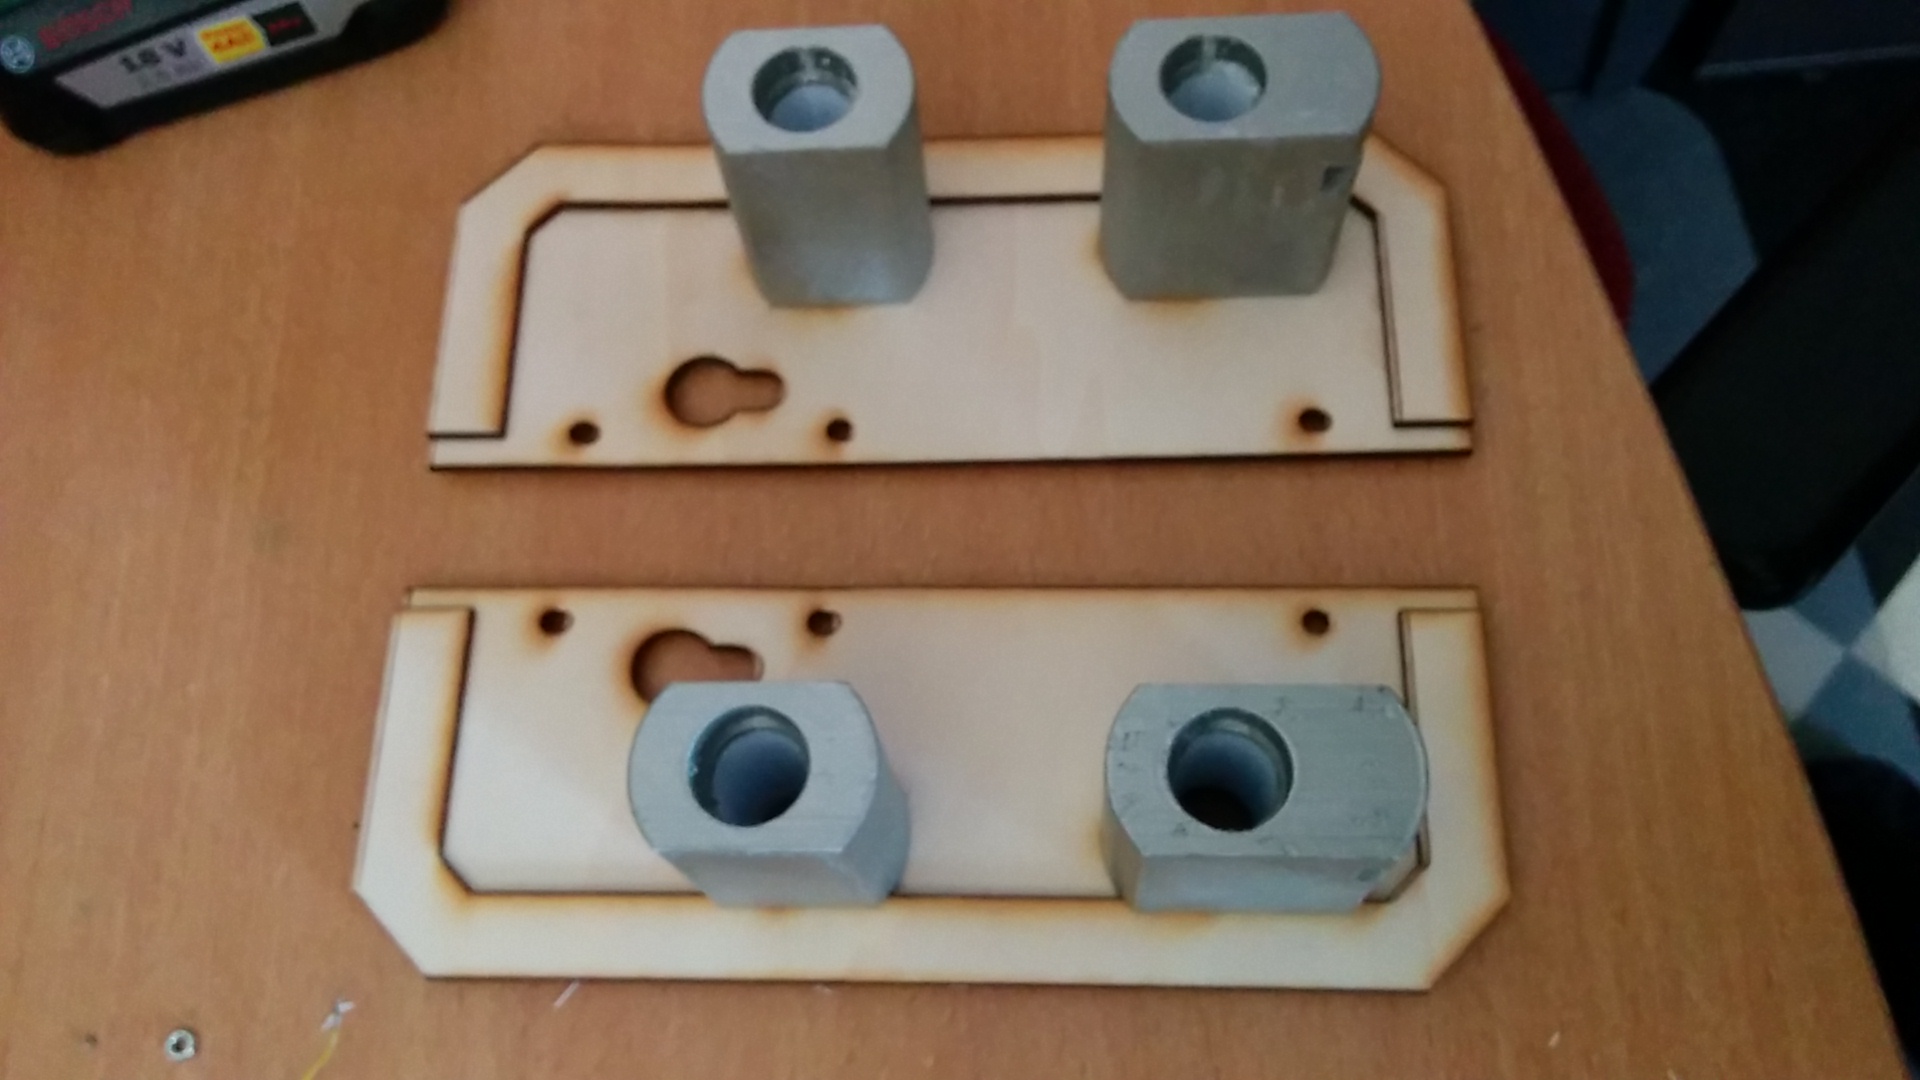
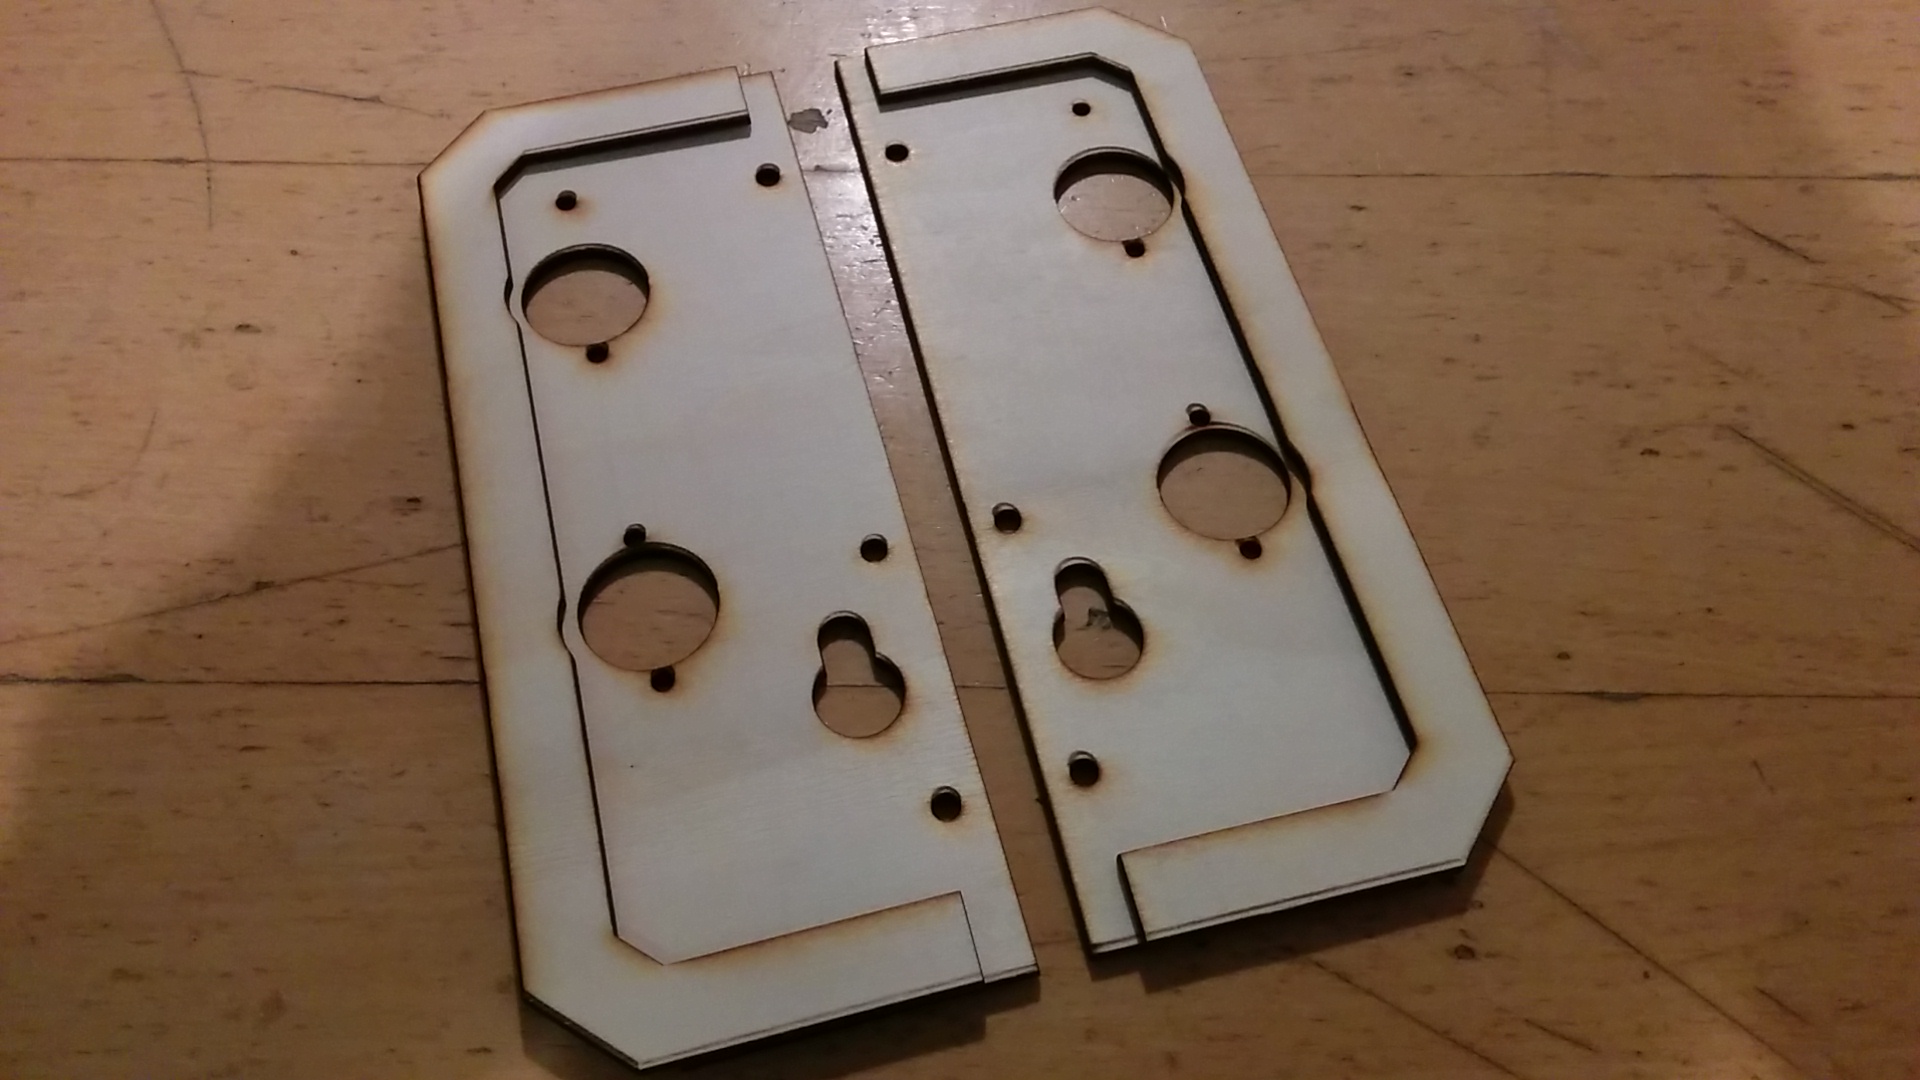
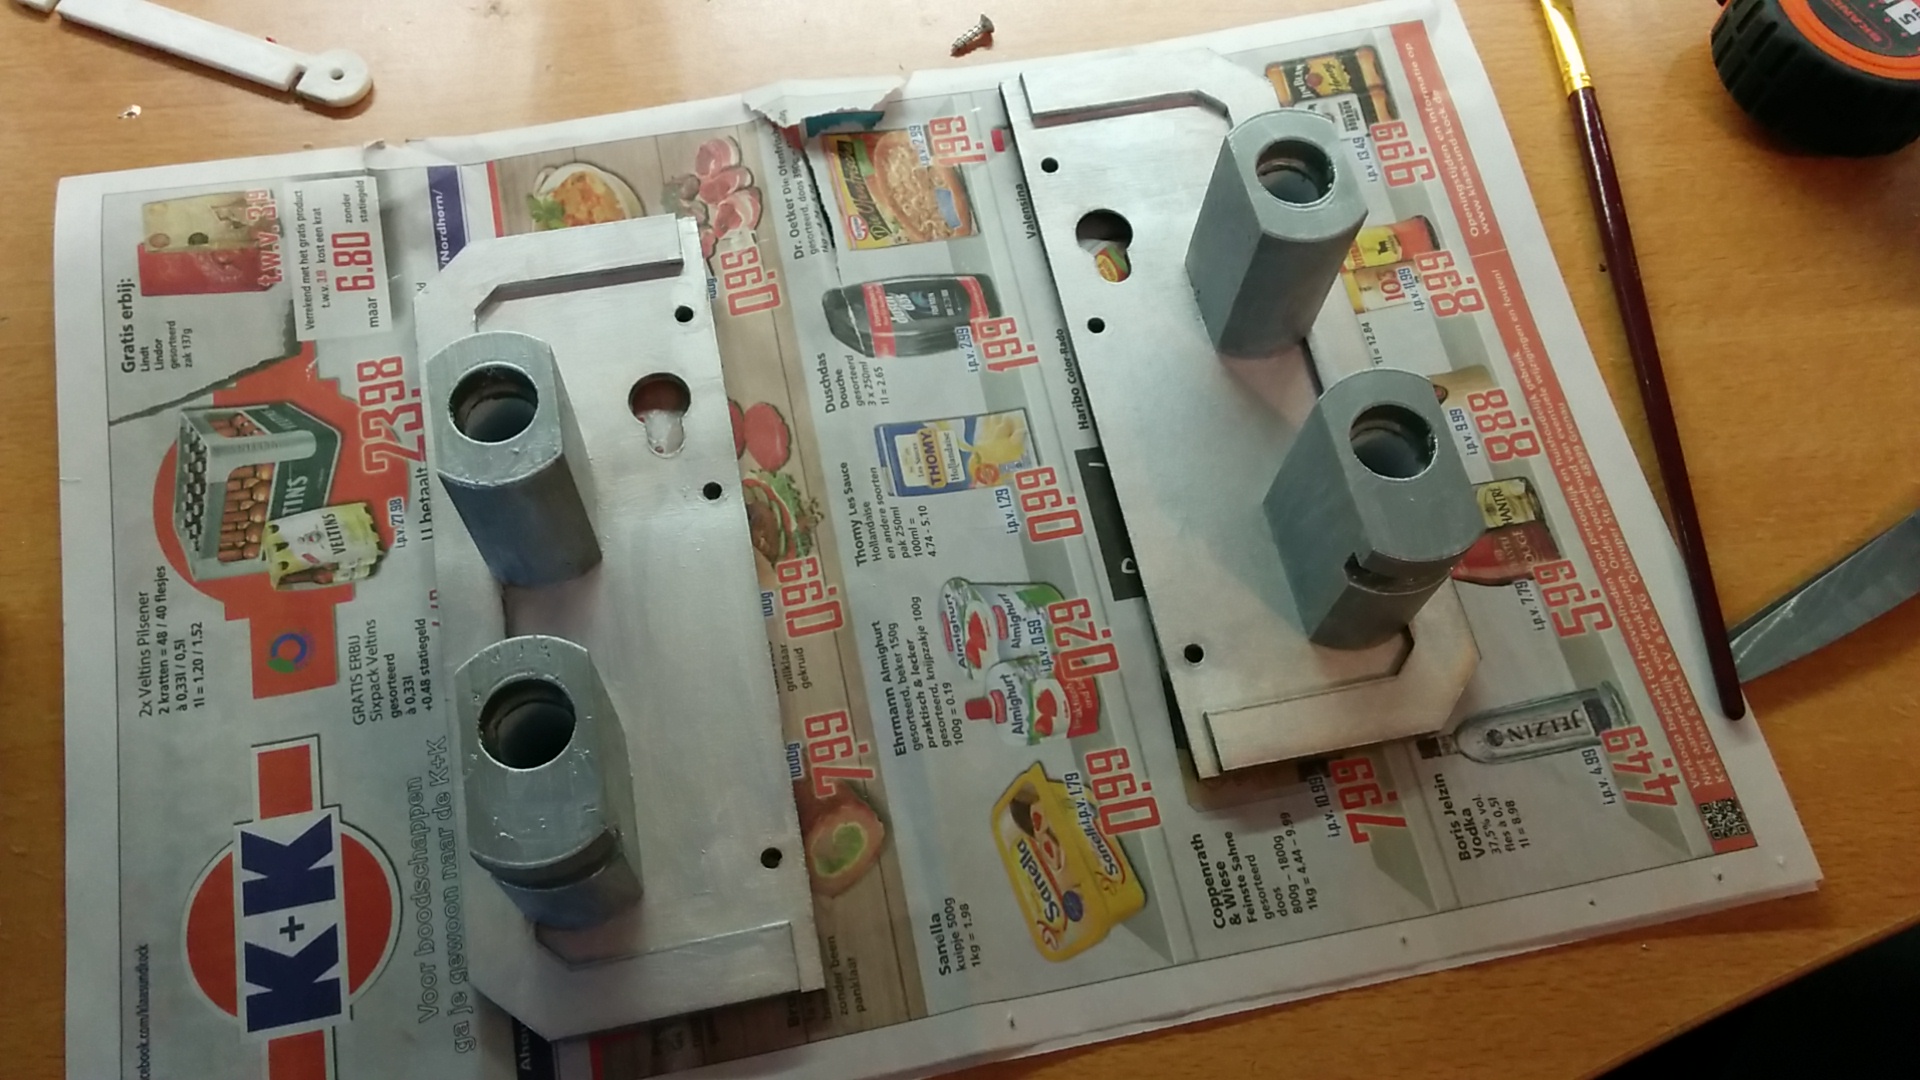
Gun details
The fronts of the guns, with the barrels, were also redone. The barrels are the ones from the old turret, but the backs needed to be redone. I cut the wood at my hackerspace, reinforced it, and then painted it silver.
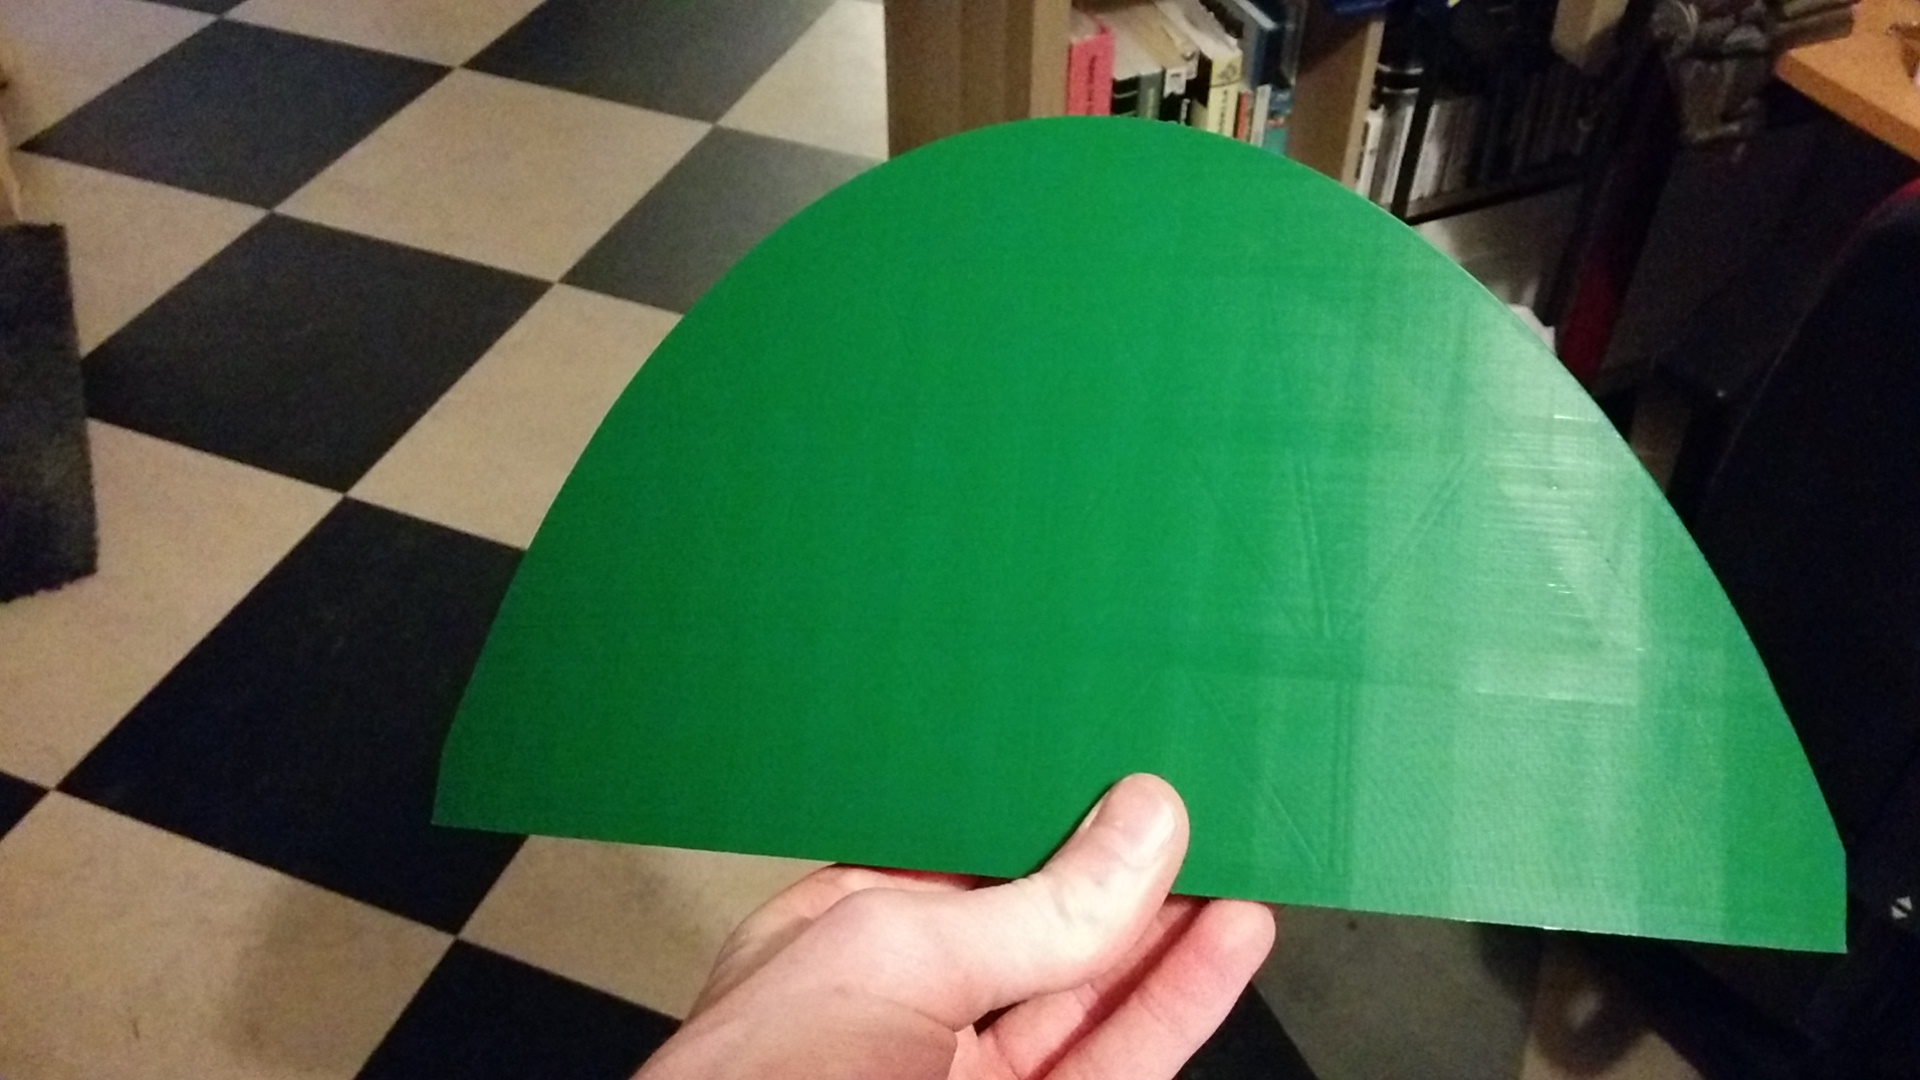
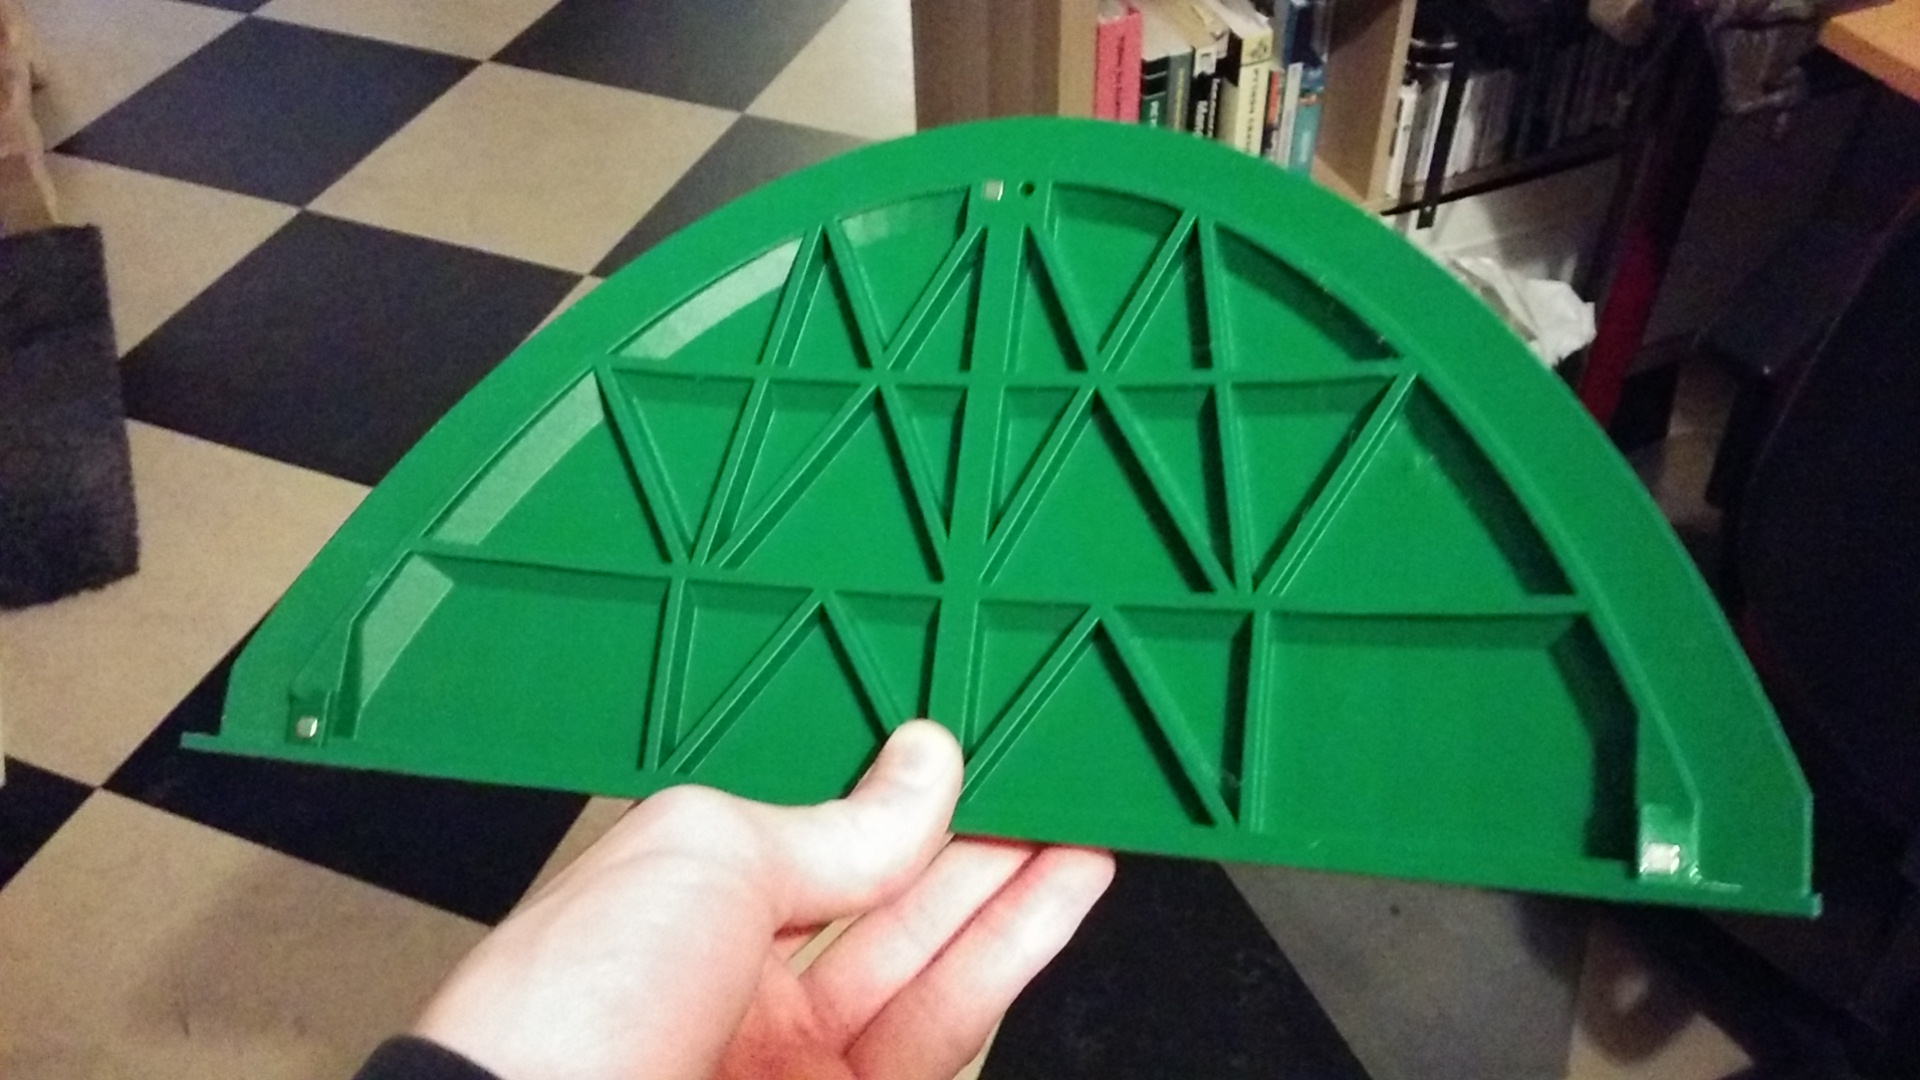
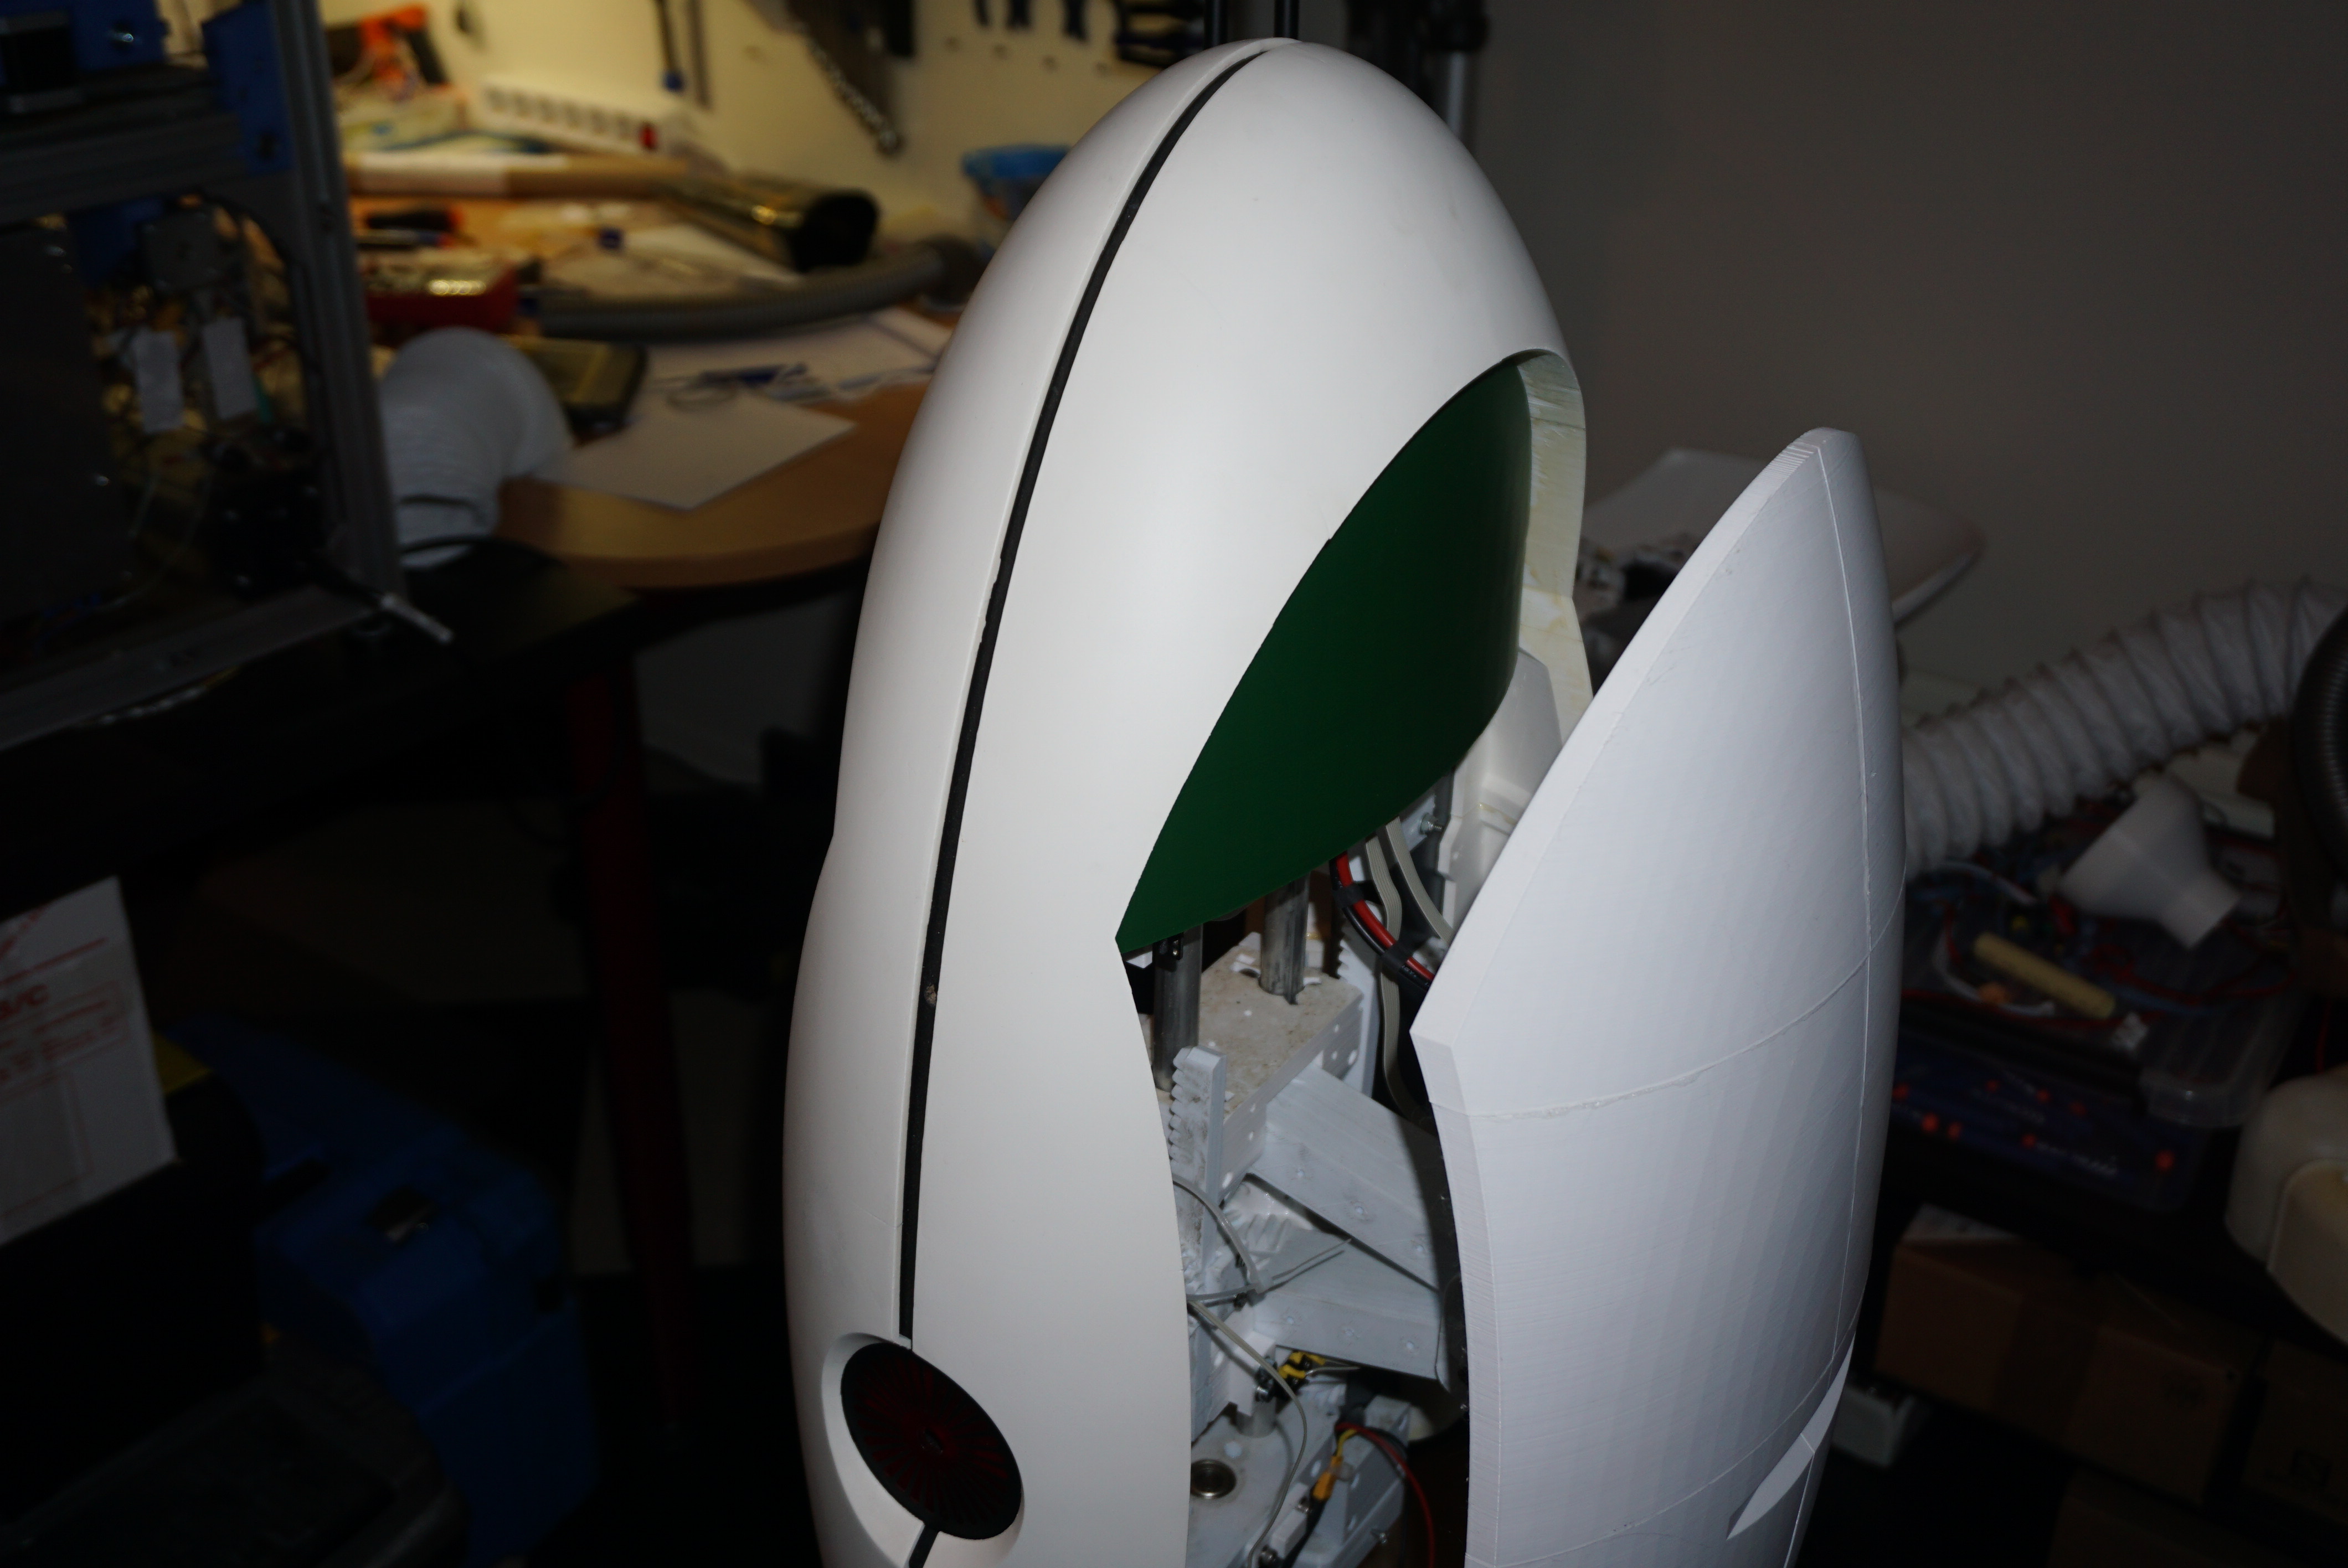
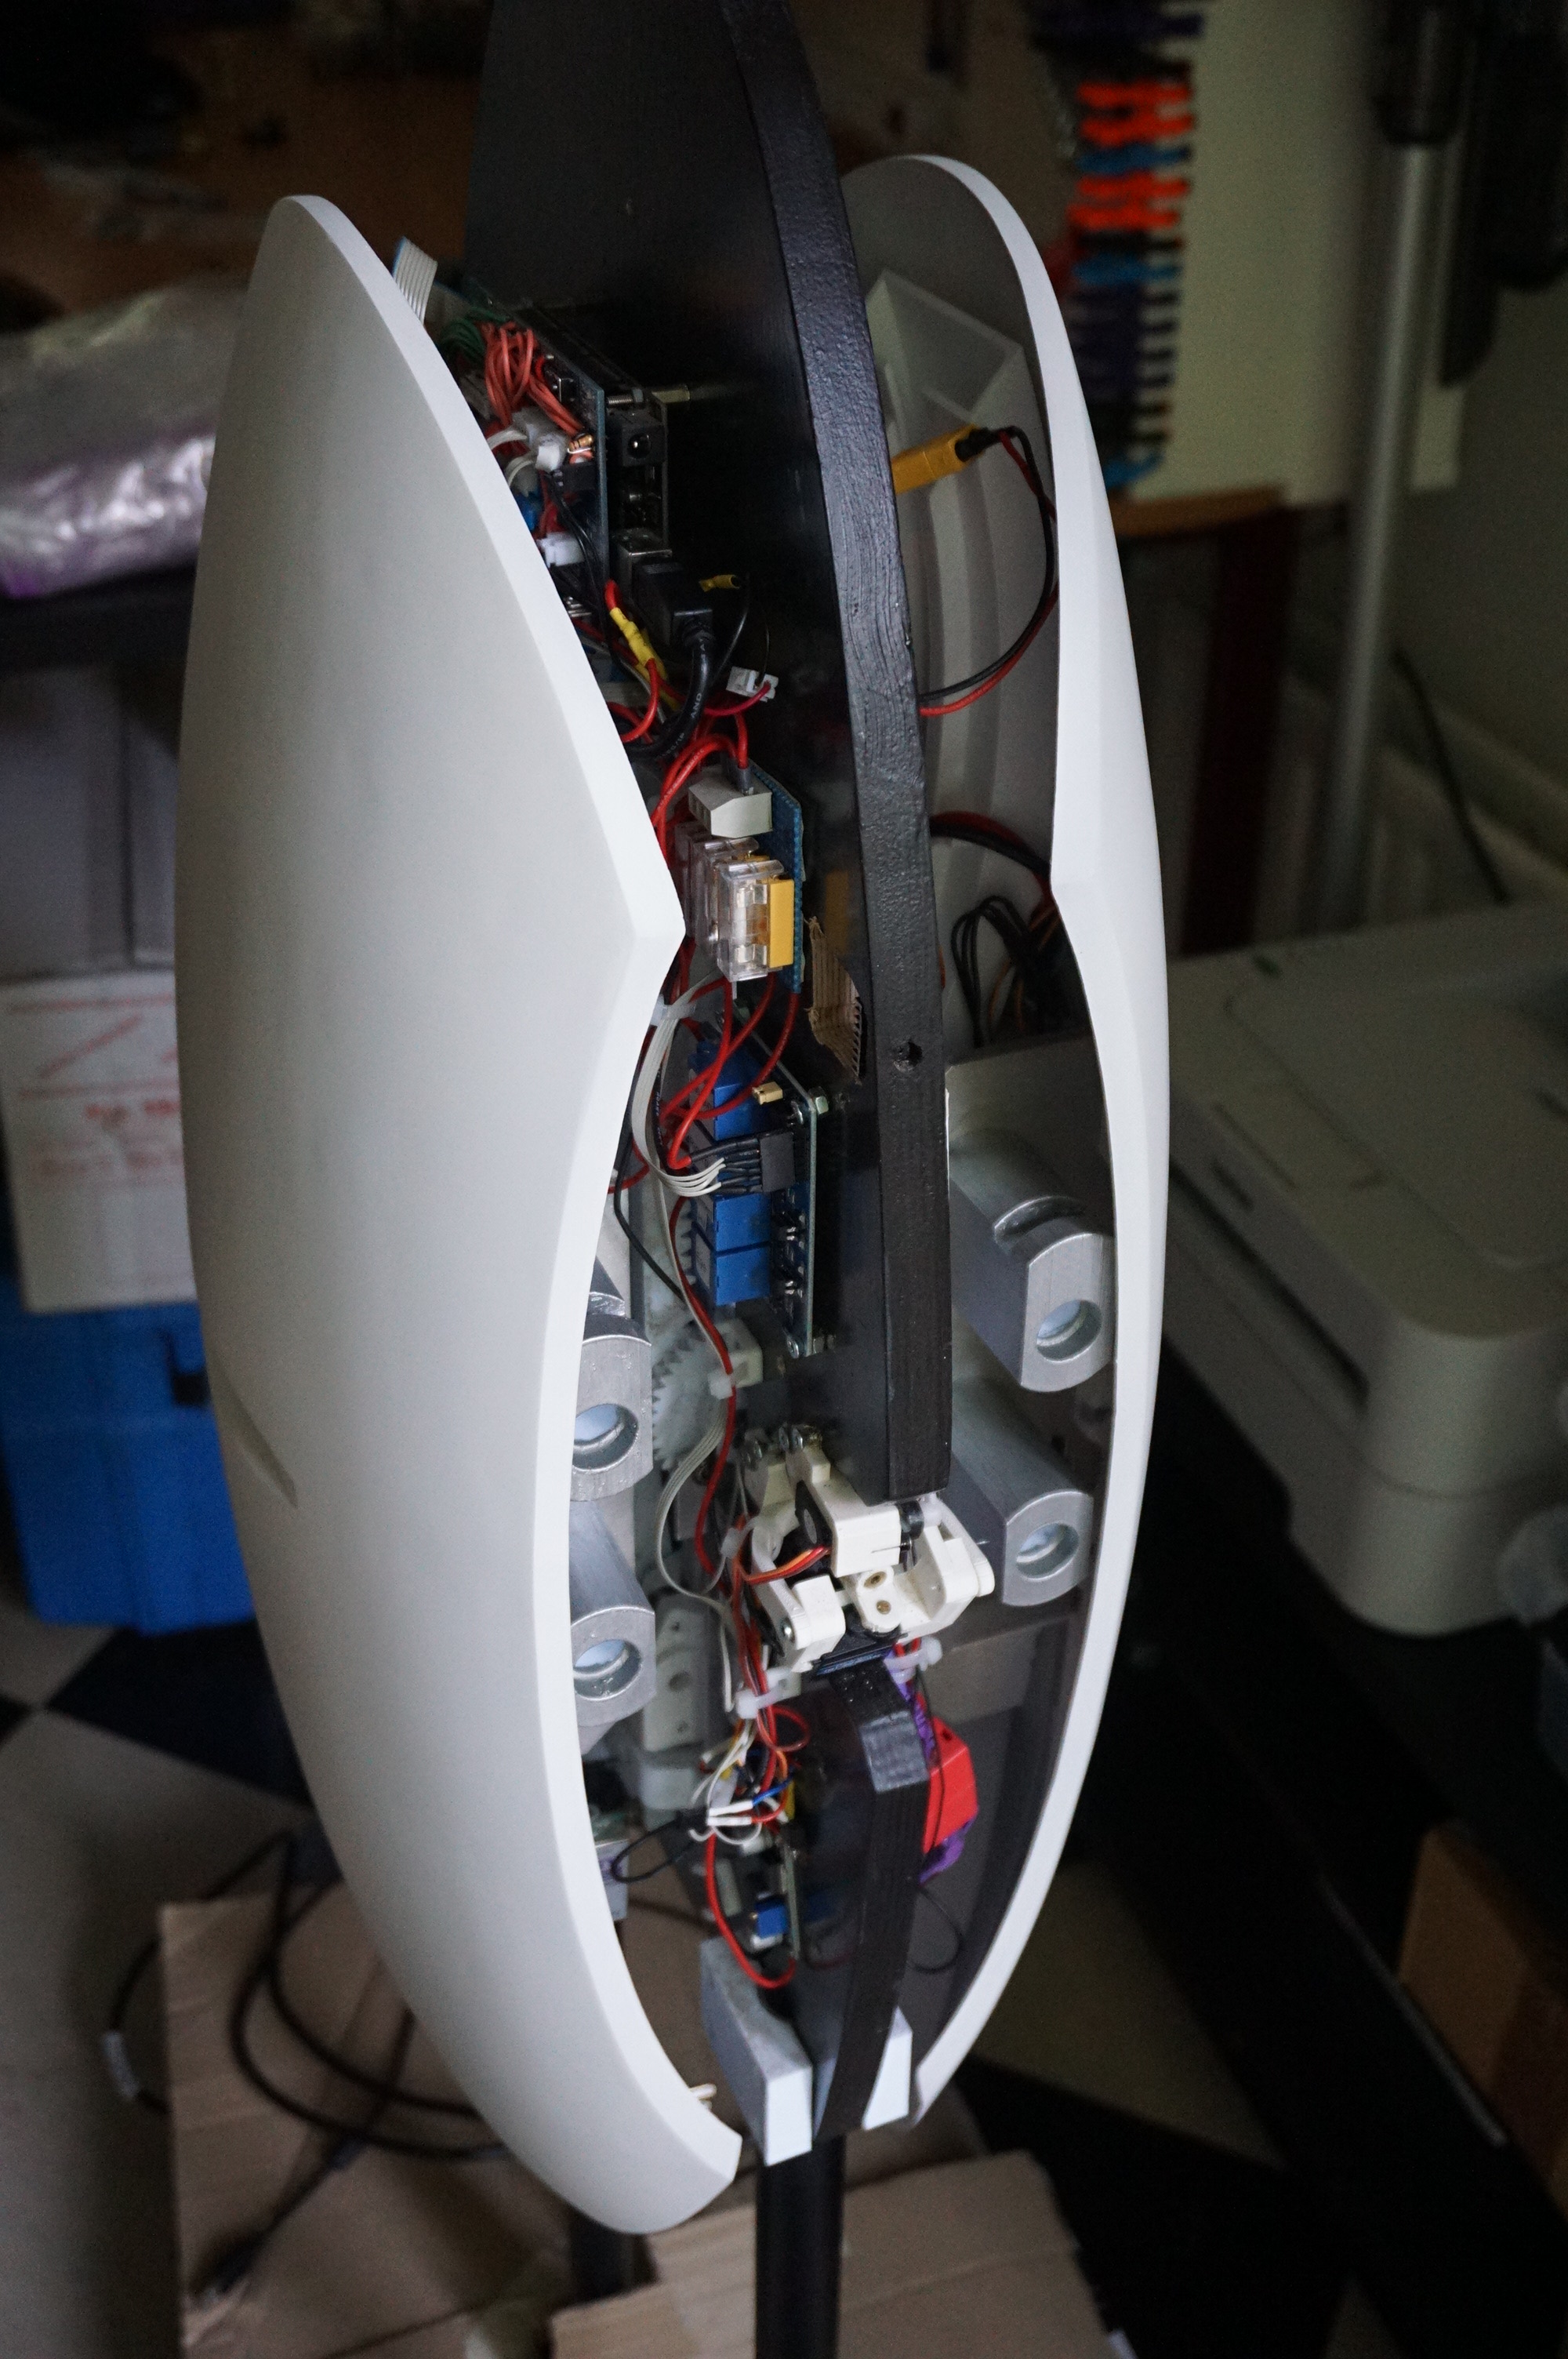
Head cover
The bulk of the electronics is stashed in the head. The original design had a green cover that I never got around to making. The mess of wires was even bigger this time, so some nice covers were 3D printed. They snap into place with magnets for easy access.

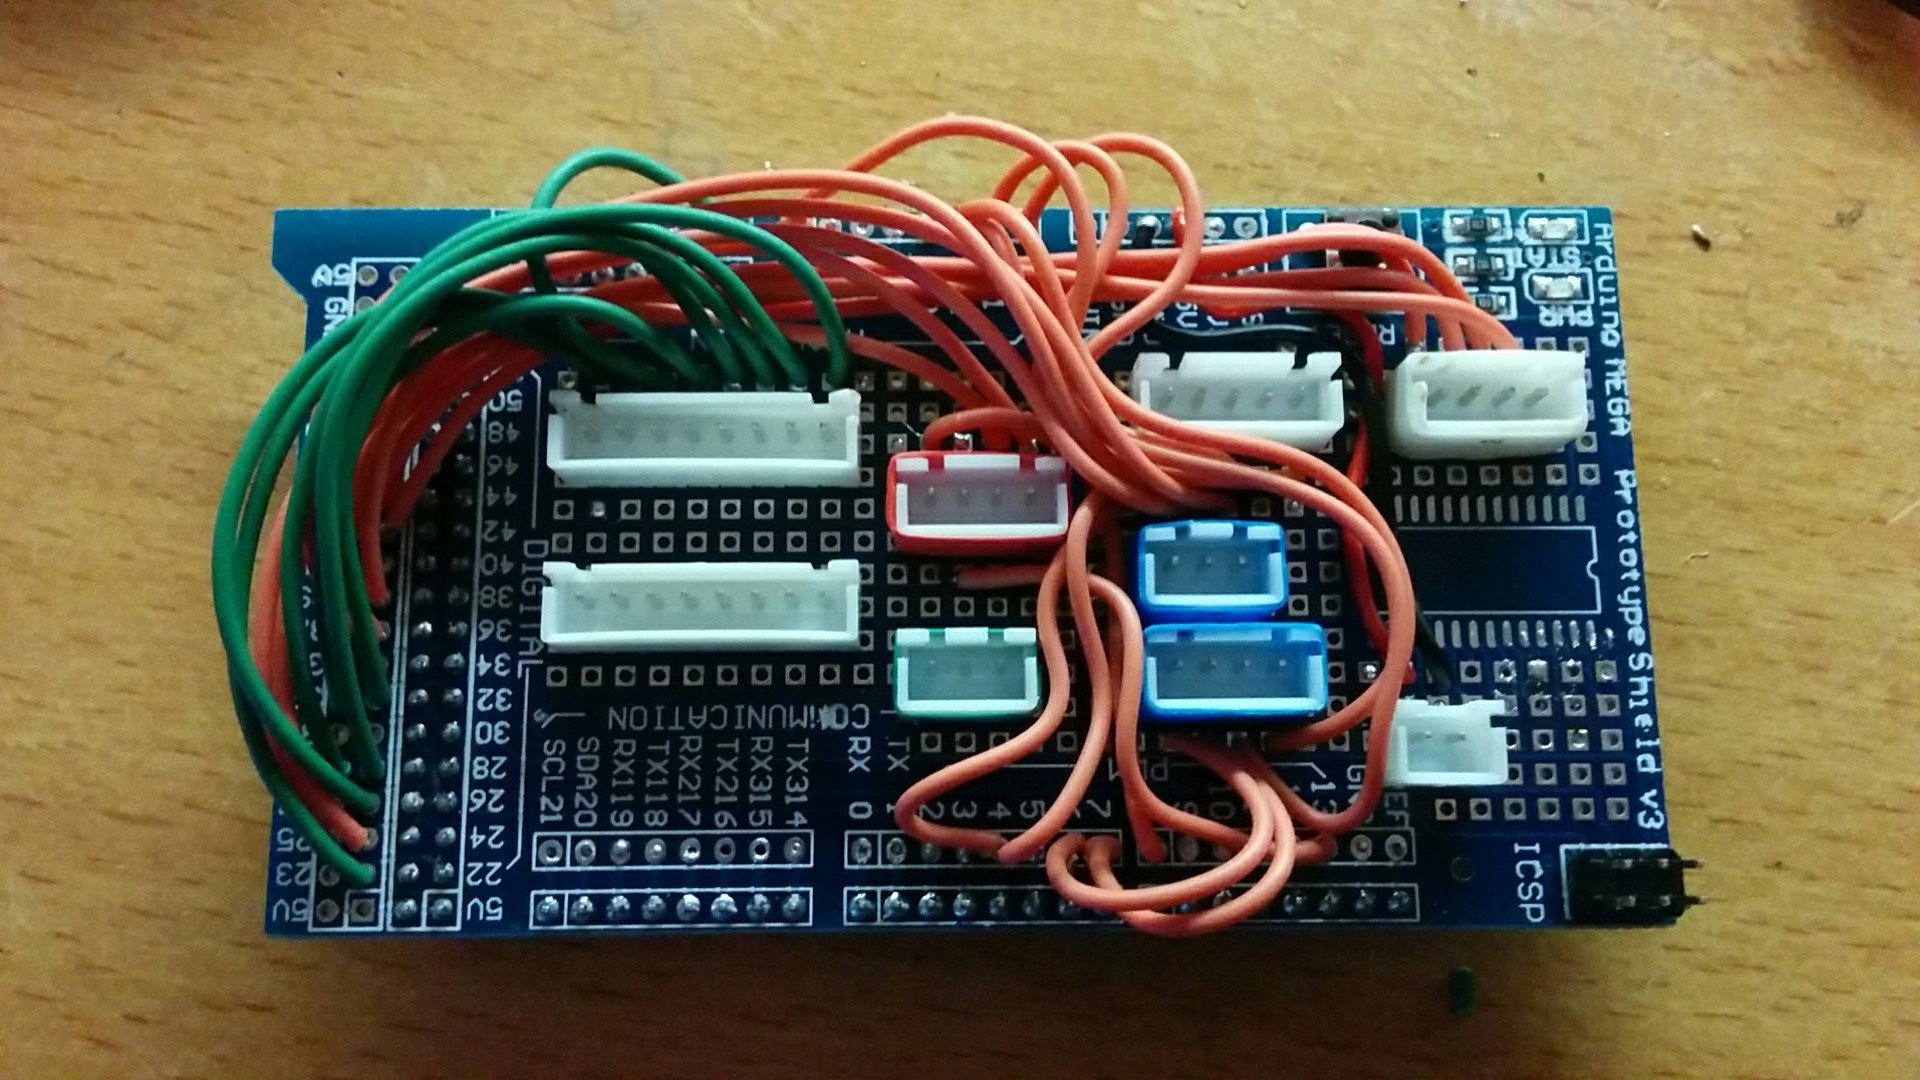
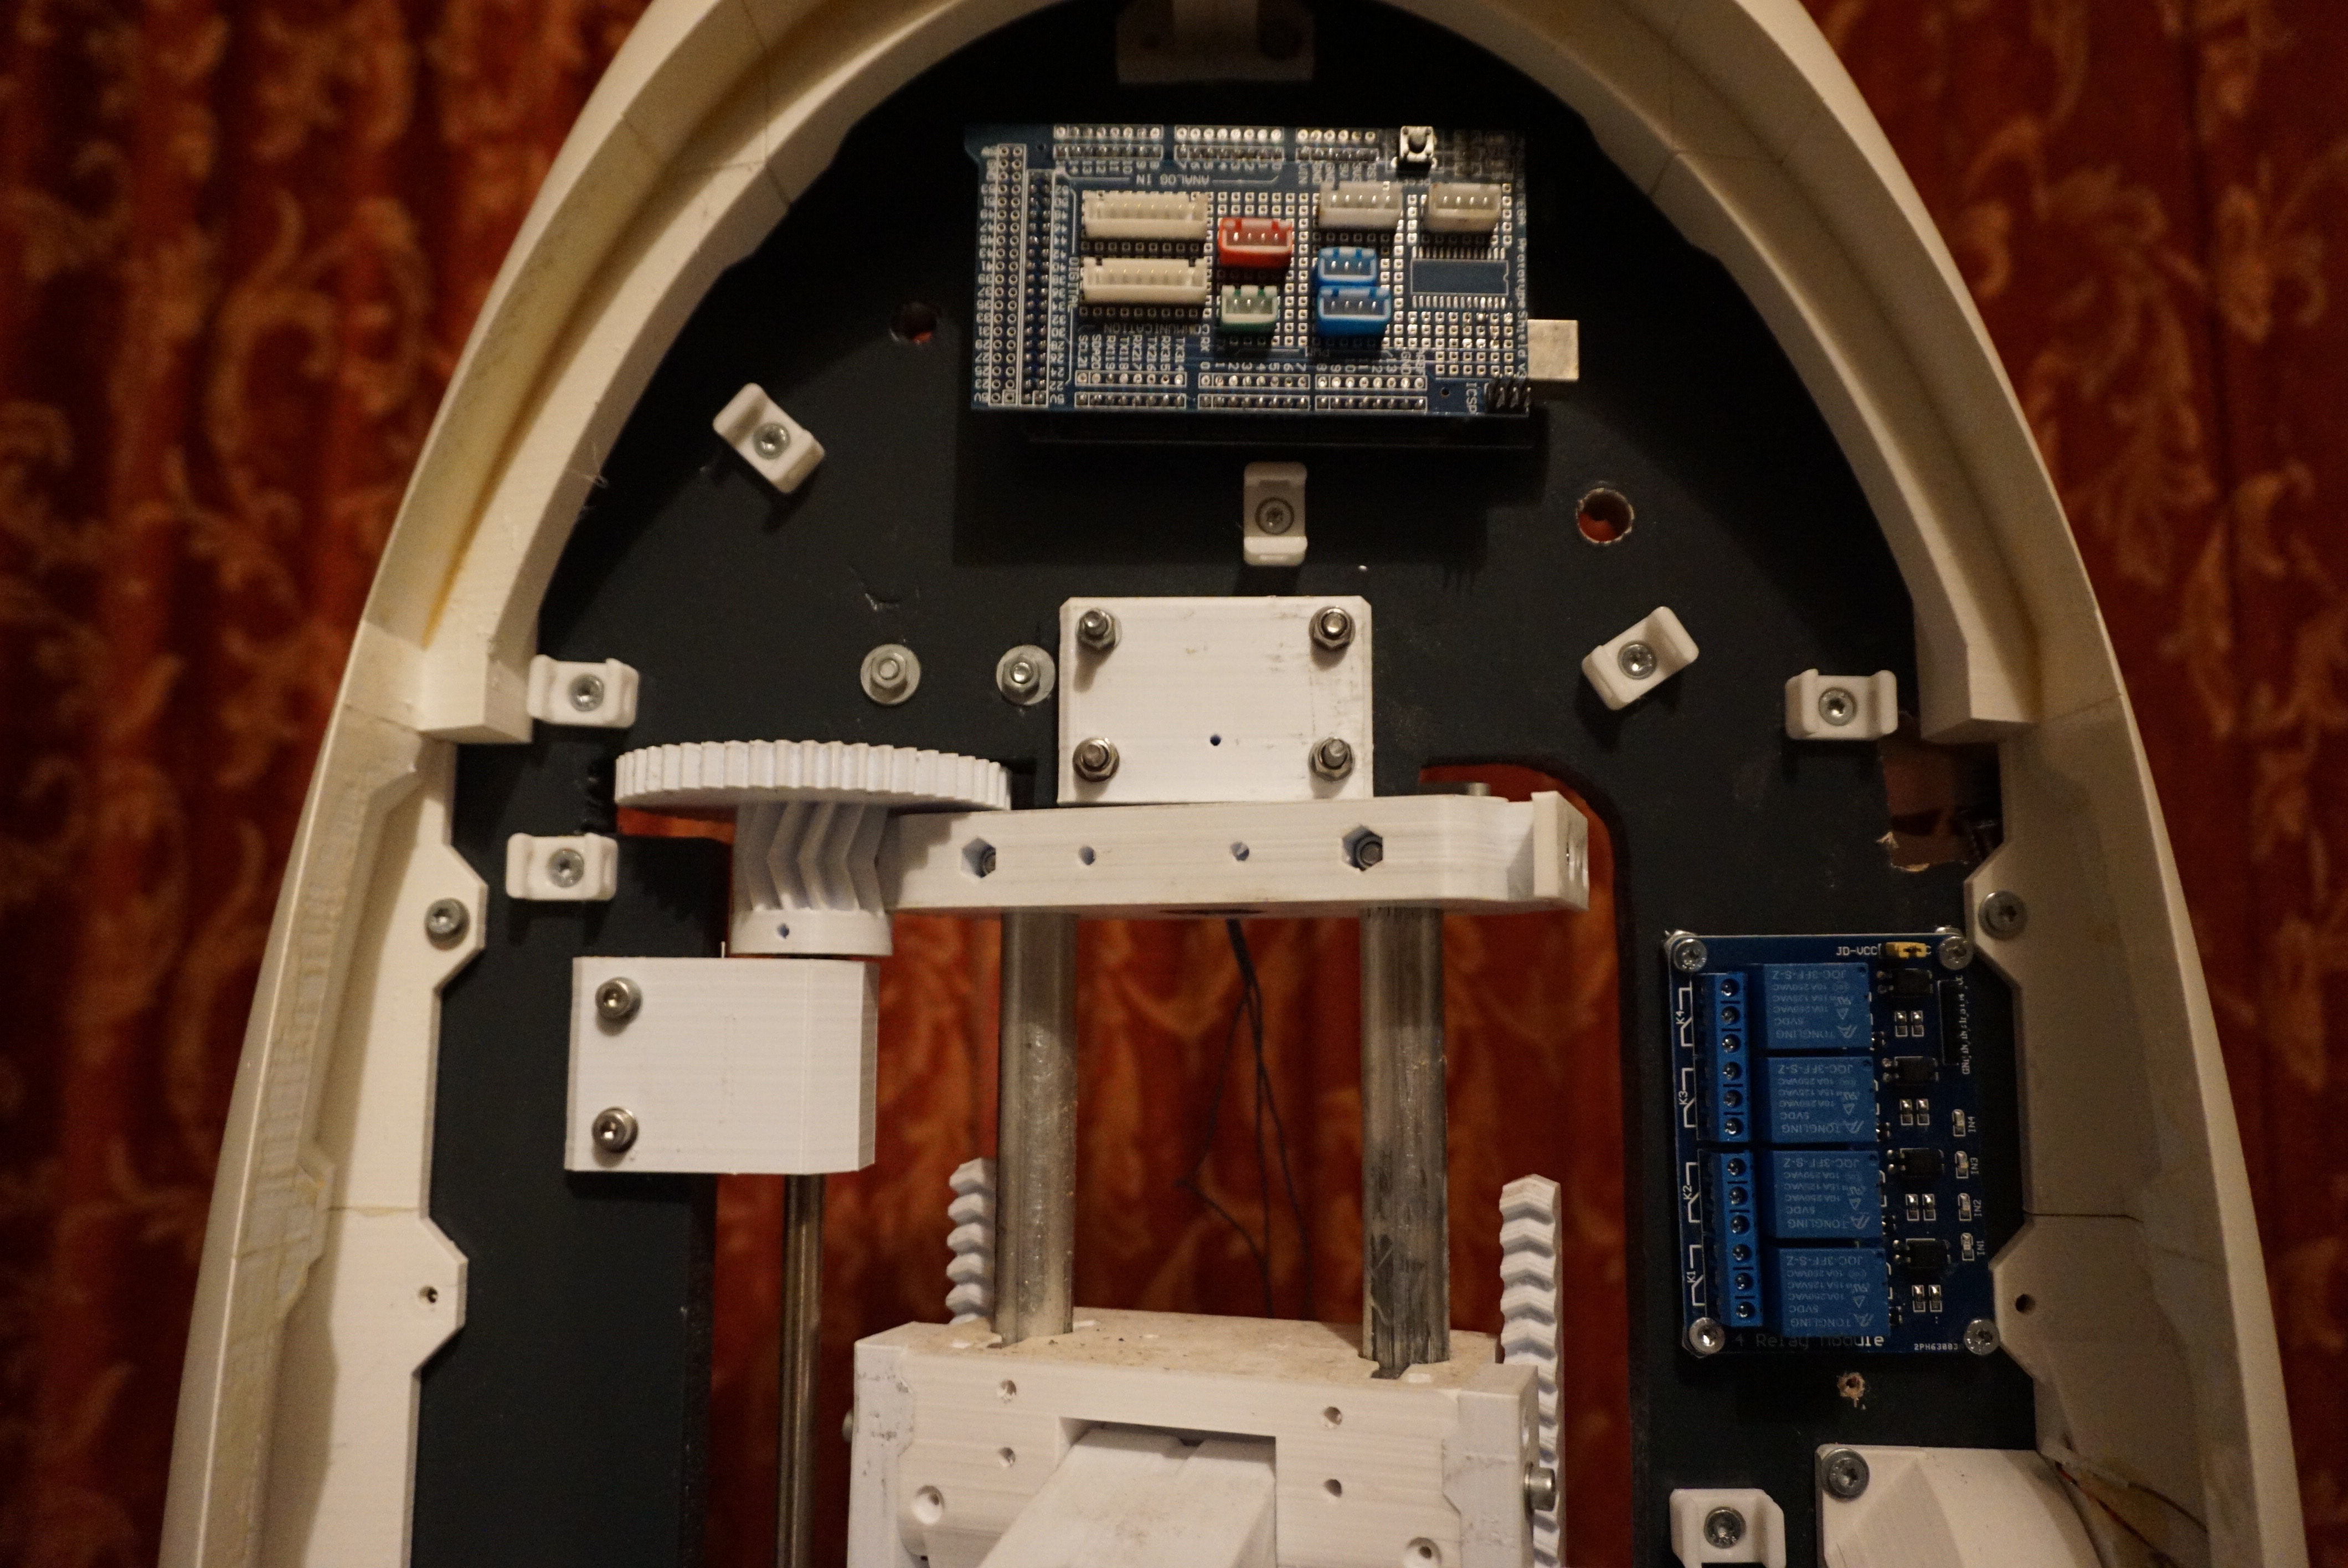
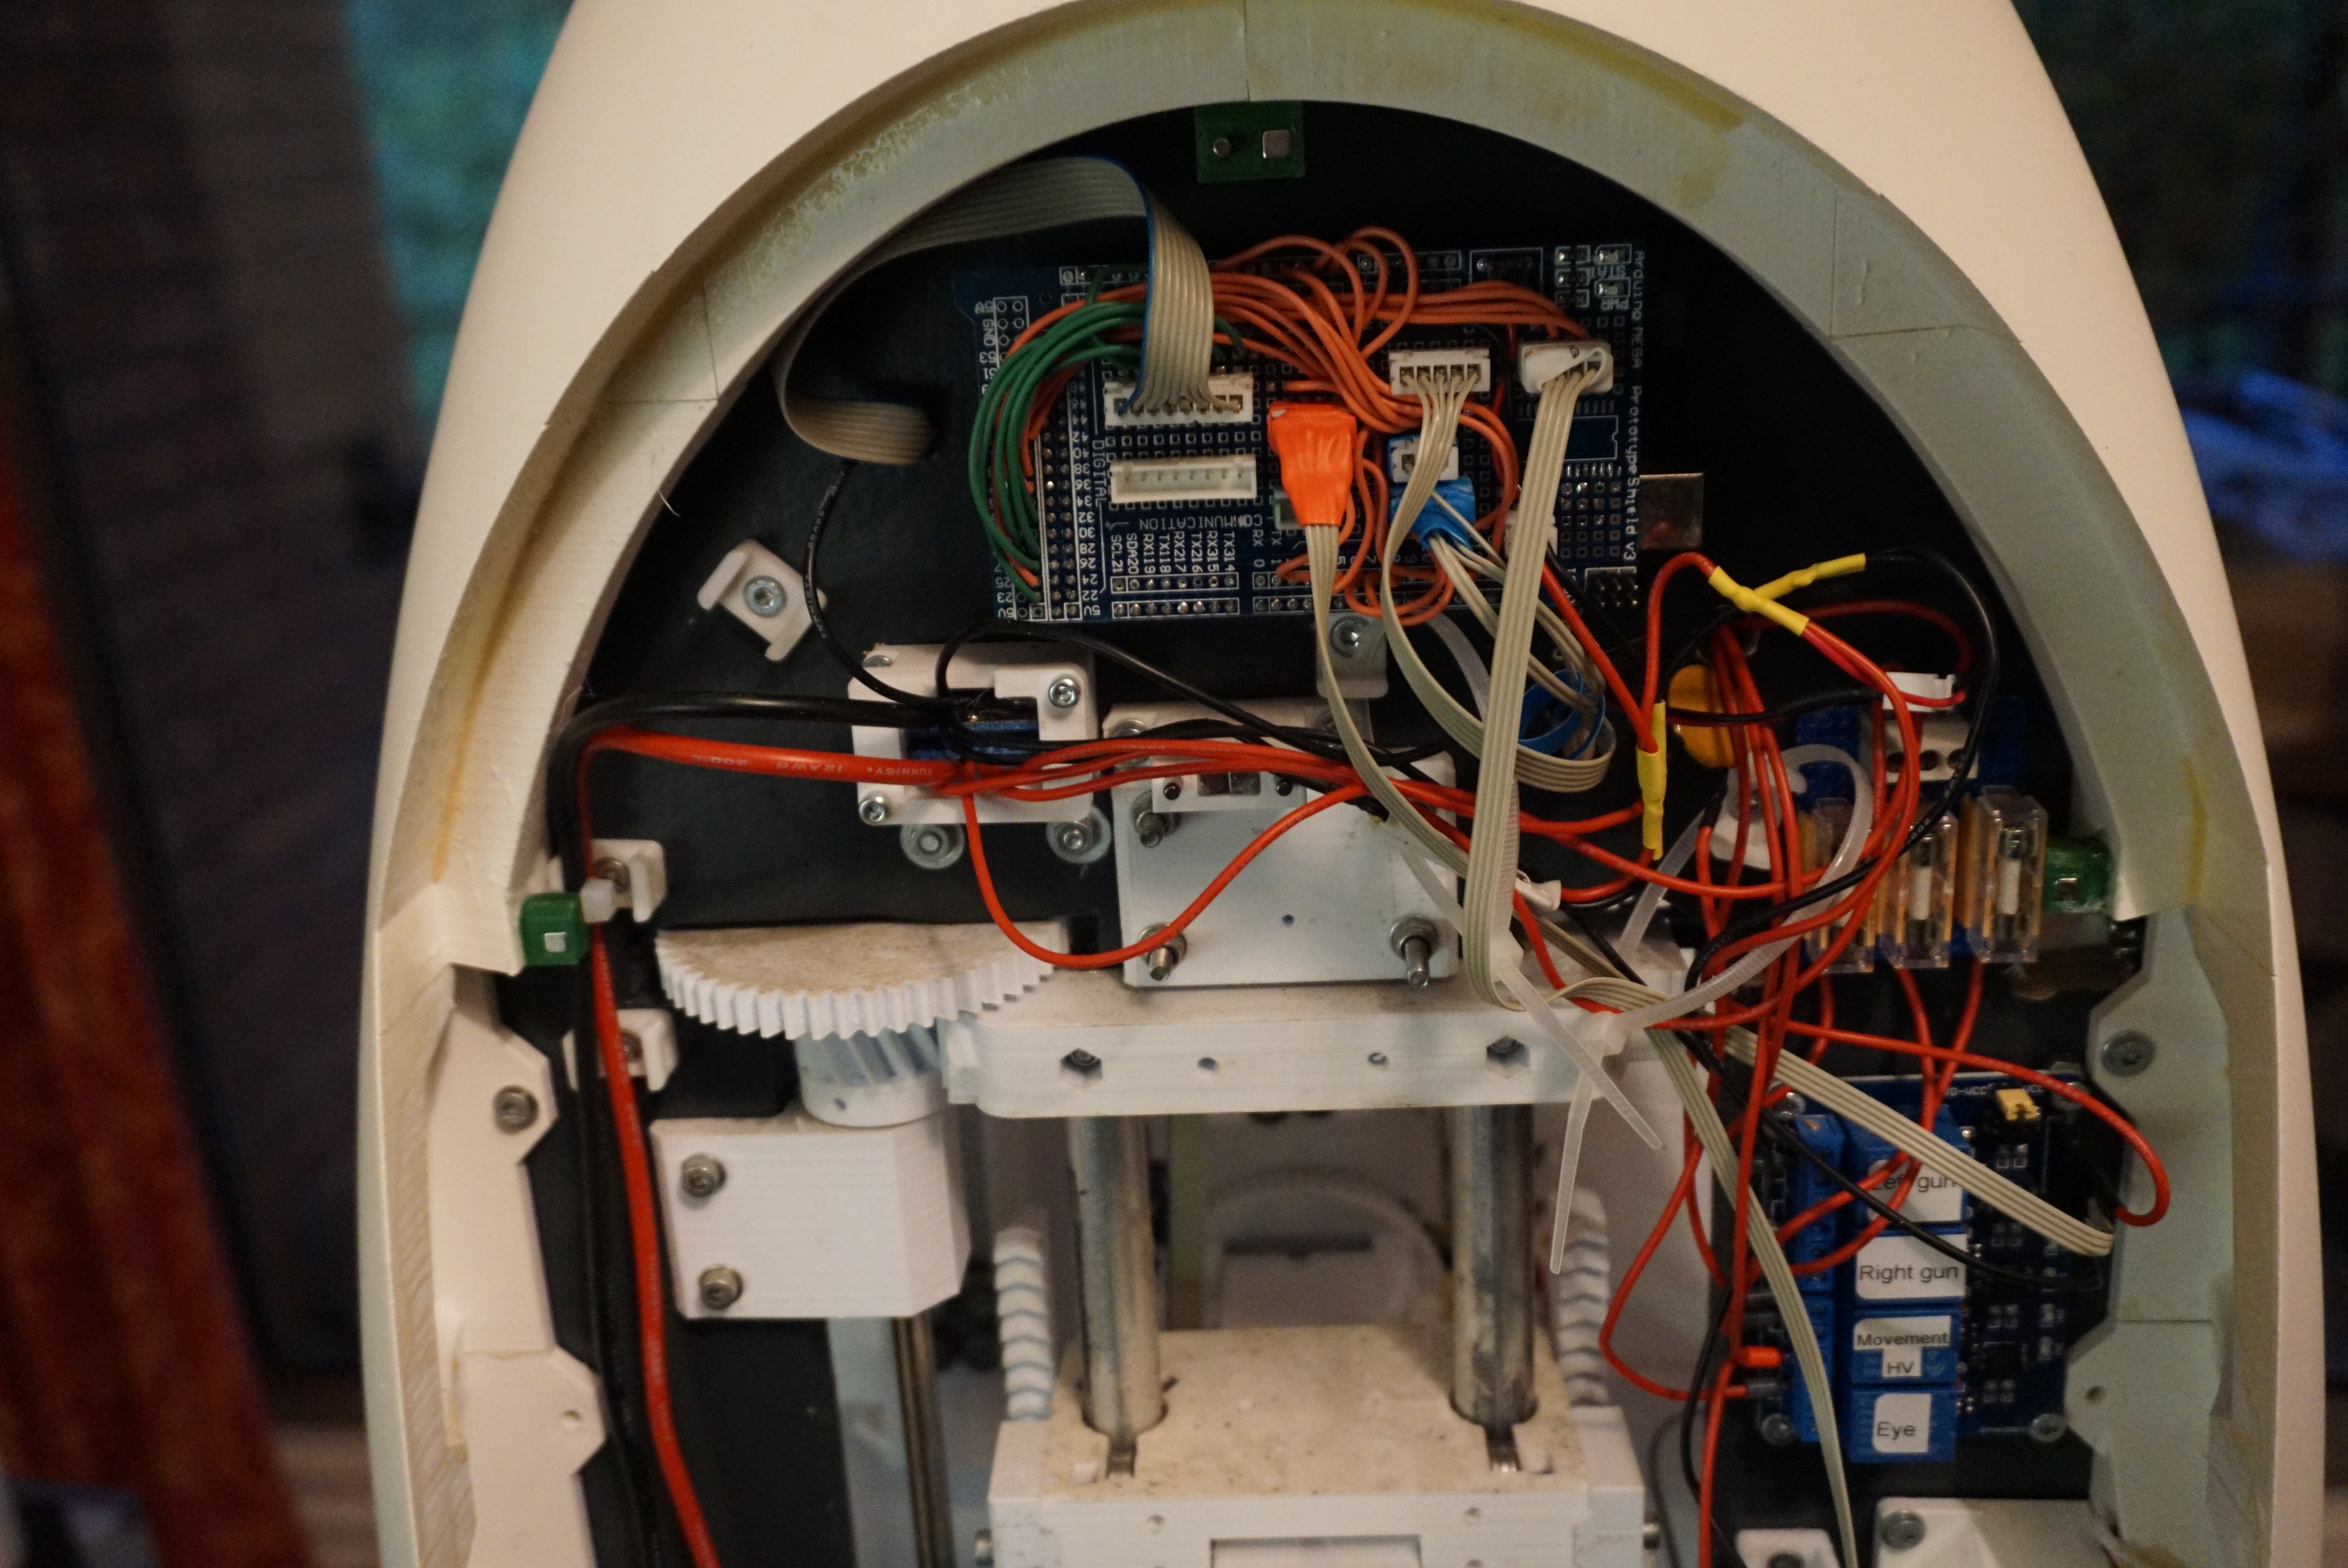
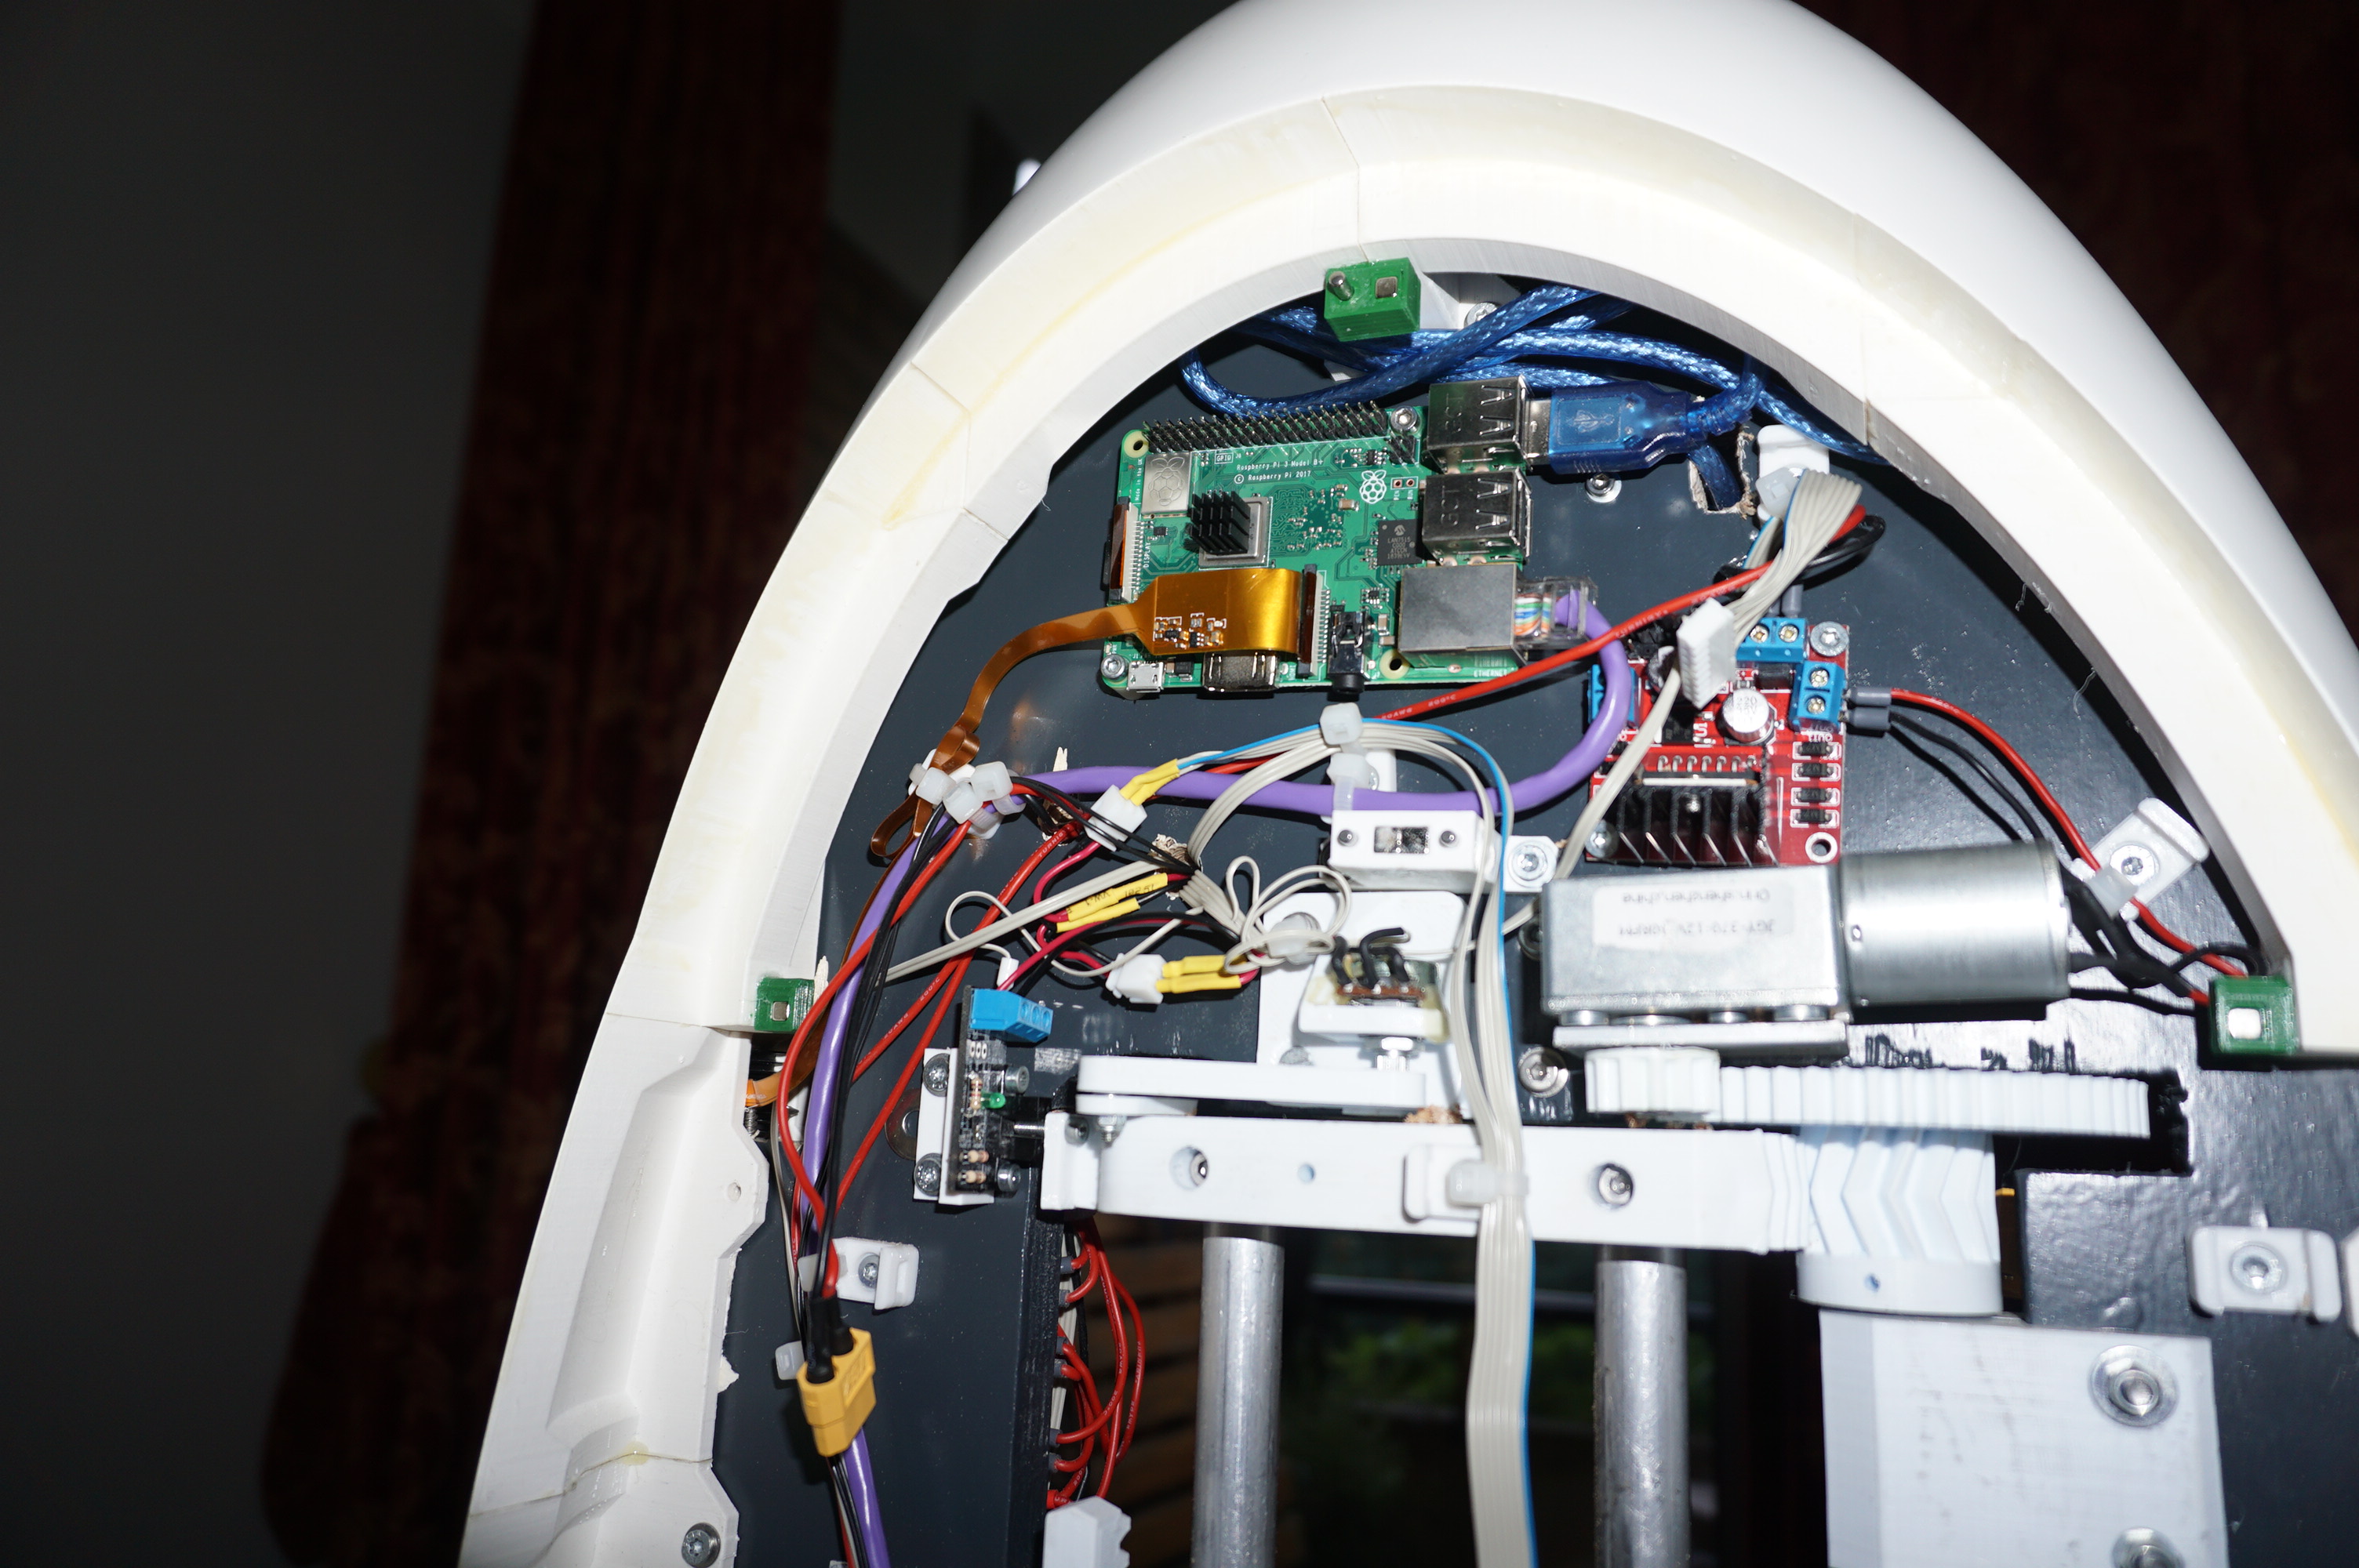
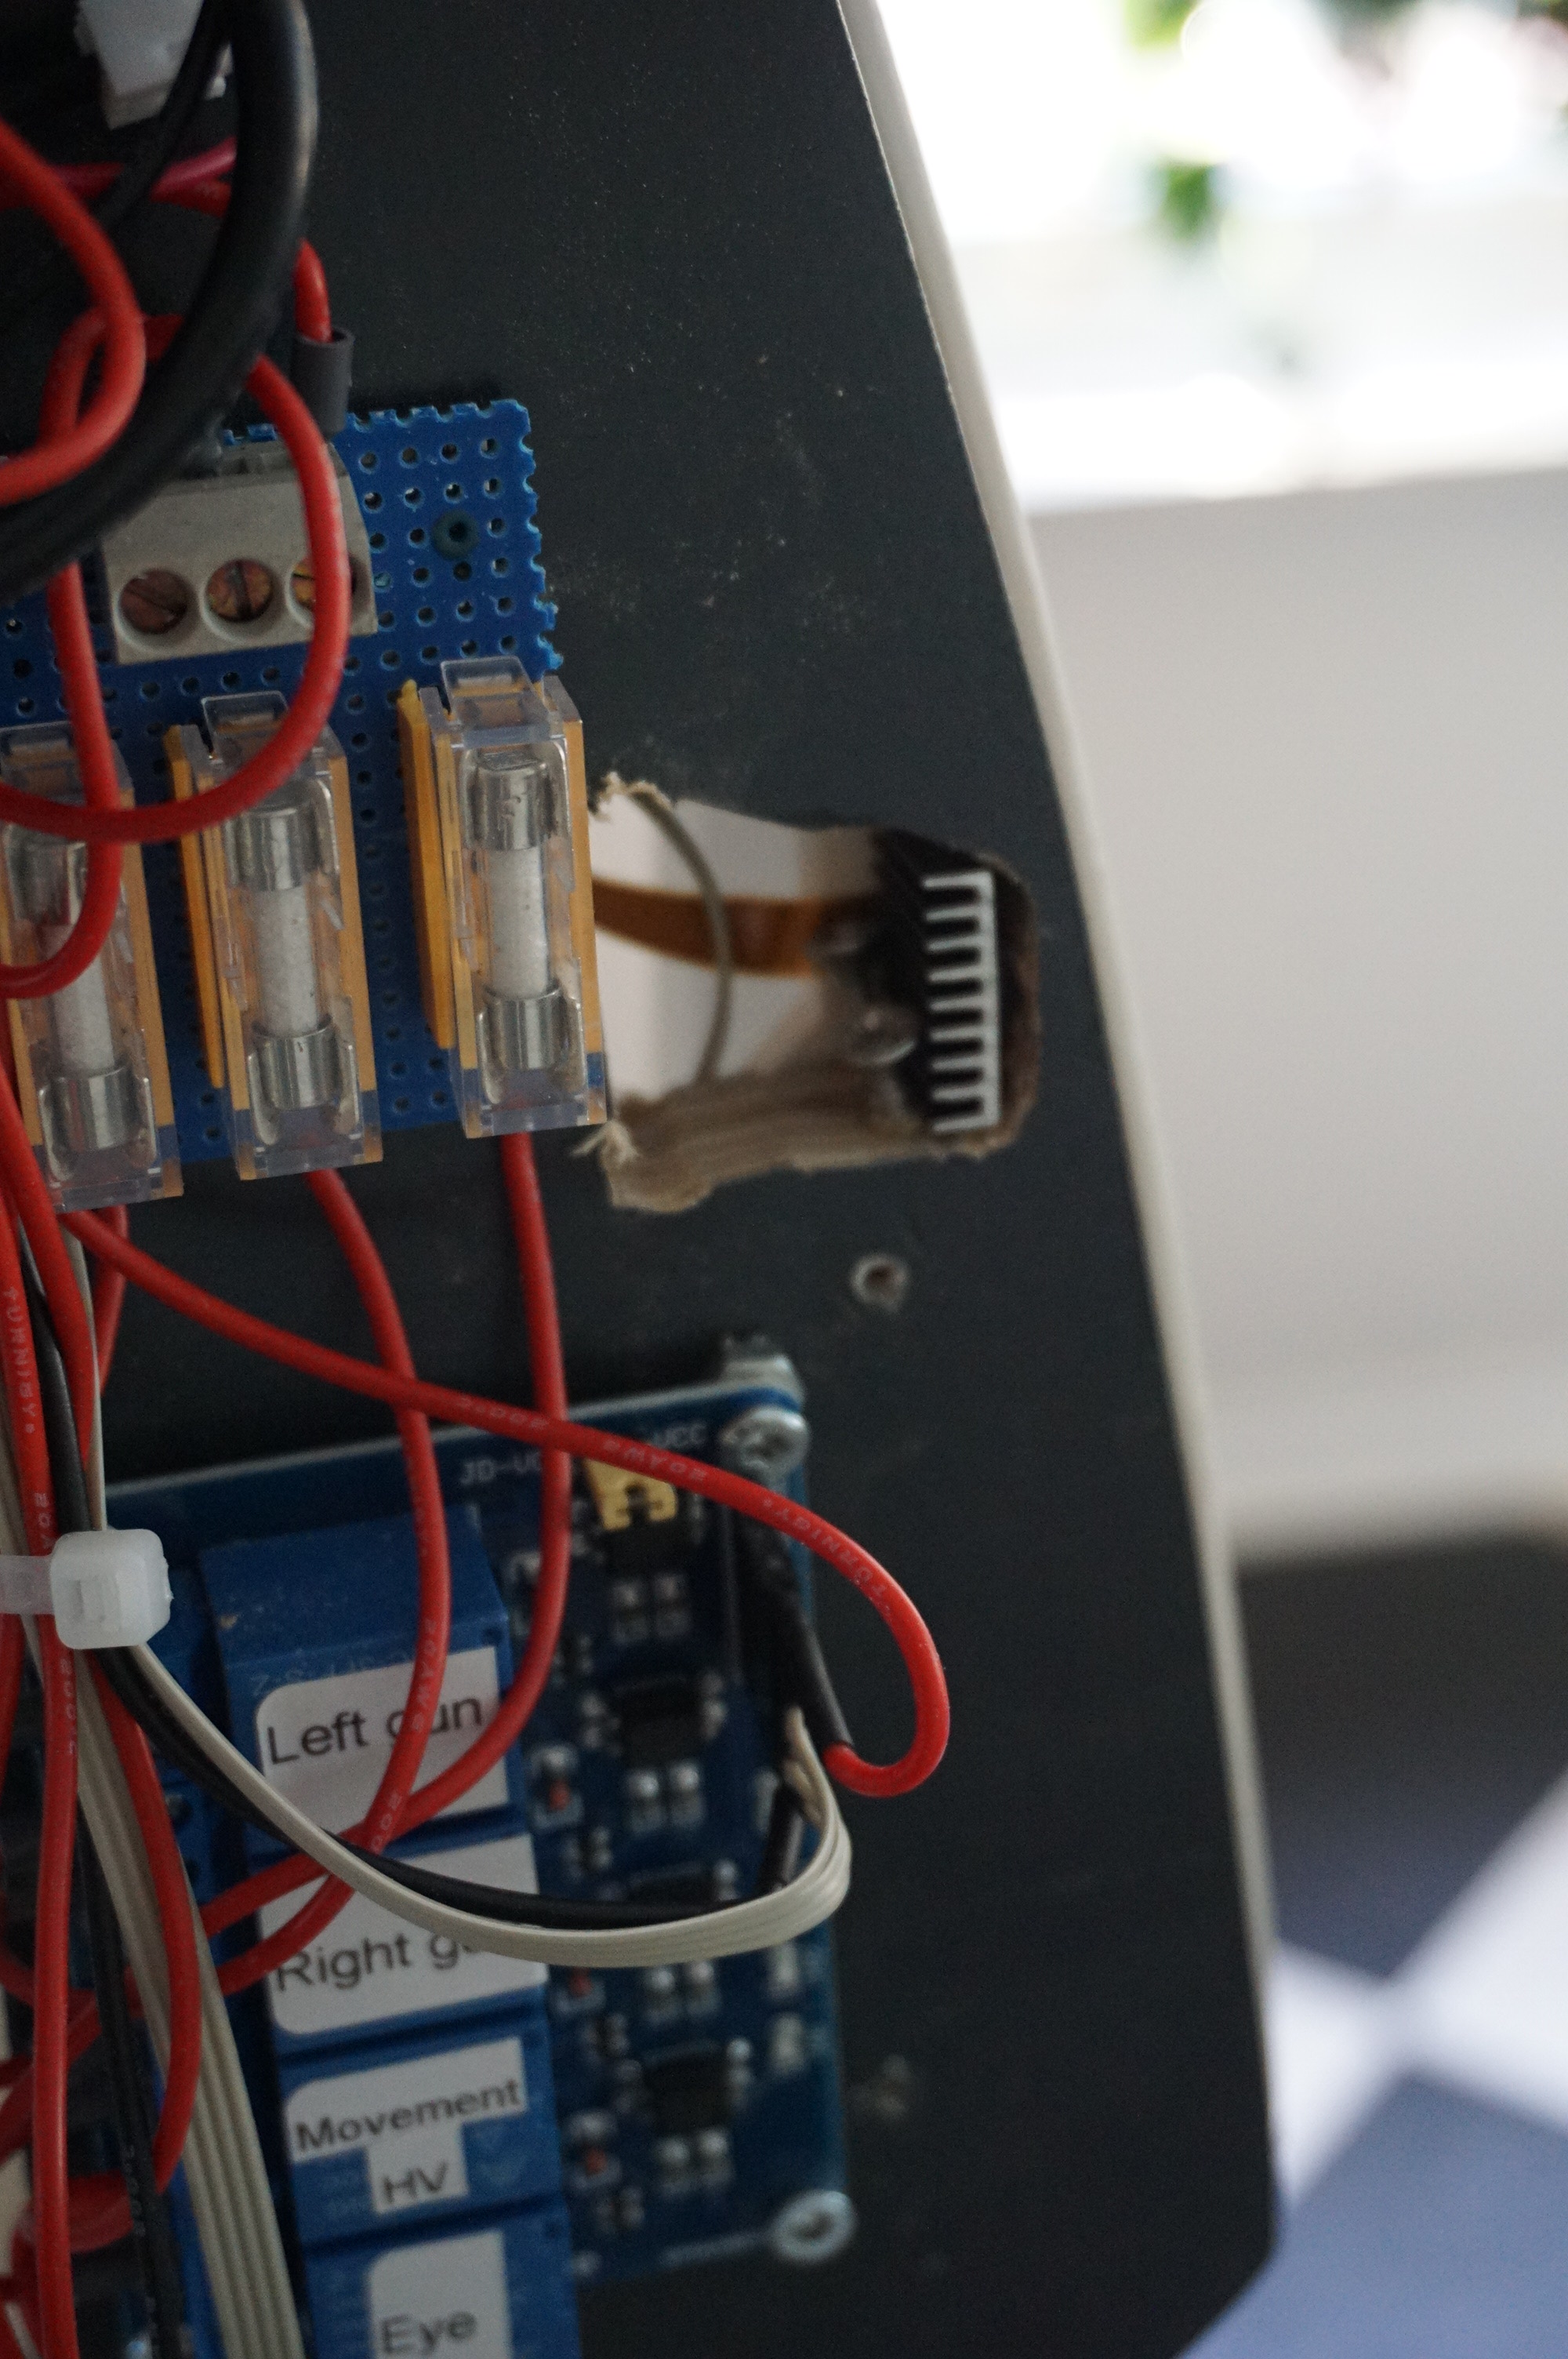
Rewiring the core
The wiring of the old turret was done when there was only a week or so left. As you can imagine, the wiring was the biggest rush job of the entire turret. No rescue attempt was made, the old wiring had to completely go, and new wiring put in. A full schematic was made, and the wiring would be done properly(ish). All removable components were mounted with connectors, and both the microcontroller and raspberry pi are completely removable without soldering.
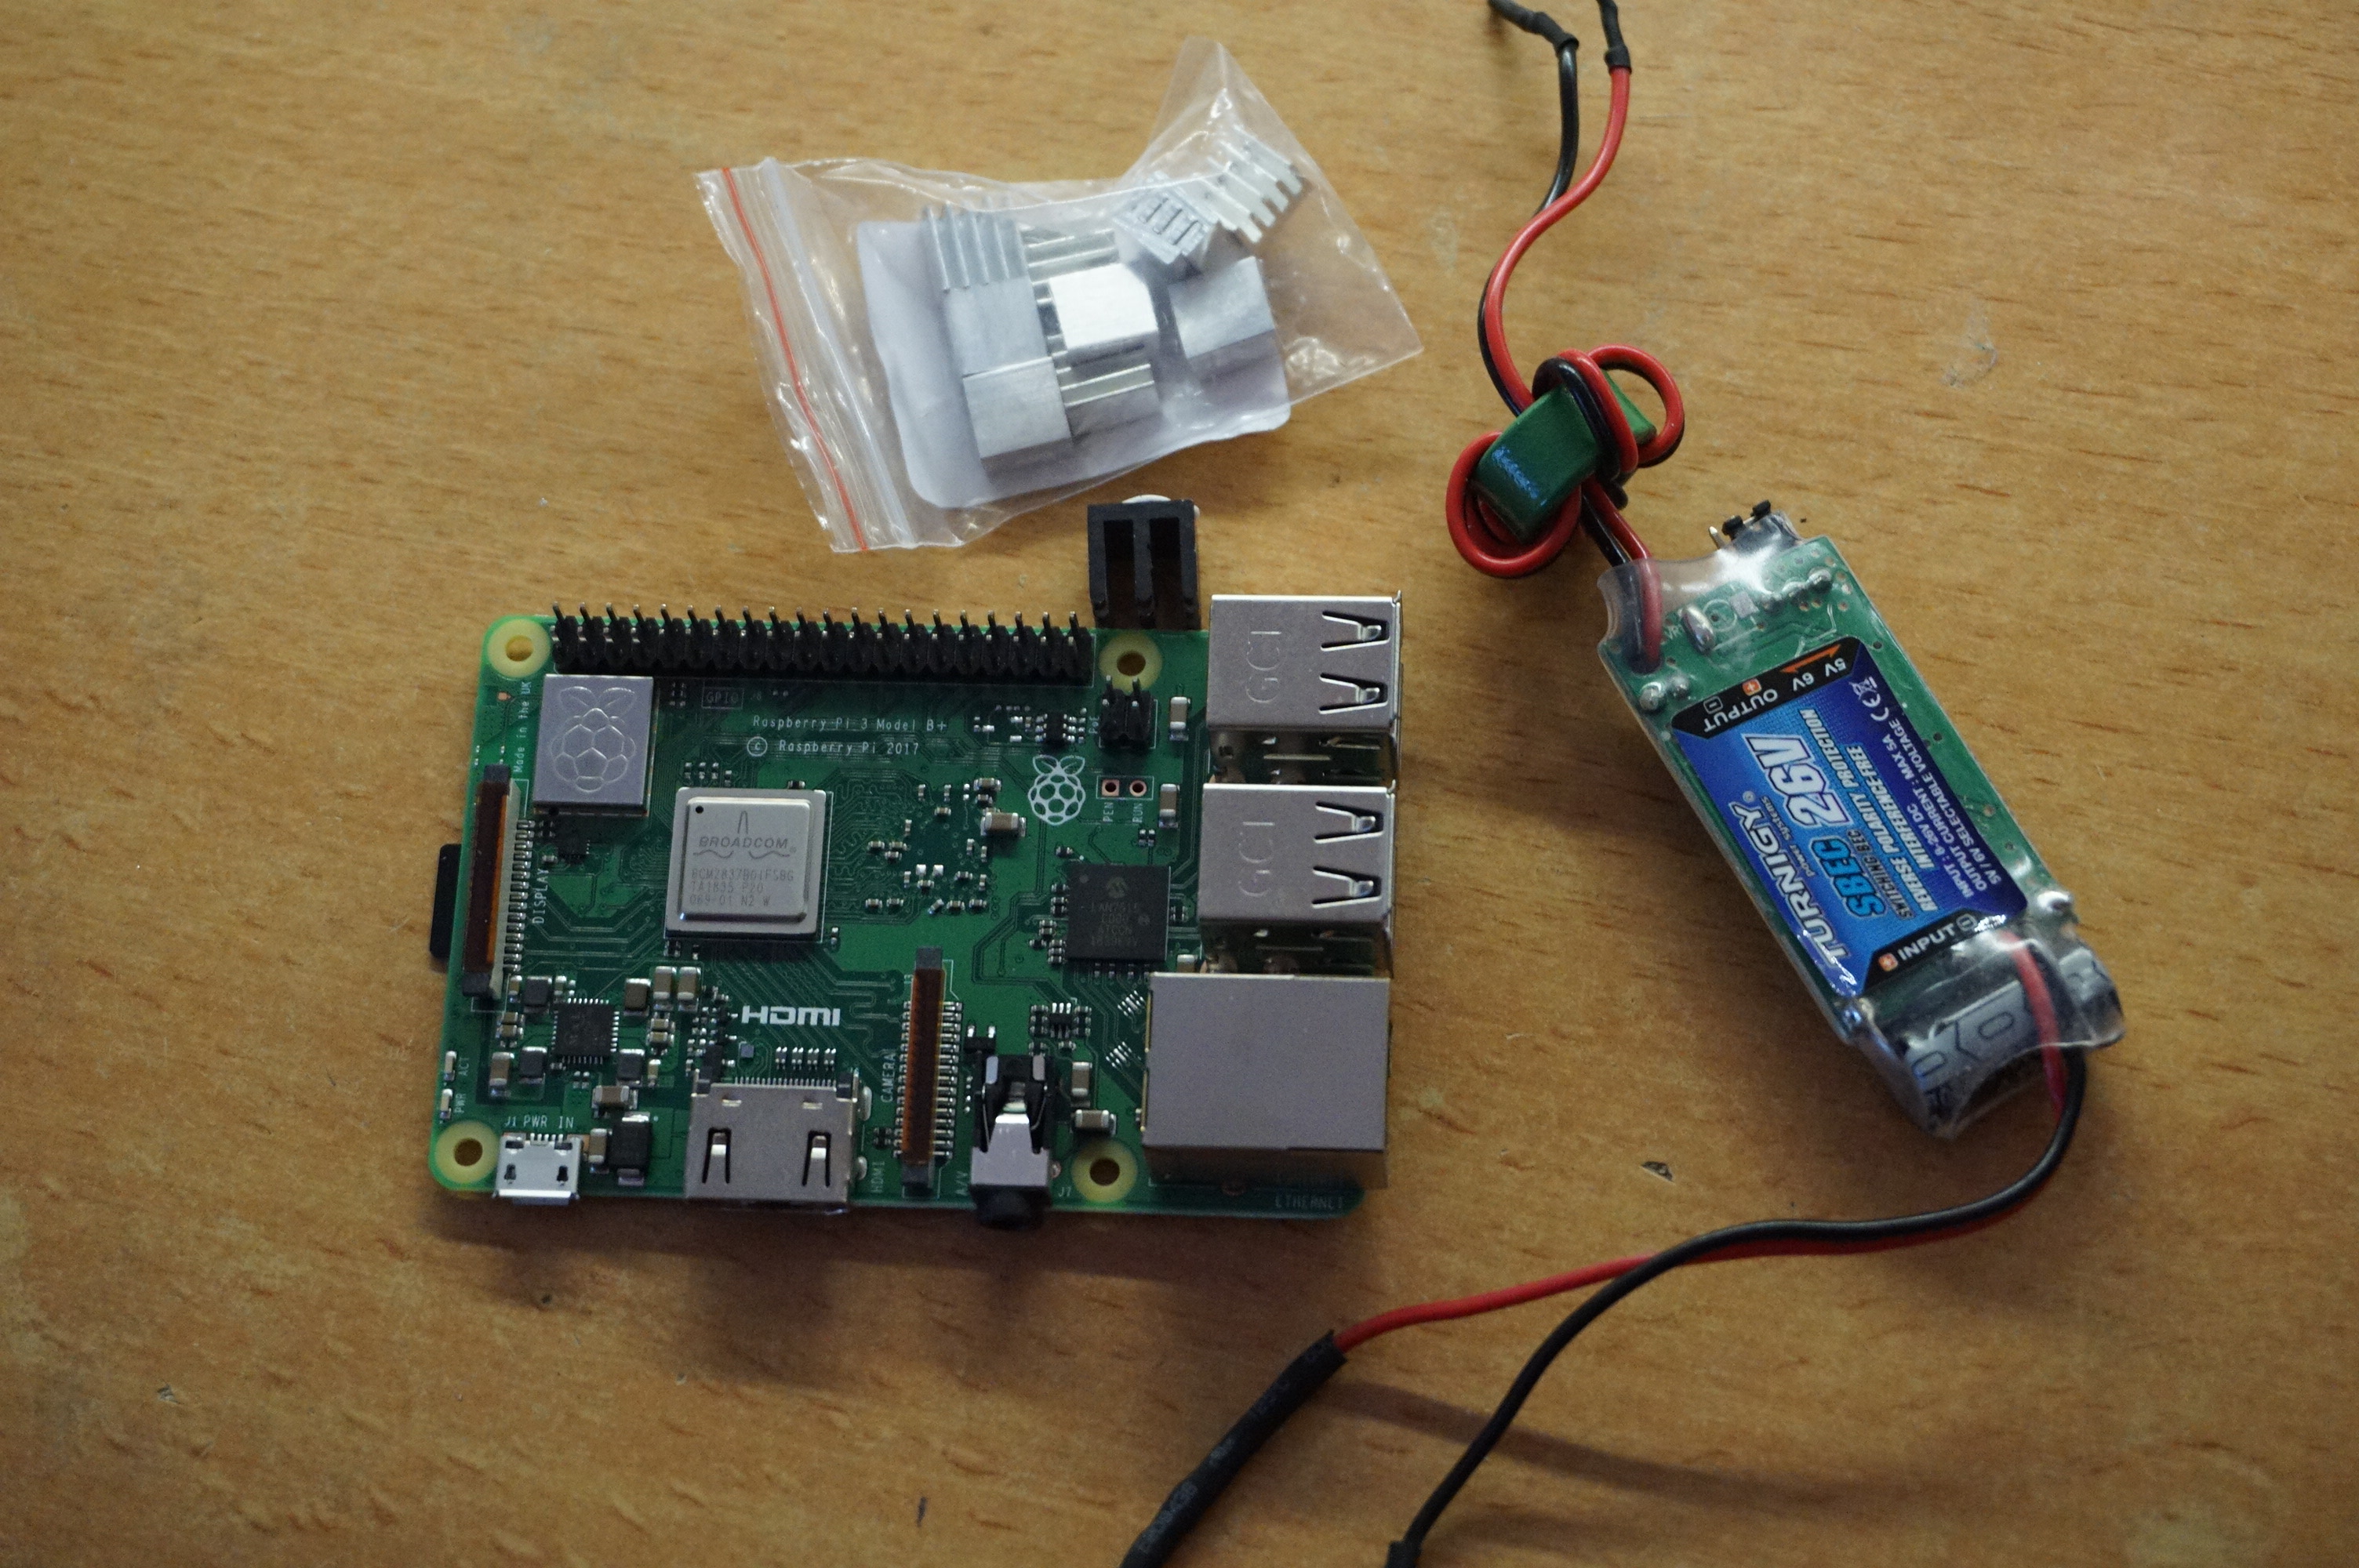
The old raspberry pi in the turret was an old raspberry pi. I am talking 28 pin header and 2 usb old. As of writing the 4 is just out. I did put a 3+ in, since it was a known entity. A 4 would have had more processing power which I will need later, but the 3+ will do fine.

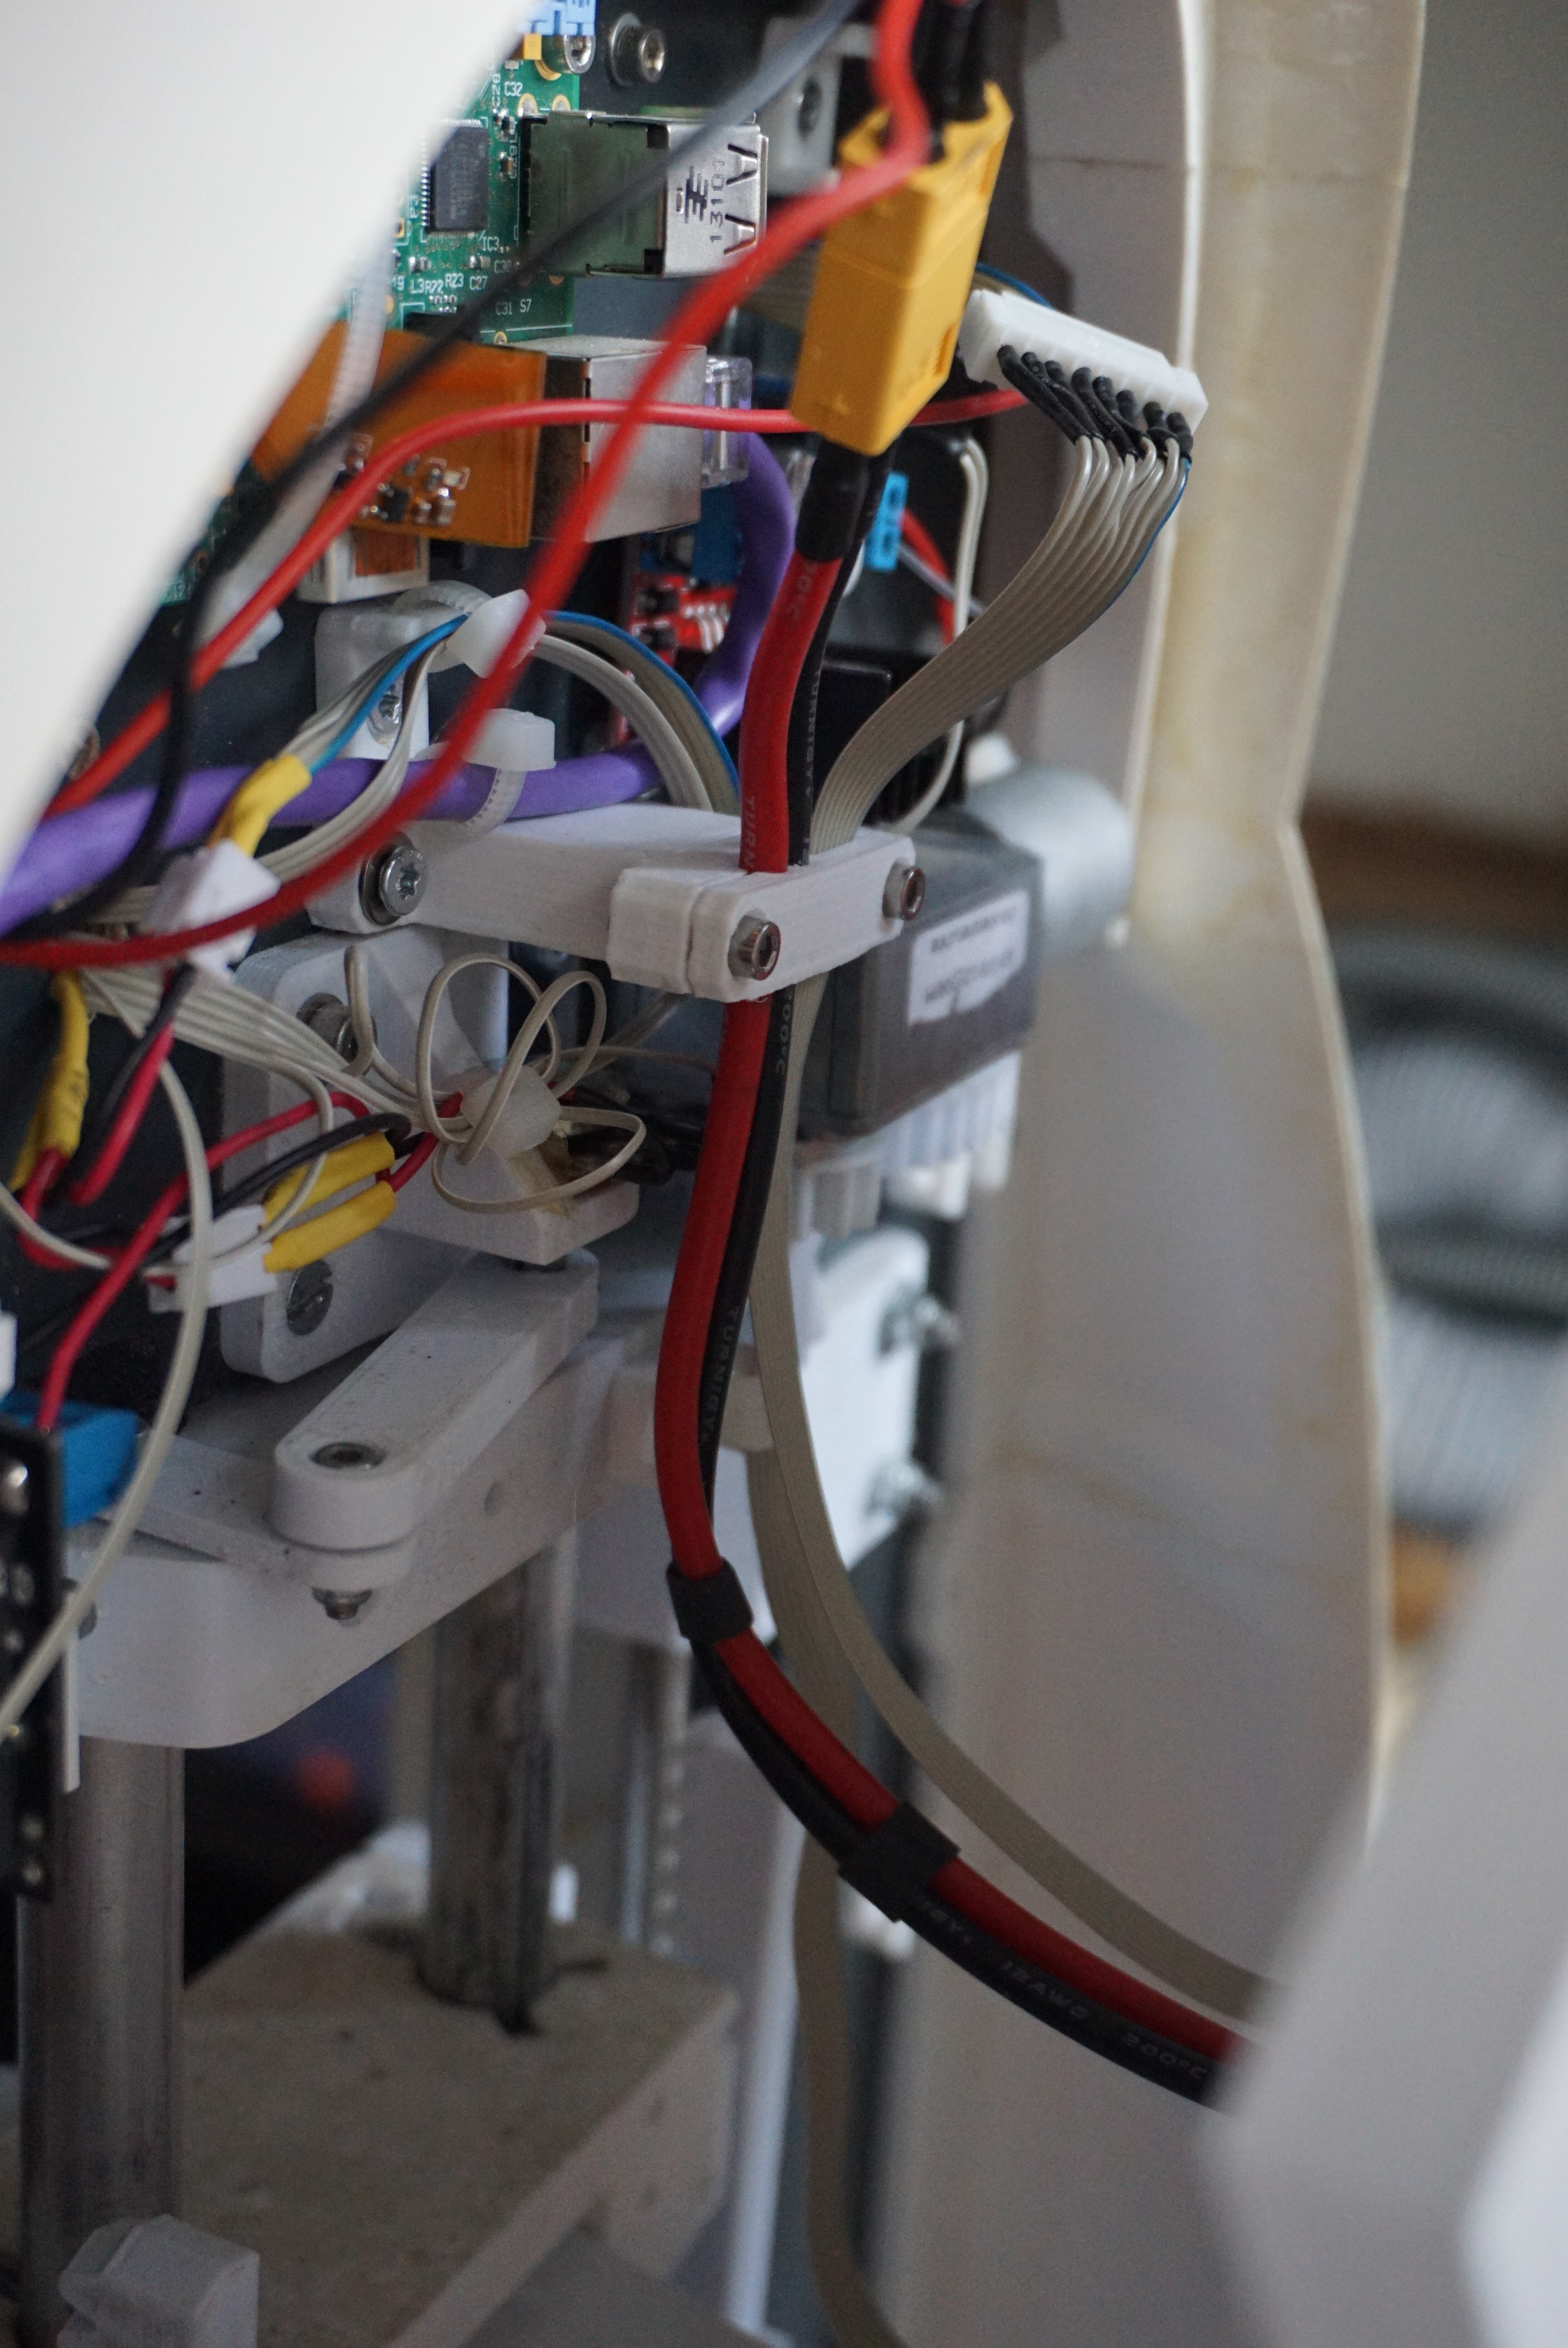
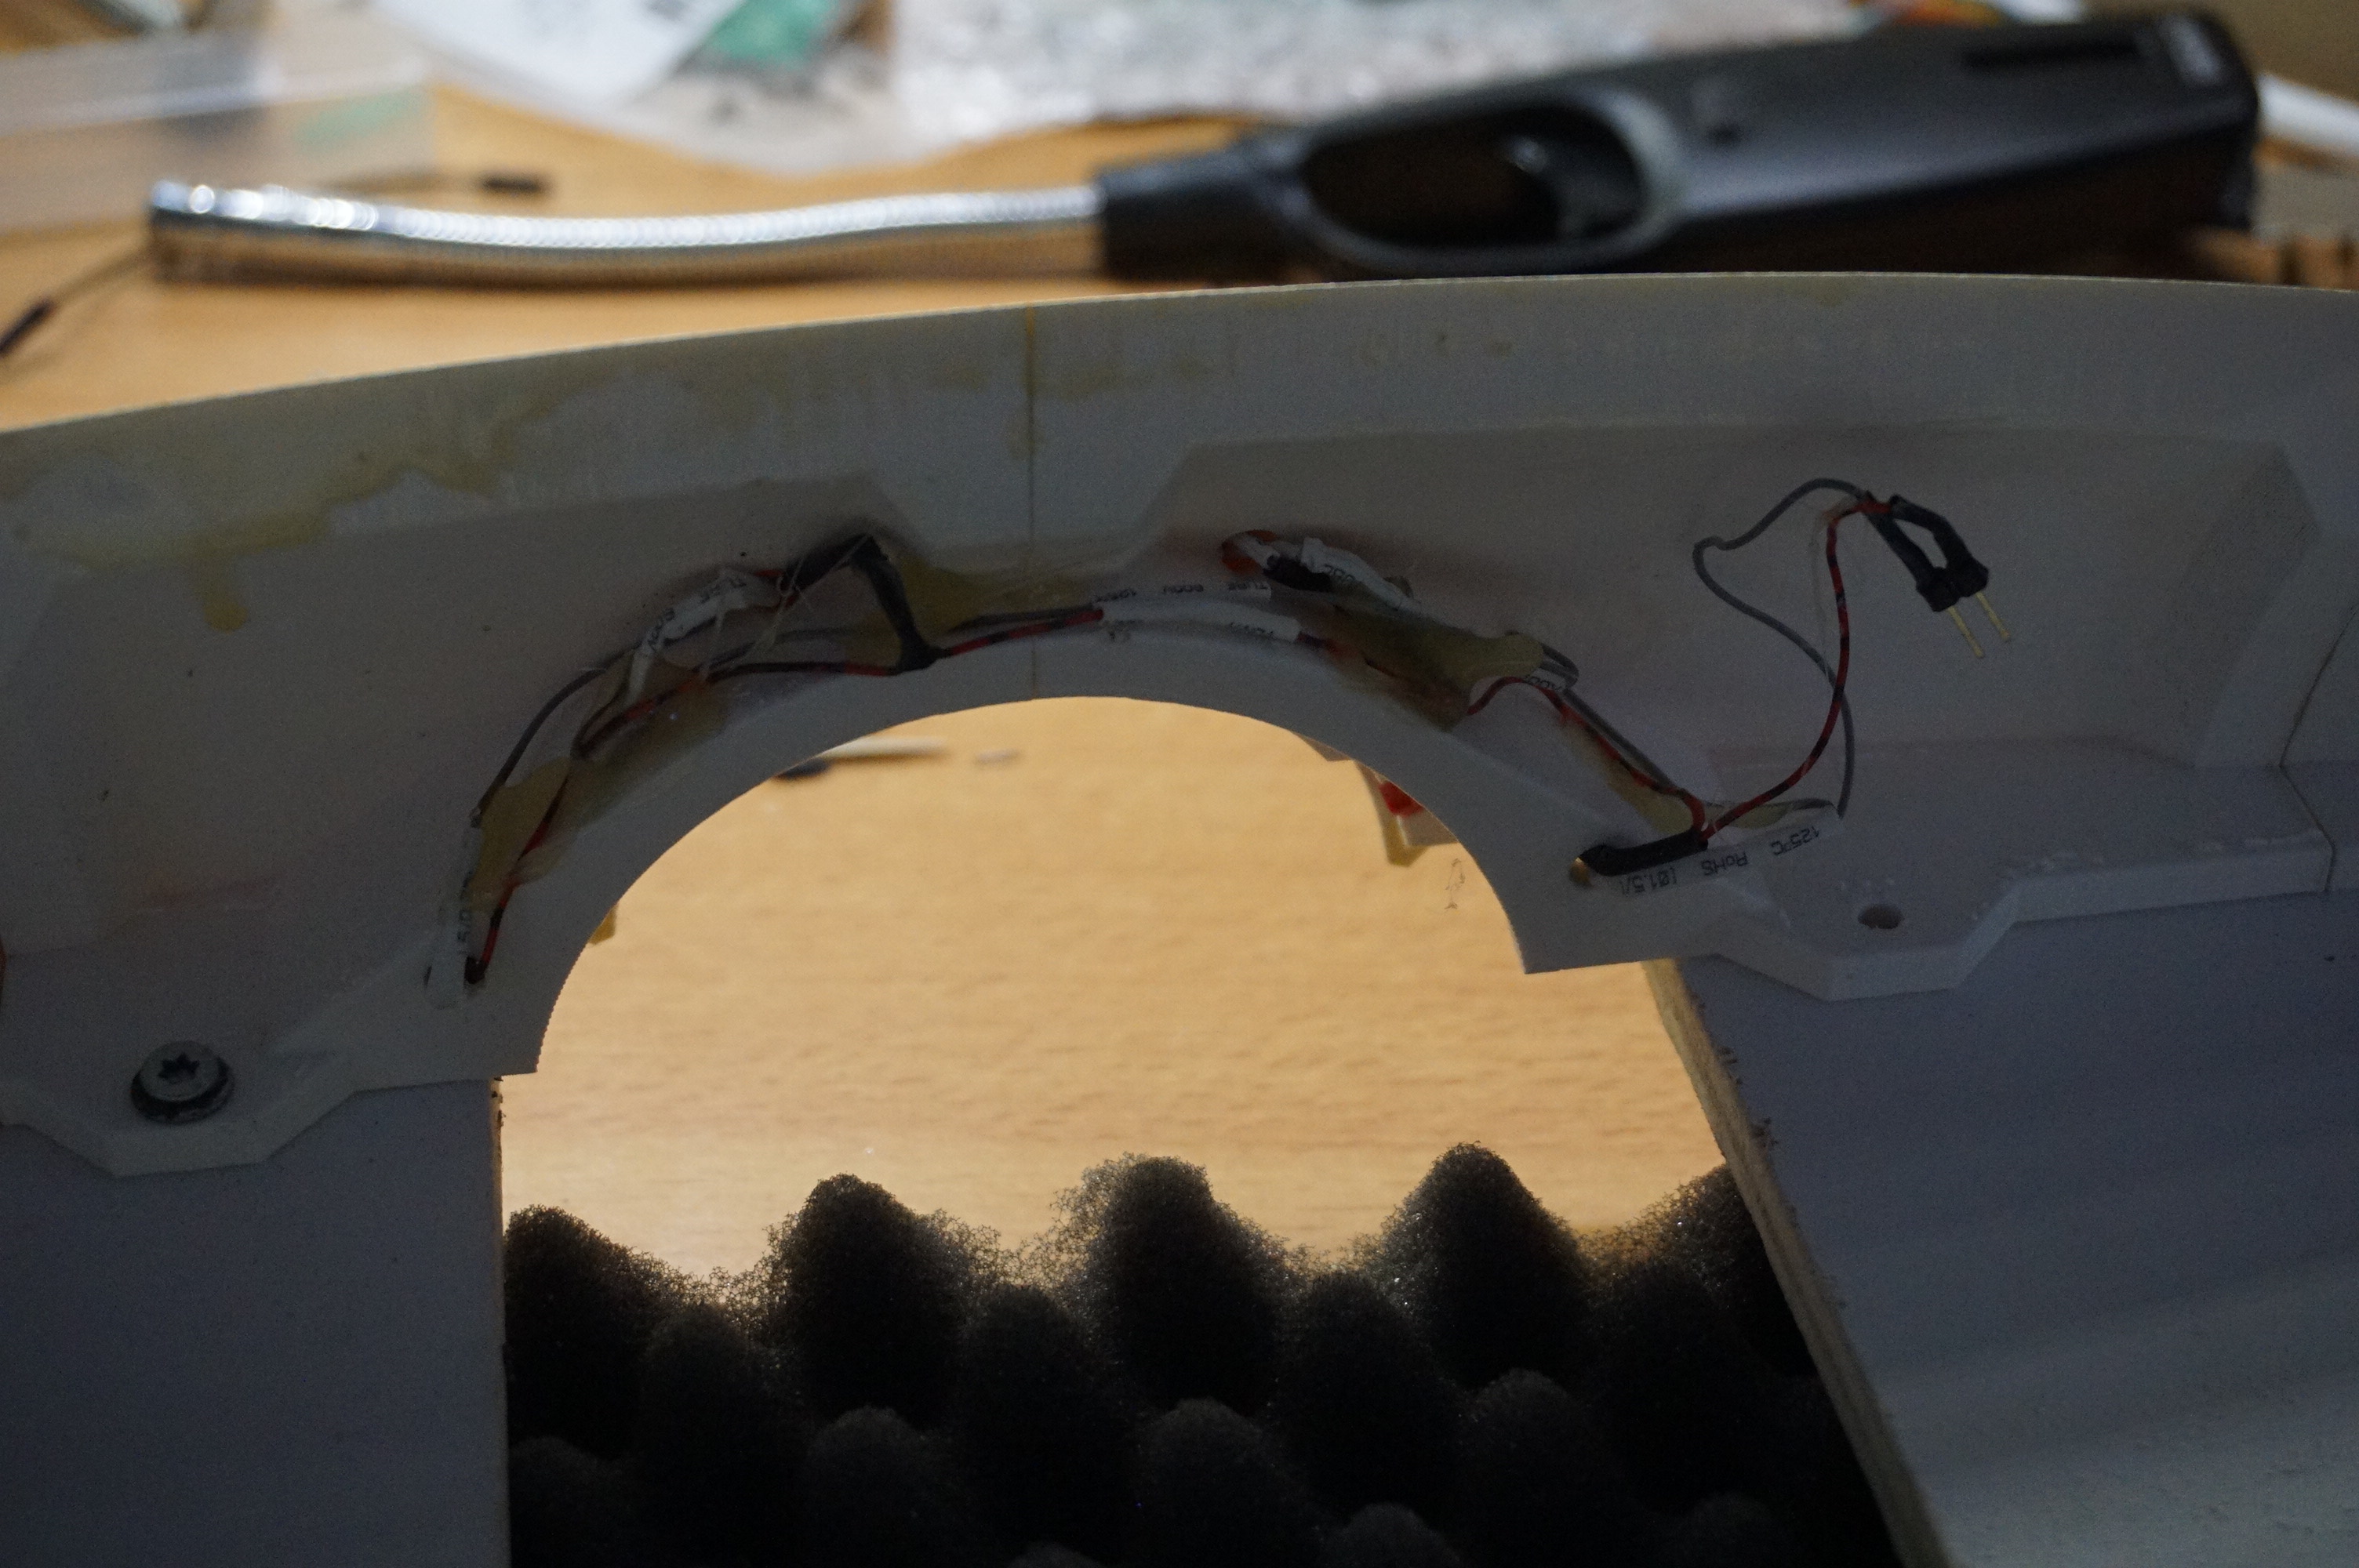
The wiring in the guns was an equally big mess. Again, I took all the wiring out, and completely redid it. This time, each feeder is a separately wired entity. The top feeder takes the input wires and spreads all the signals to connectors. The bottom feeder and motion attach to this.
The wire path from the guns to the head were also redone. In the old turret, they just went from body to gun, without a real thought. A magnetic mount was made for the gun cable, that will be covered later. Removing the gun is now as simple as disconnecting 2 connectors, releasing the mount and detaching the gears.


The base
Wub wub wub! No the other base.
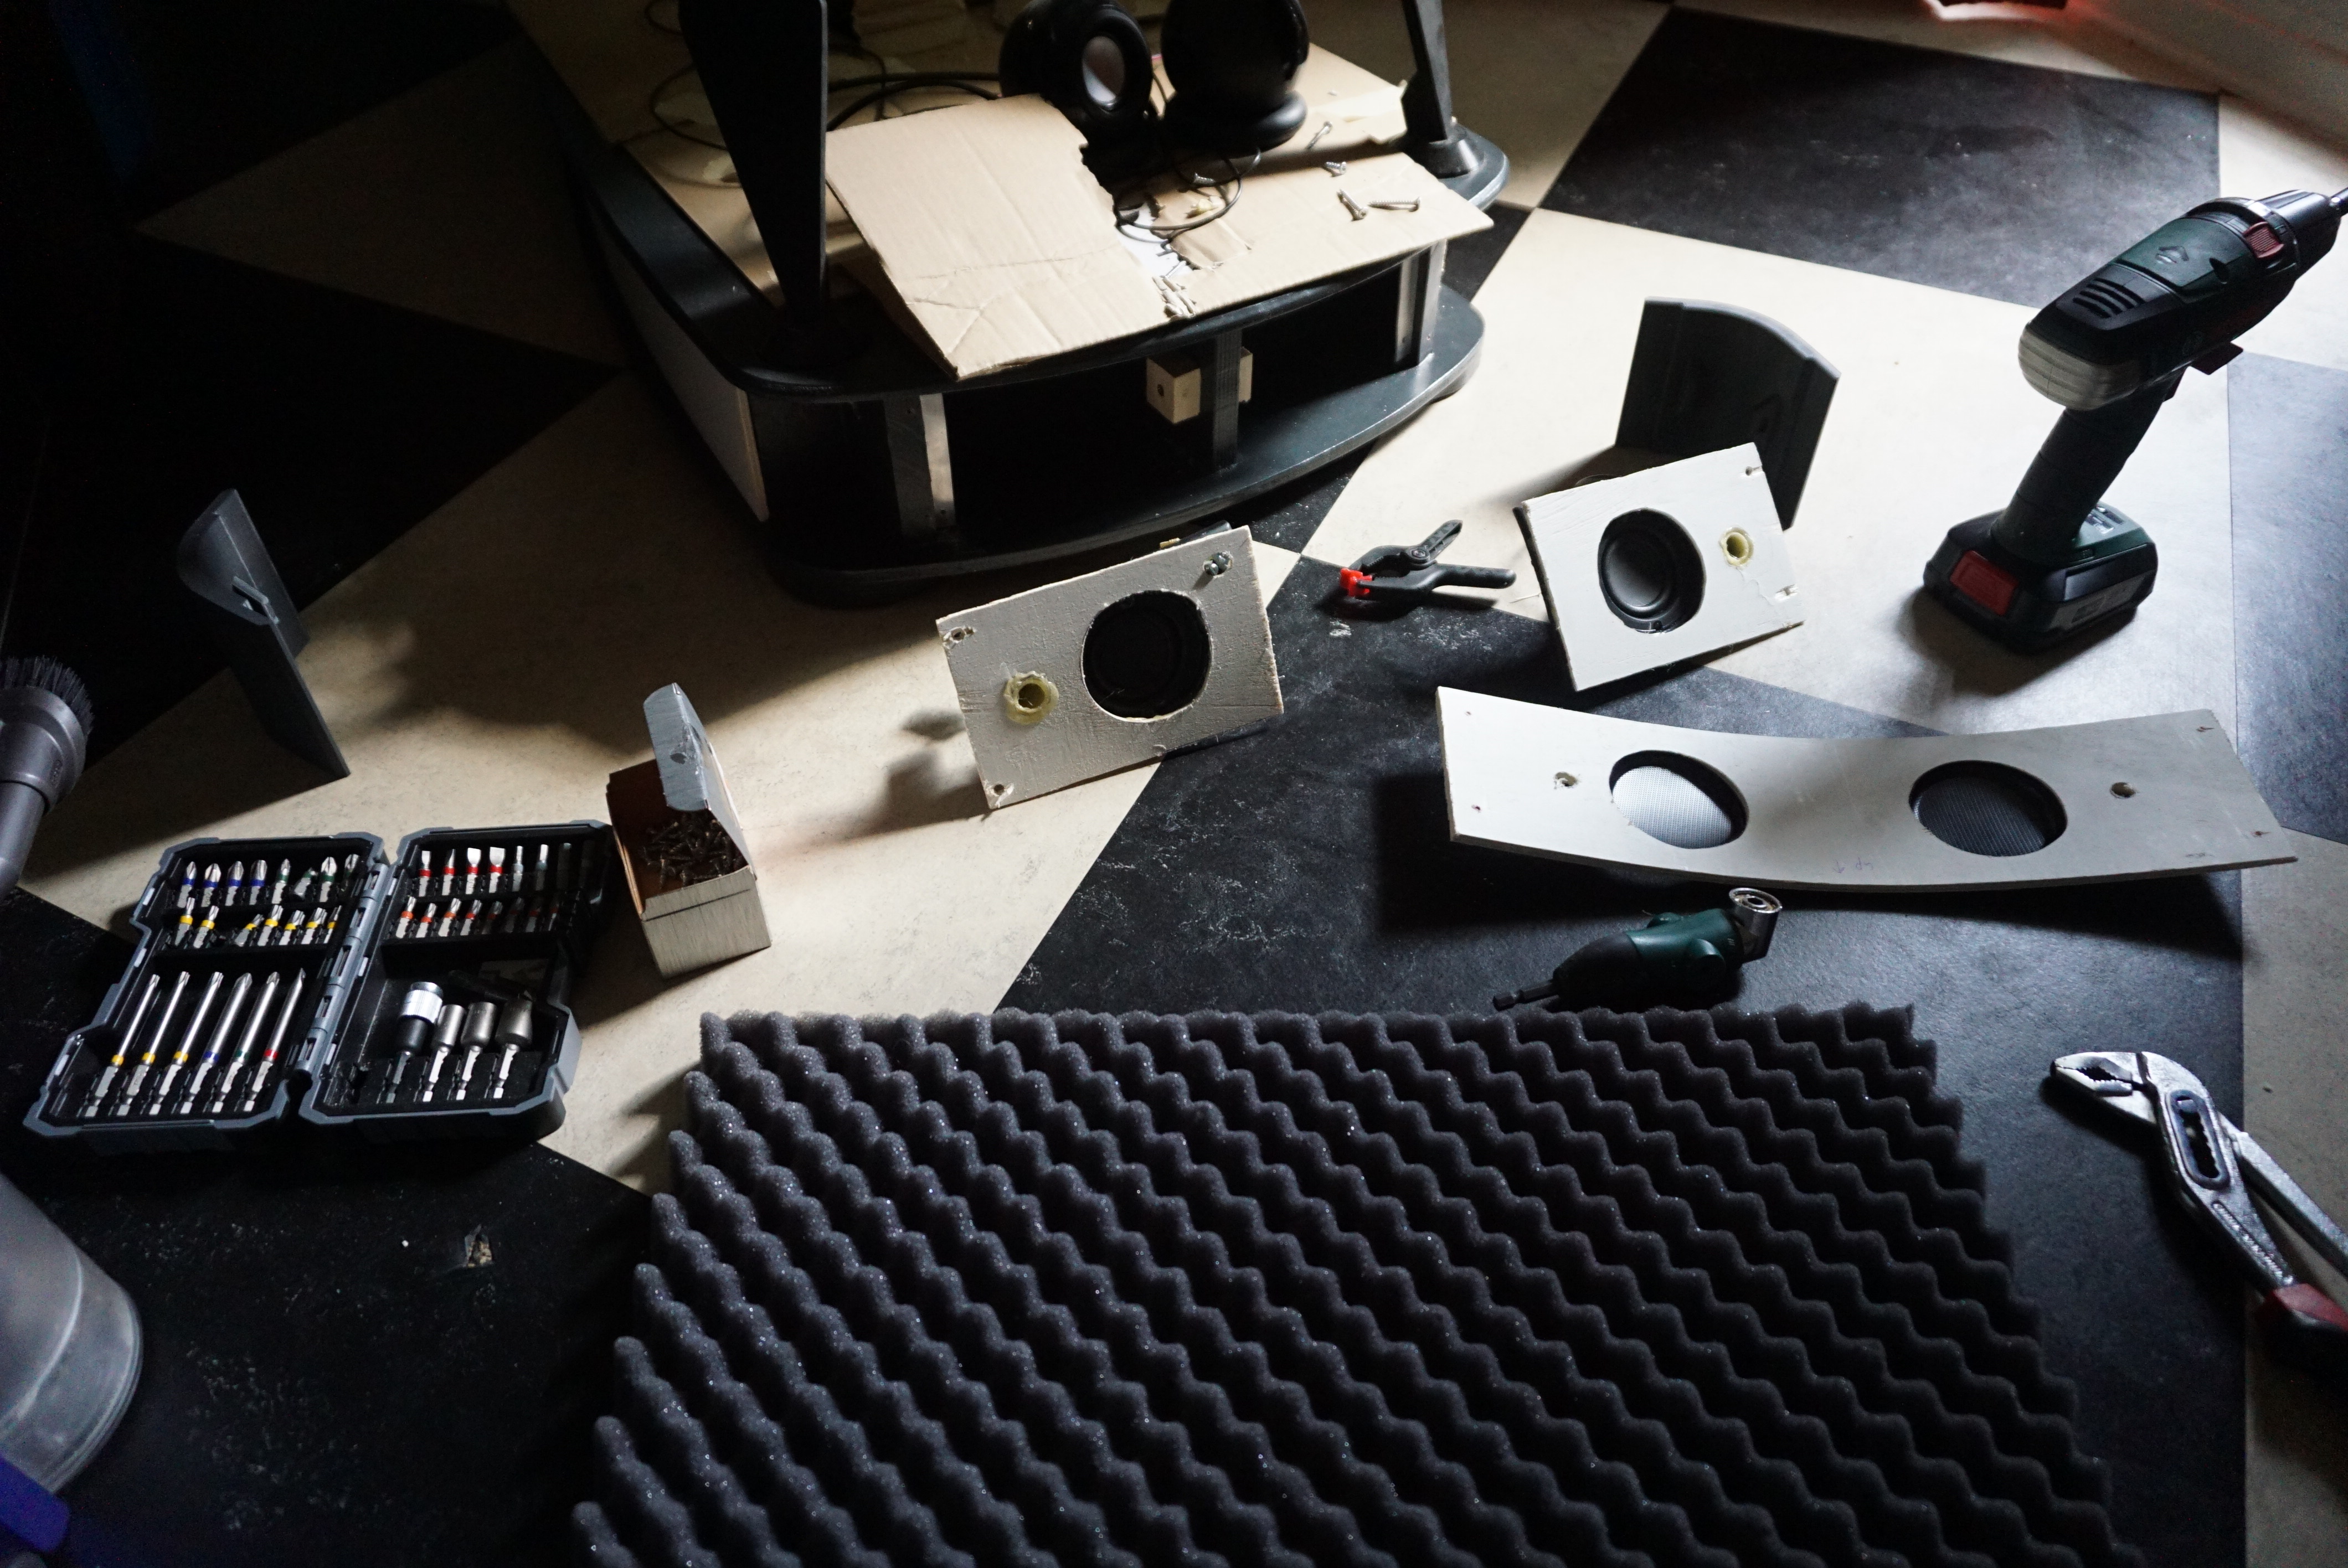
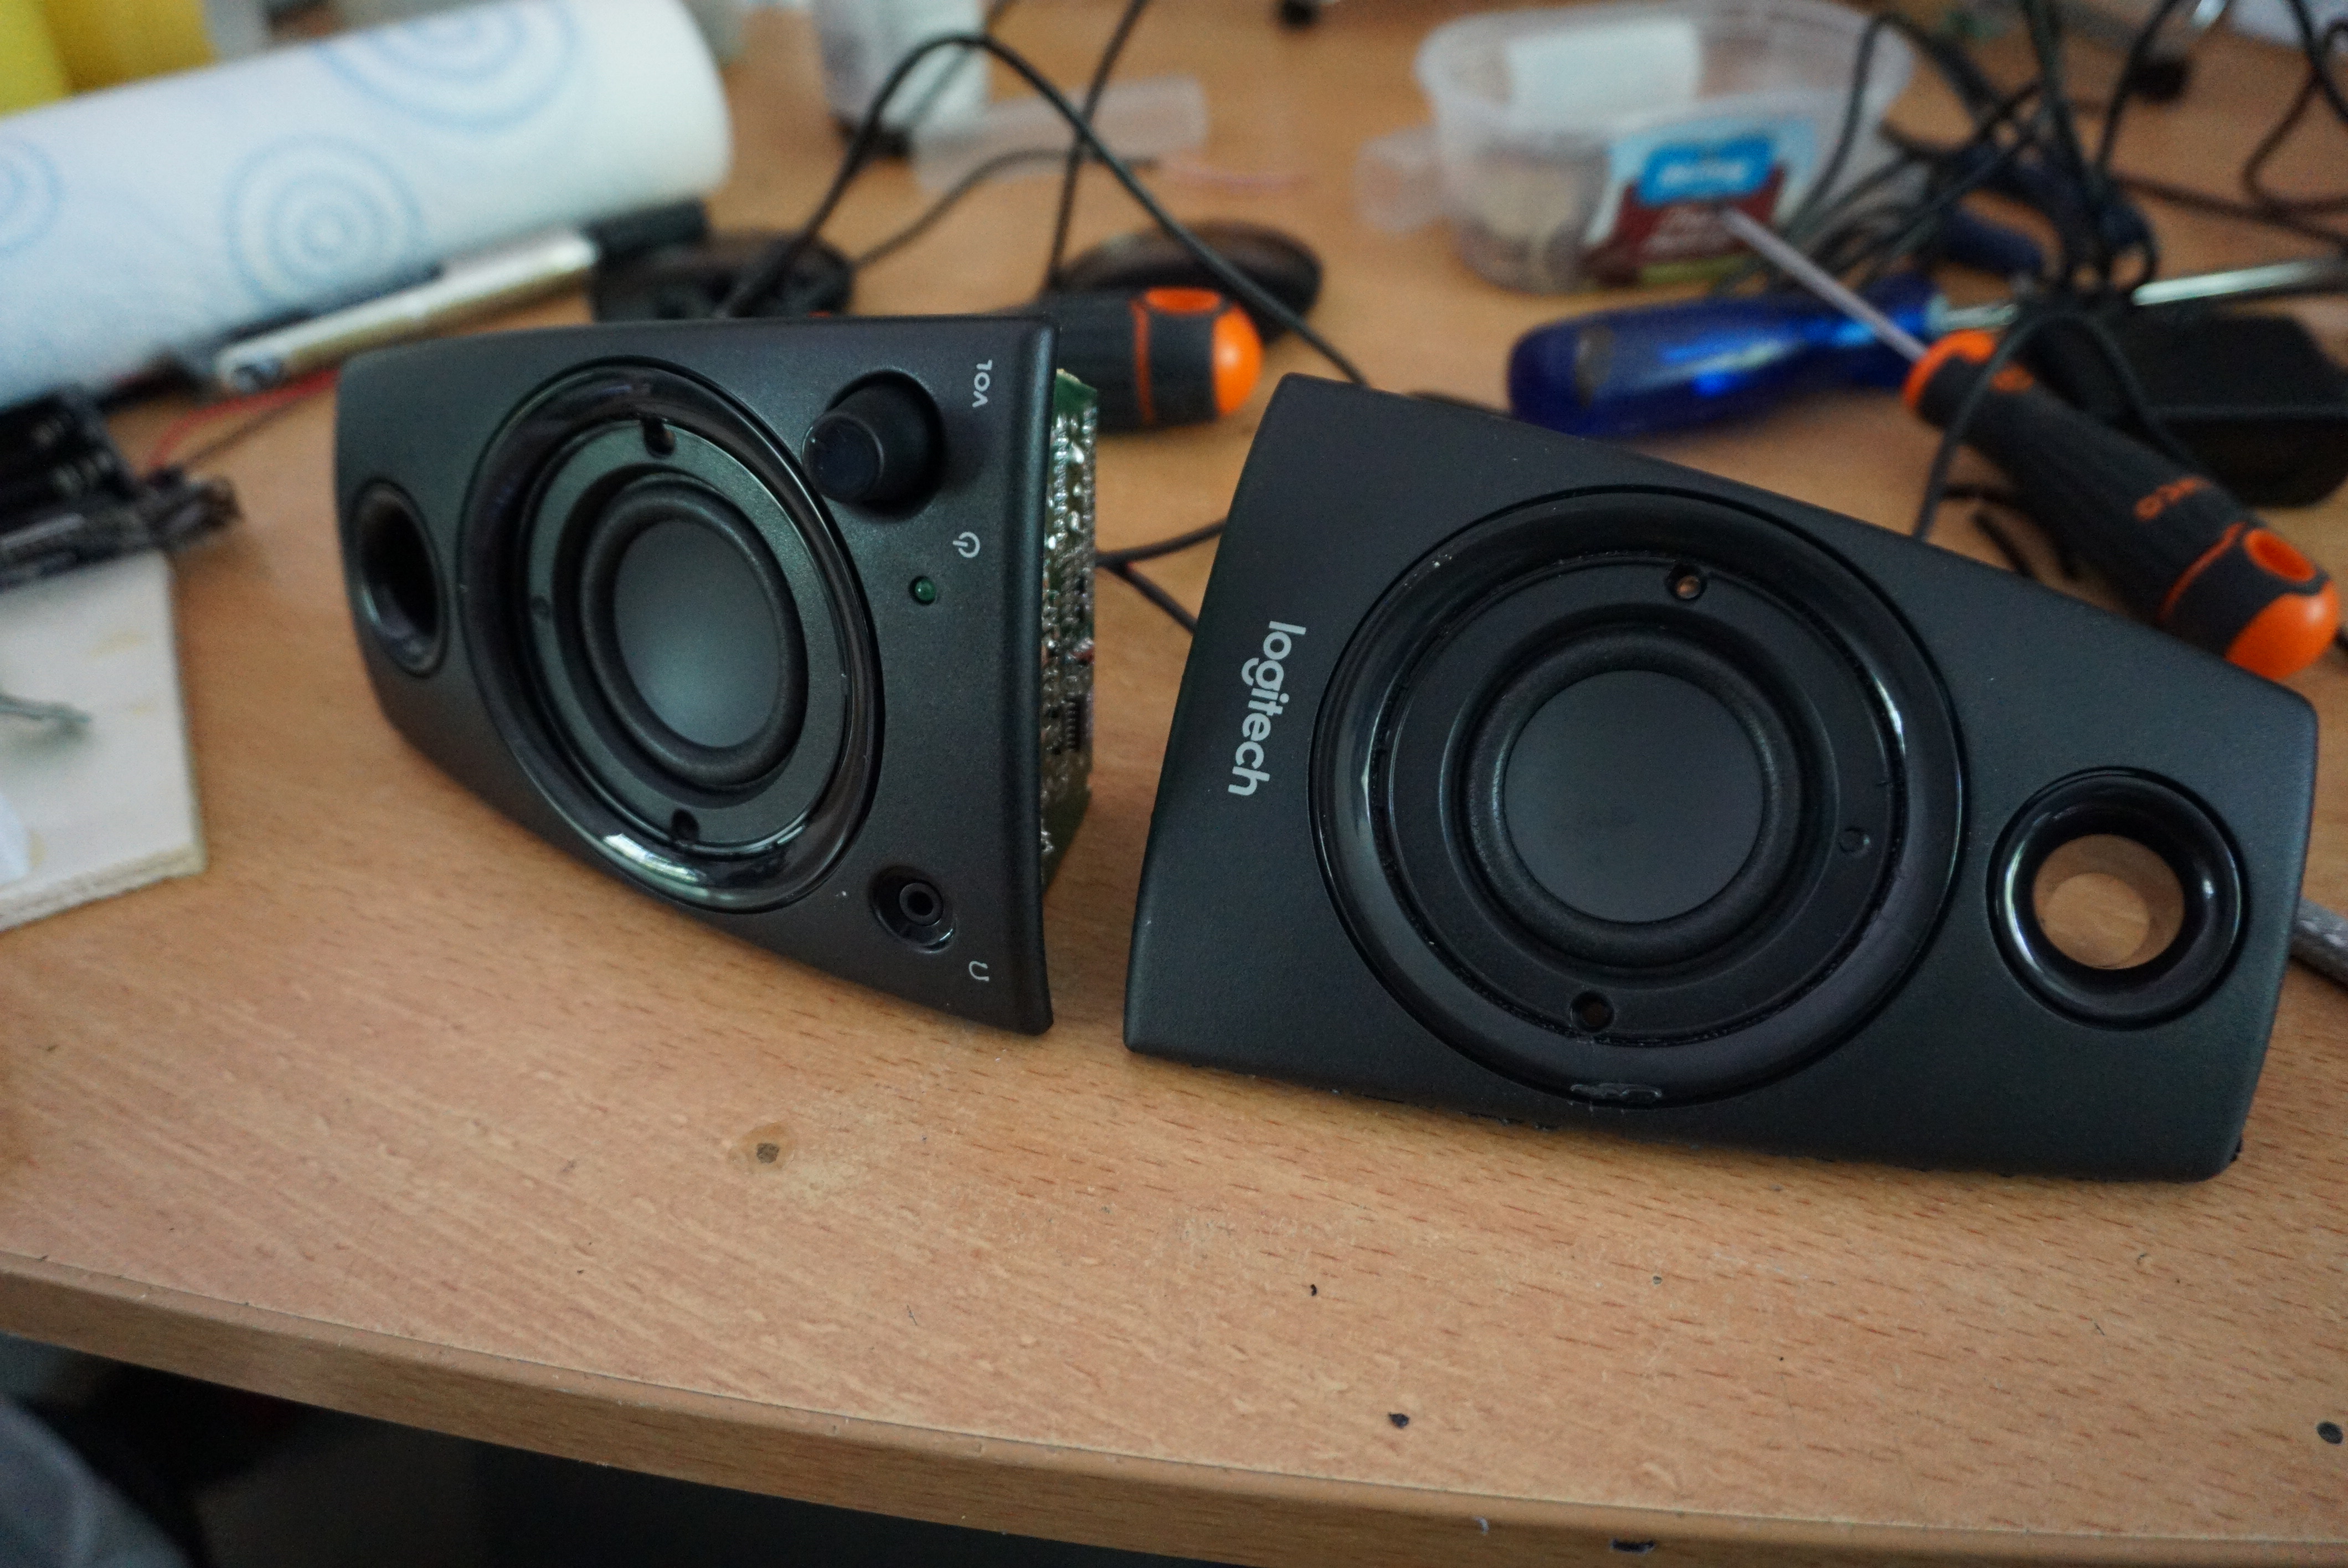
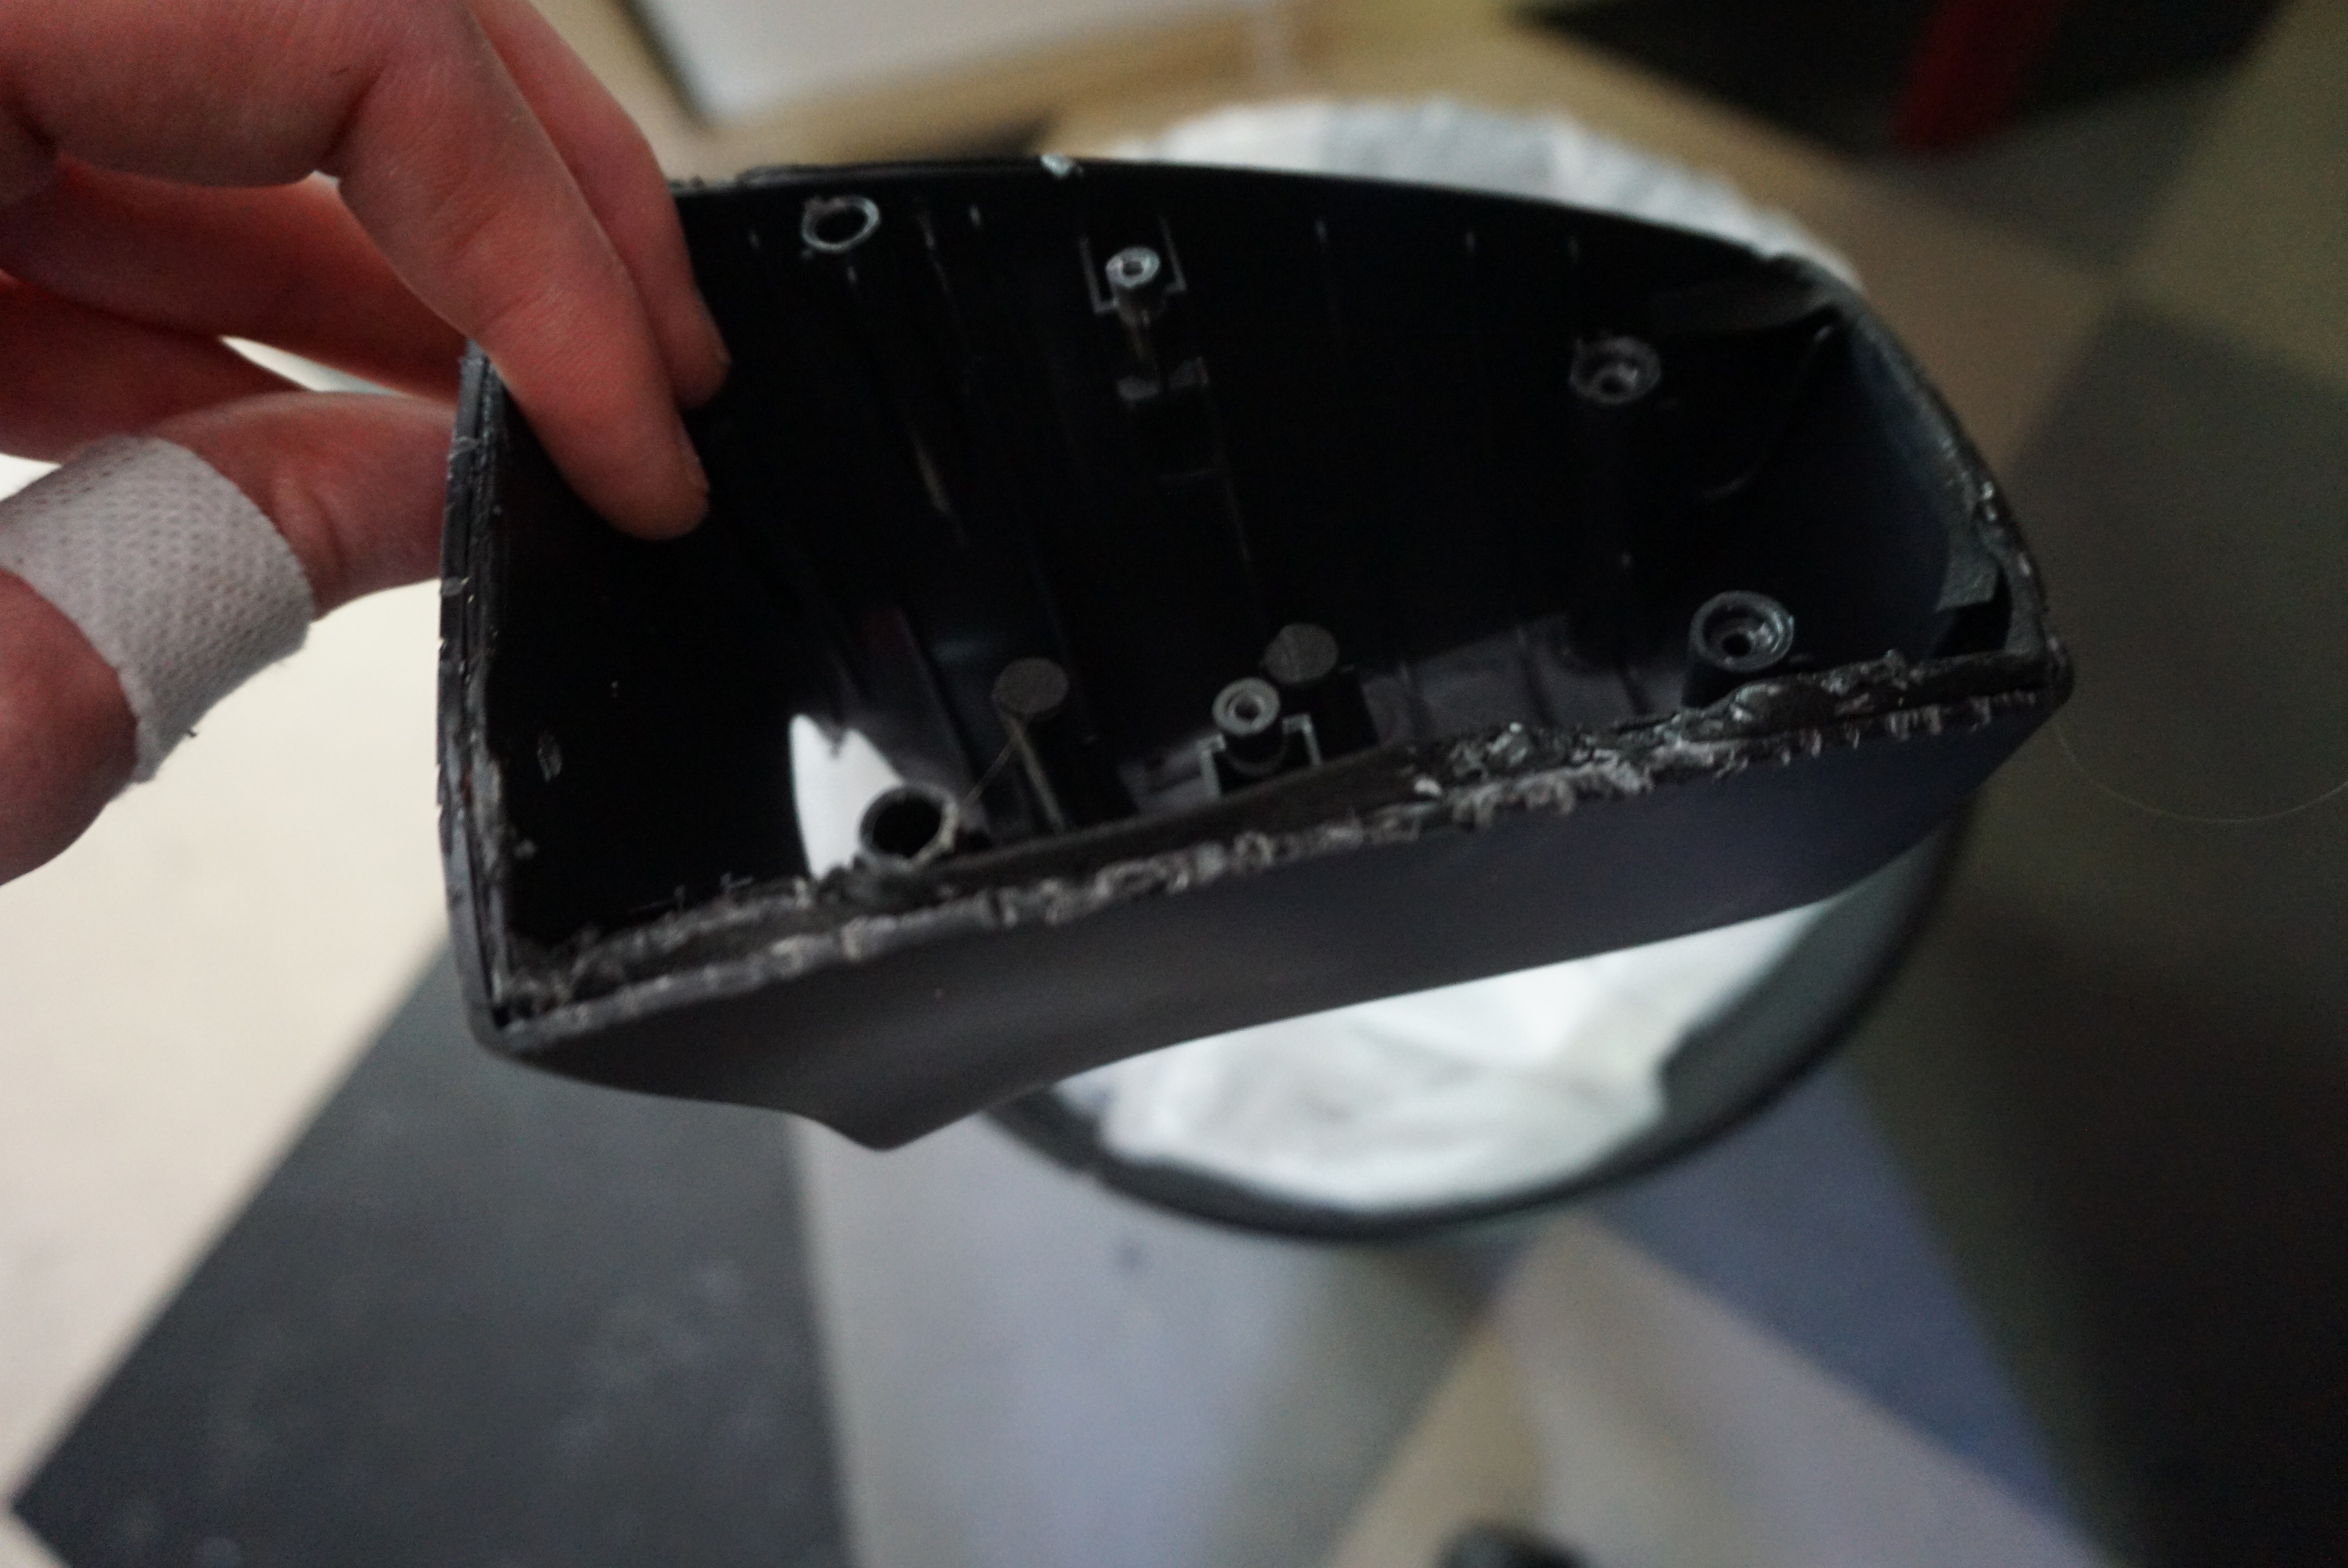
The turret has a base. The bulk of it was made on the first bit of work, but it lacked a few things. The first was a rim around the base to cover up the openings in the side. The other were speakers.
The rim is made of 2 sheets of thin plywood, glued together in place. This way, most of the curvature of the base is fixed in the rim. The speakers are PC speakers that were disassembled and mounted in the base. I did get to play the game ‘find the last 2 screws’ with these speakers, but all in all they work great.

Painting and repainting
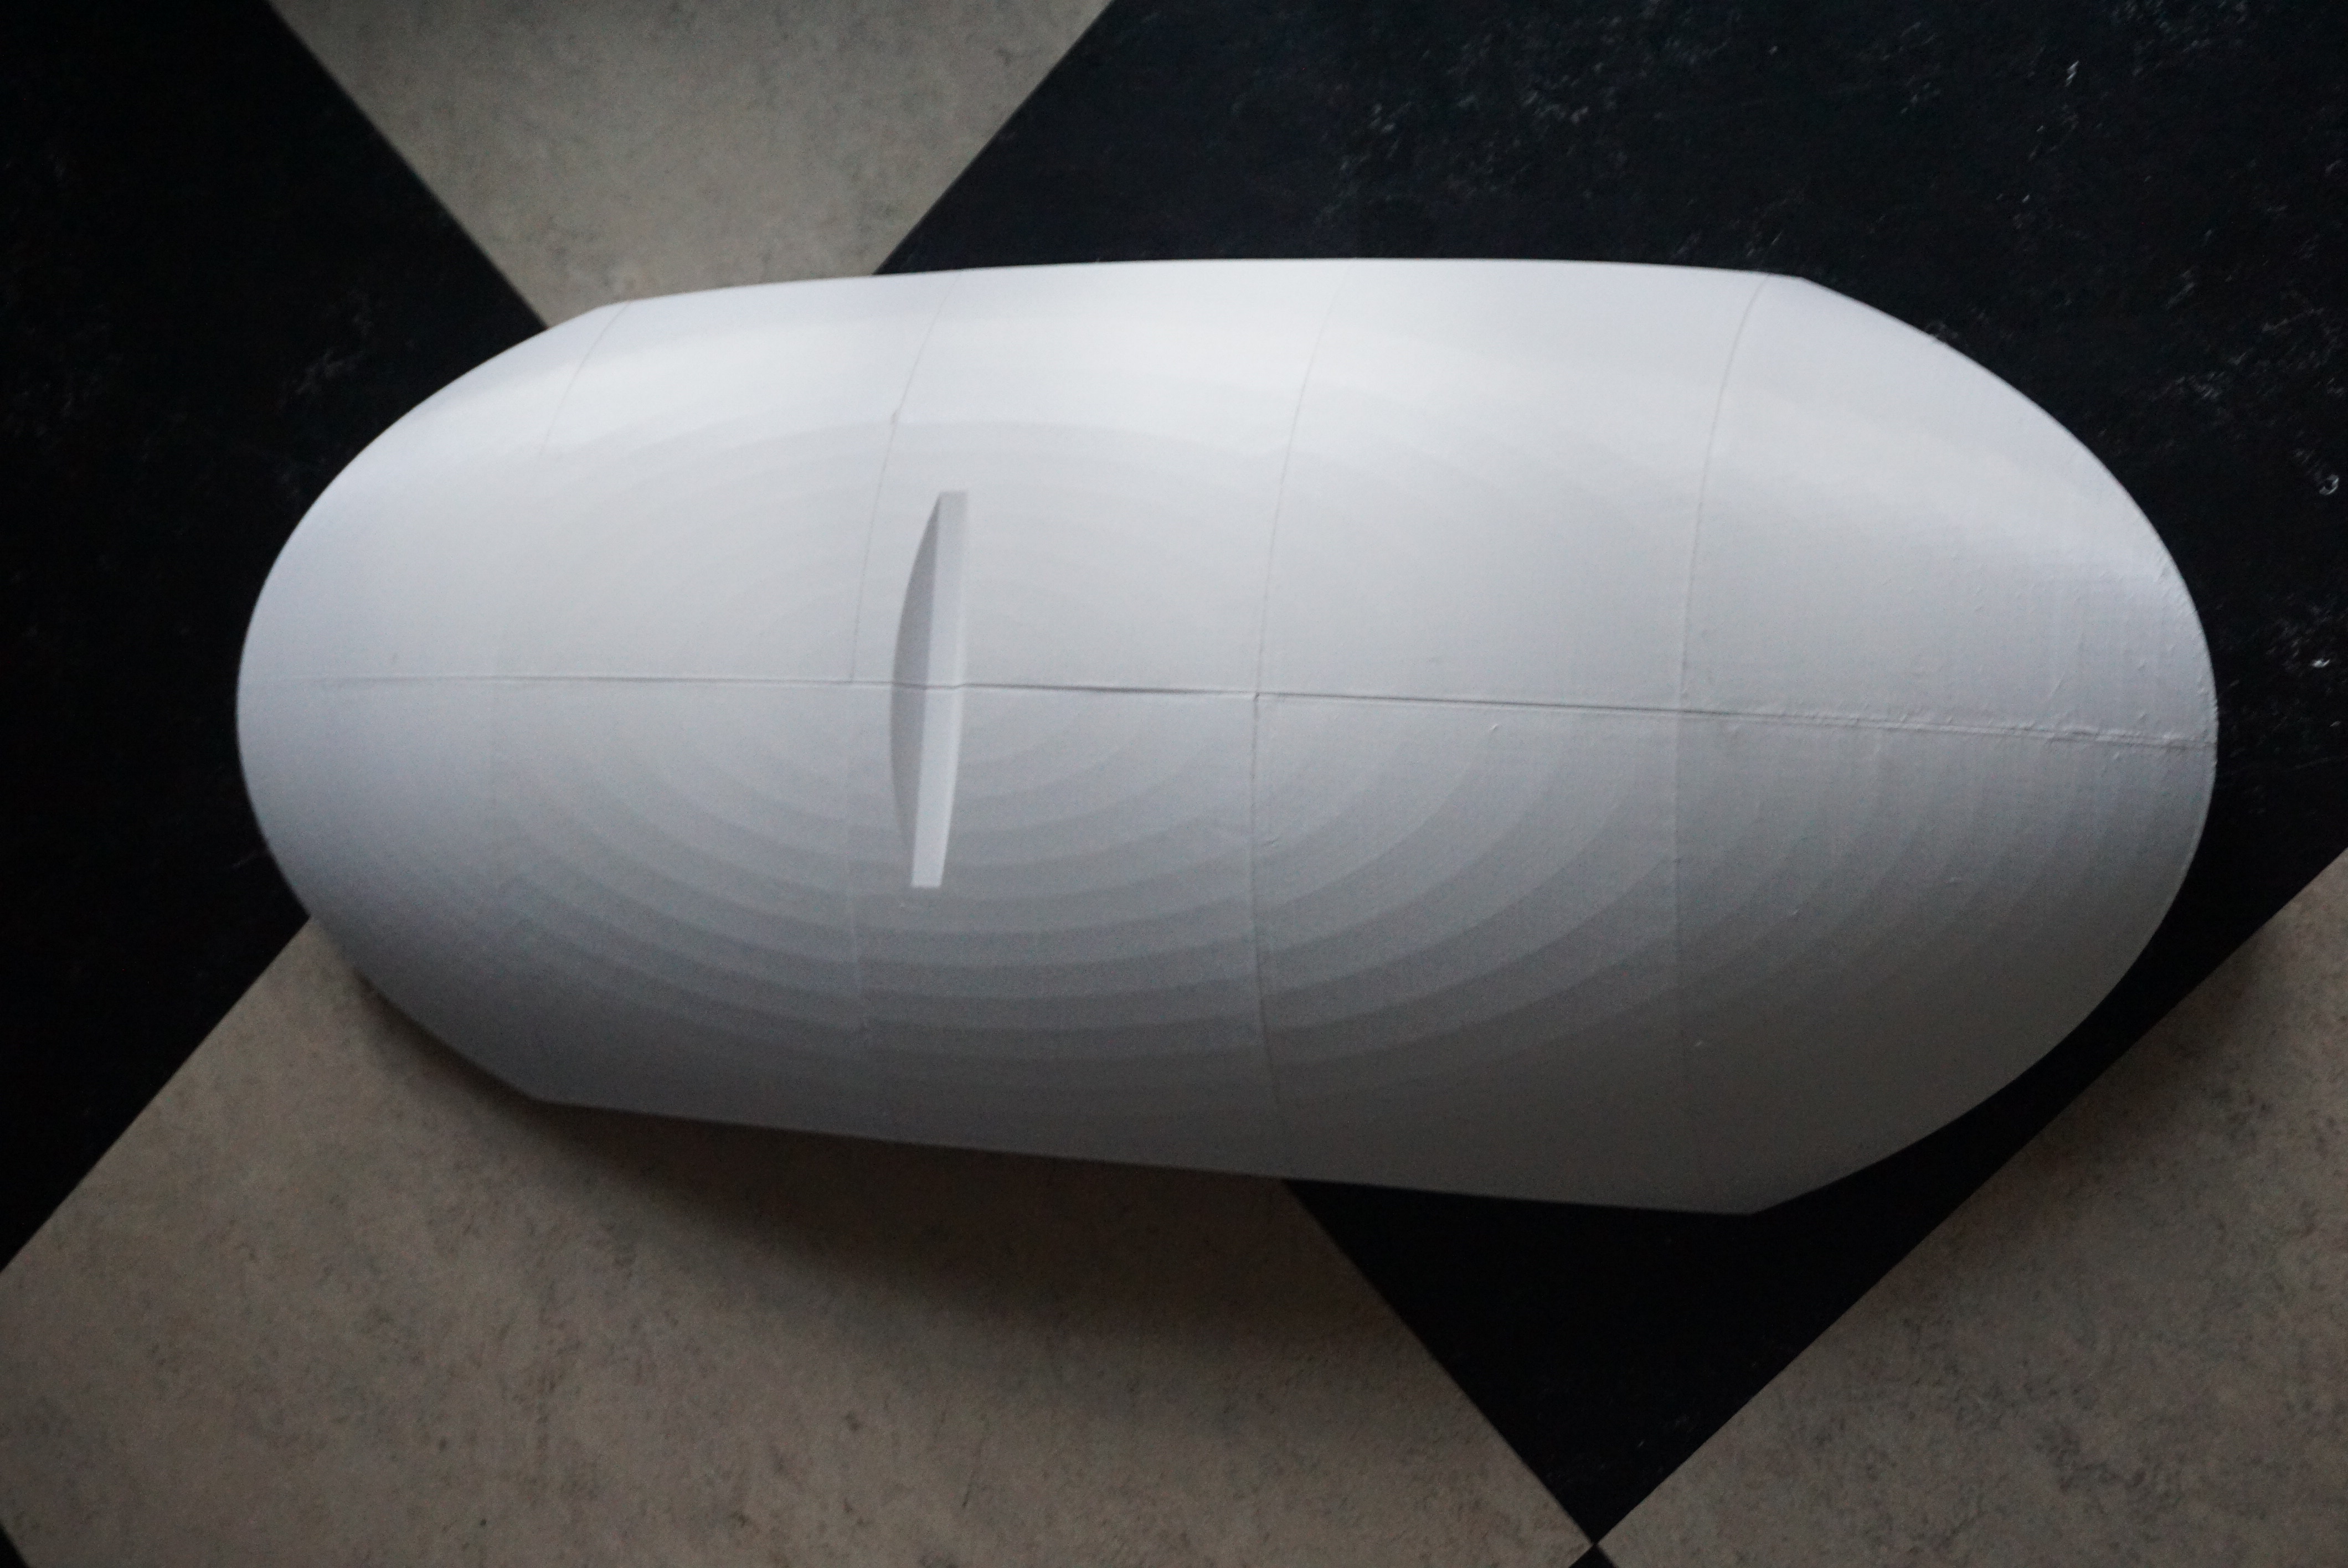
The shells received the same treatment as the core. This means:
- Sanding plastic;
- Coating in XTC3D;
- More sanding to get a smooth layer;
- Priming the shell;
- Wet sanding the primer;
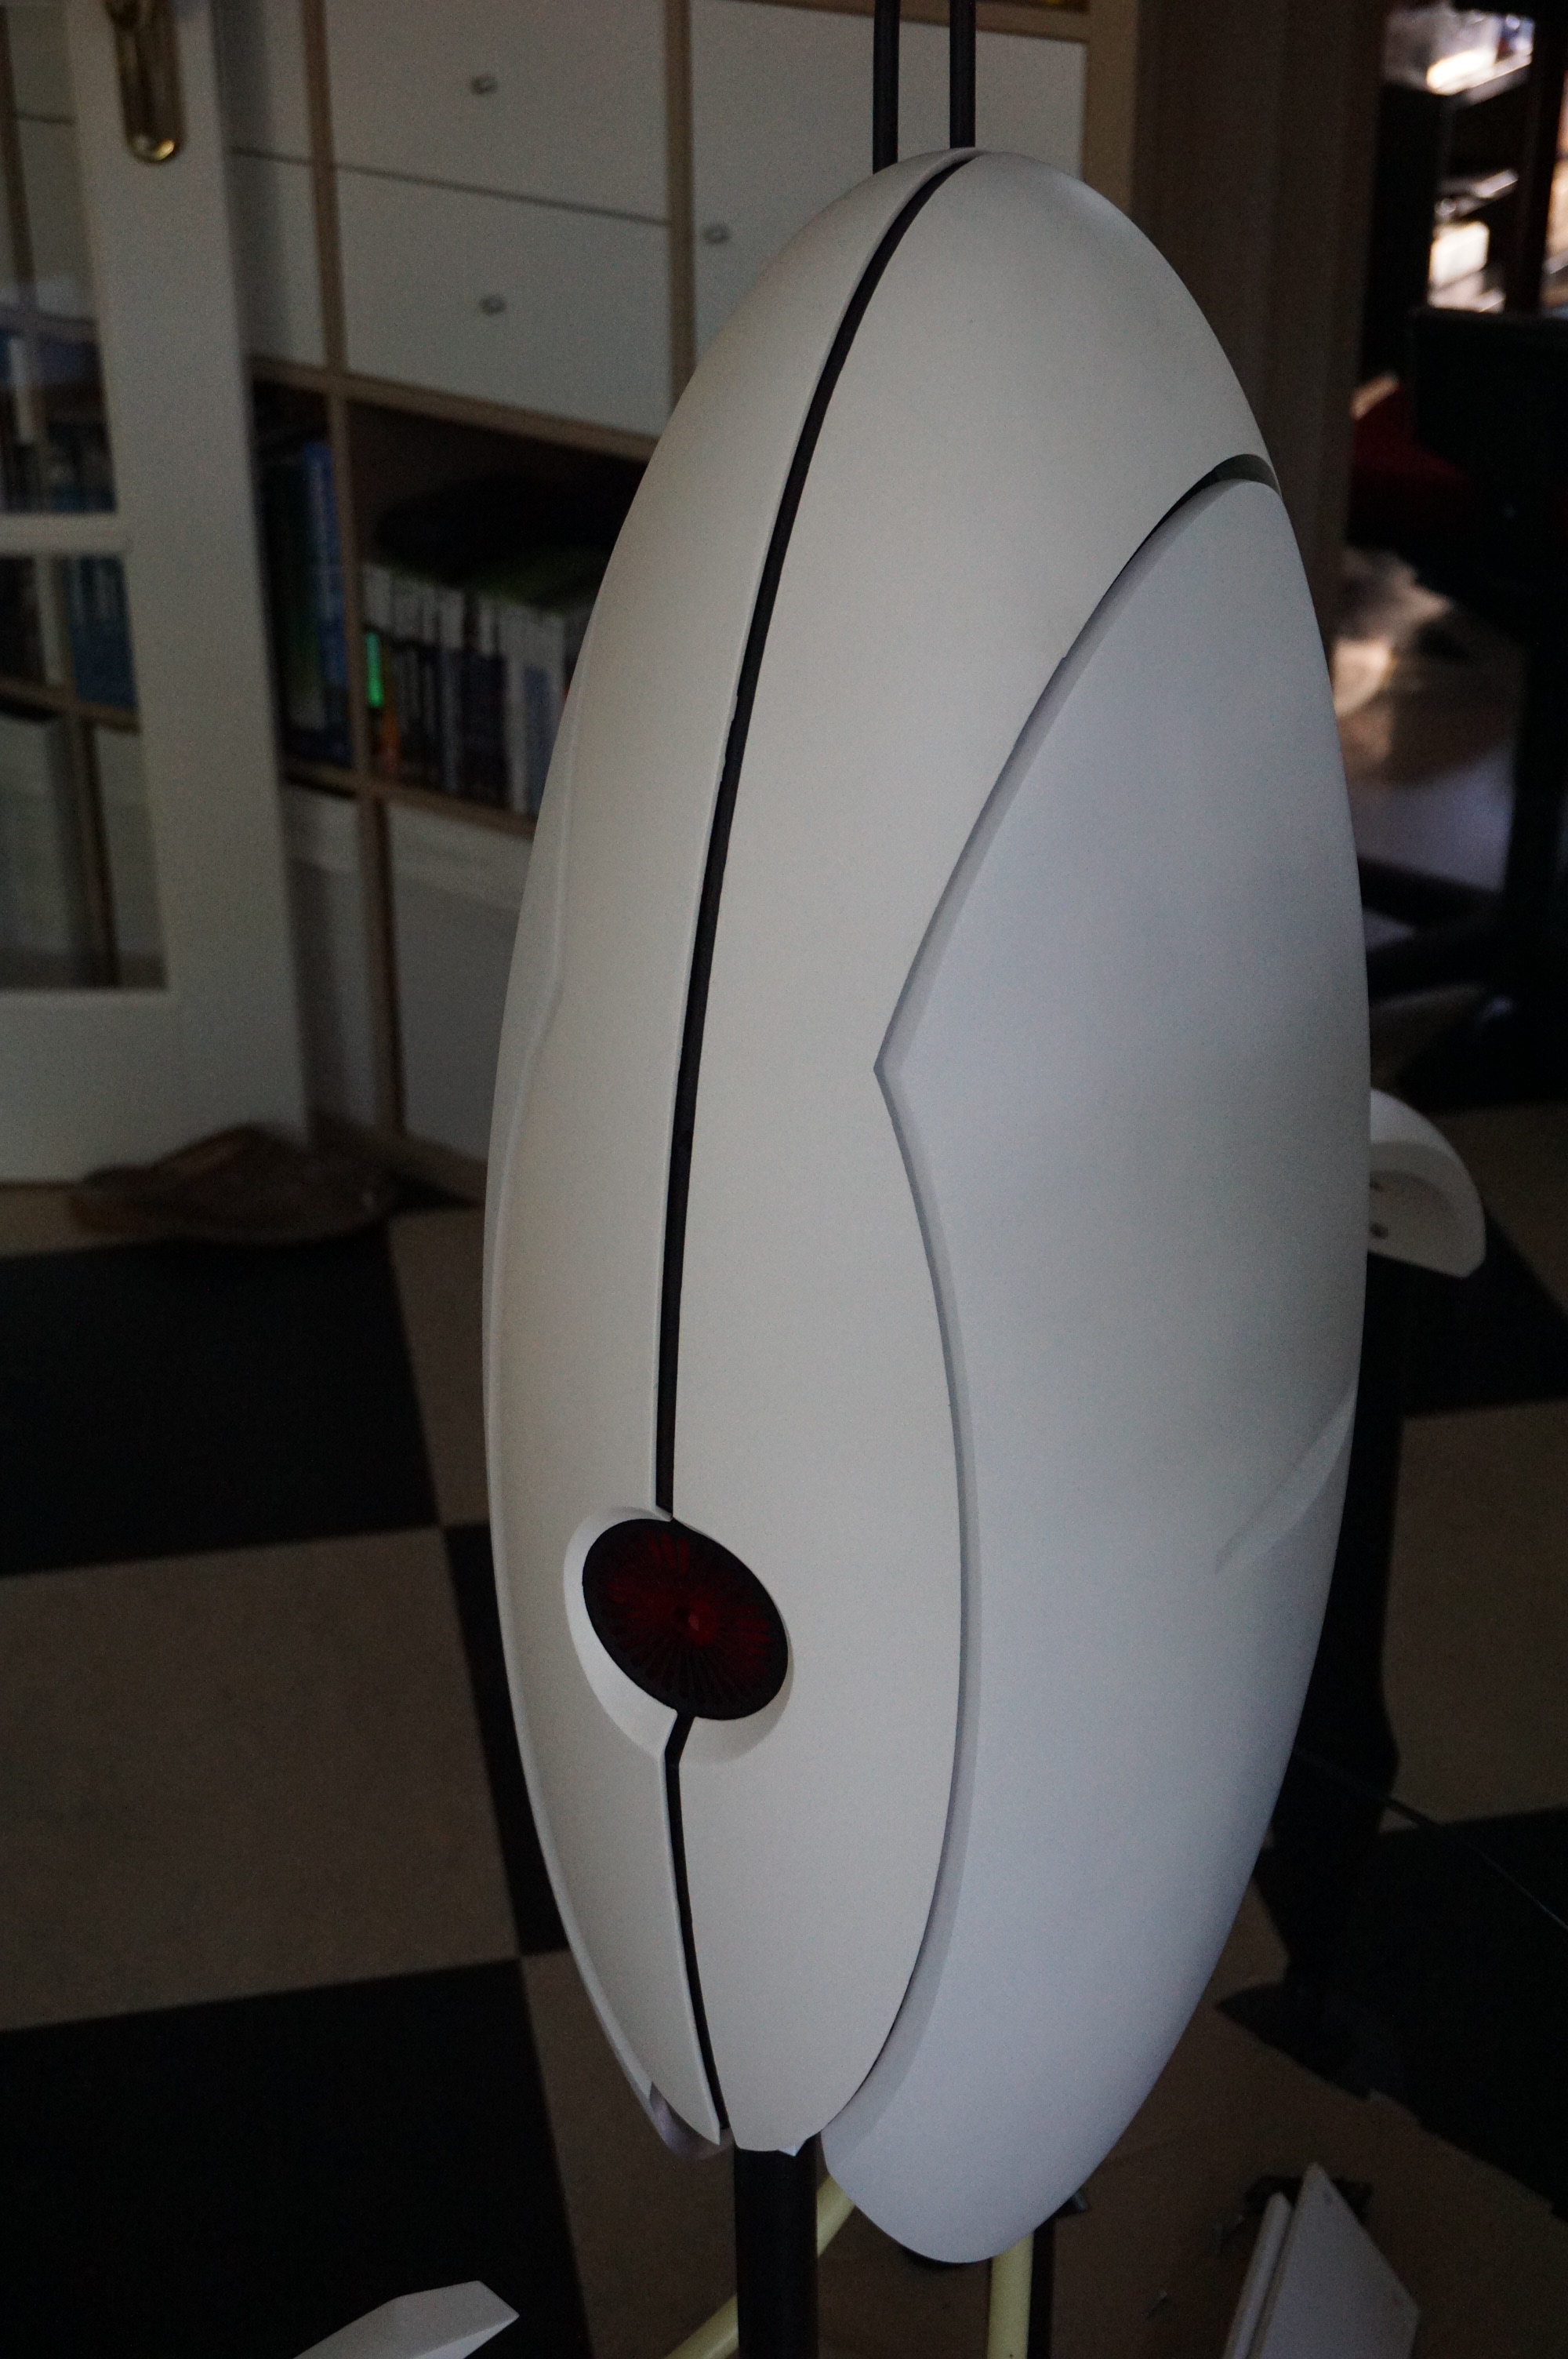
- Lots of layers in white (some wet sanding in between);
- Matt clear coat.
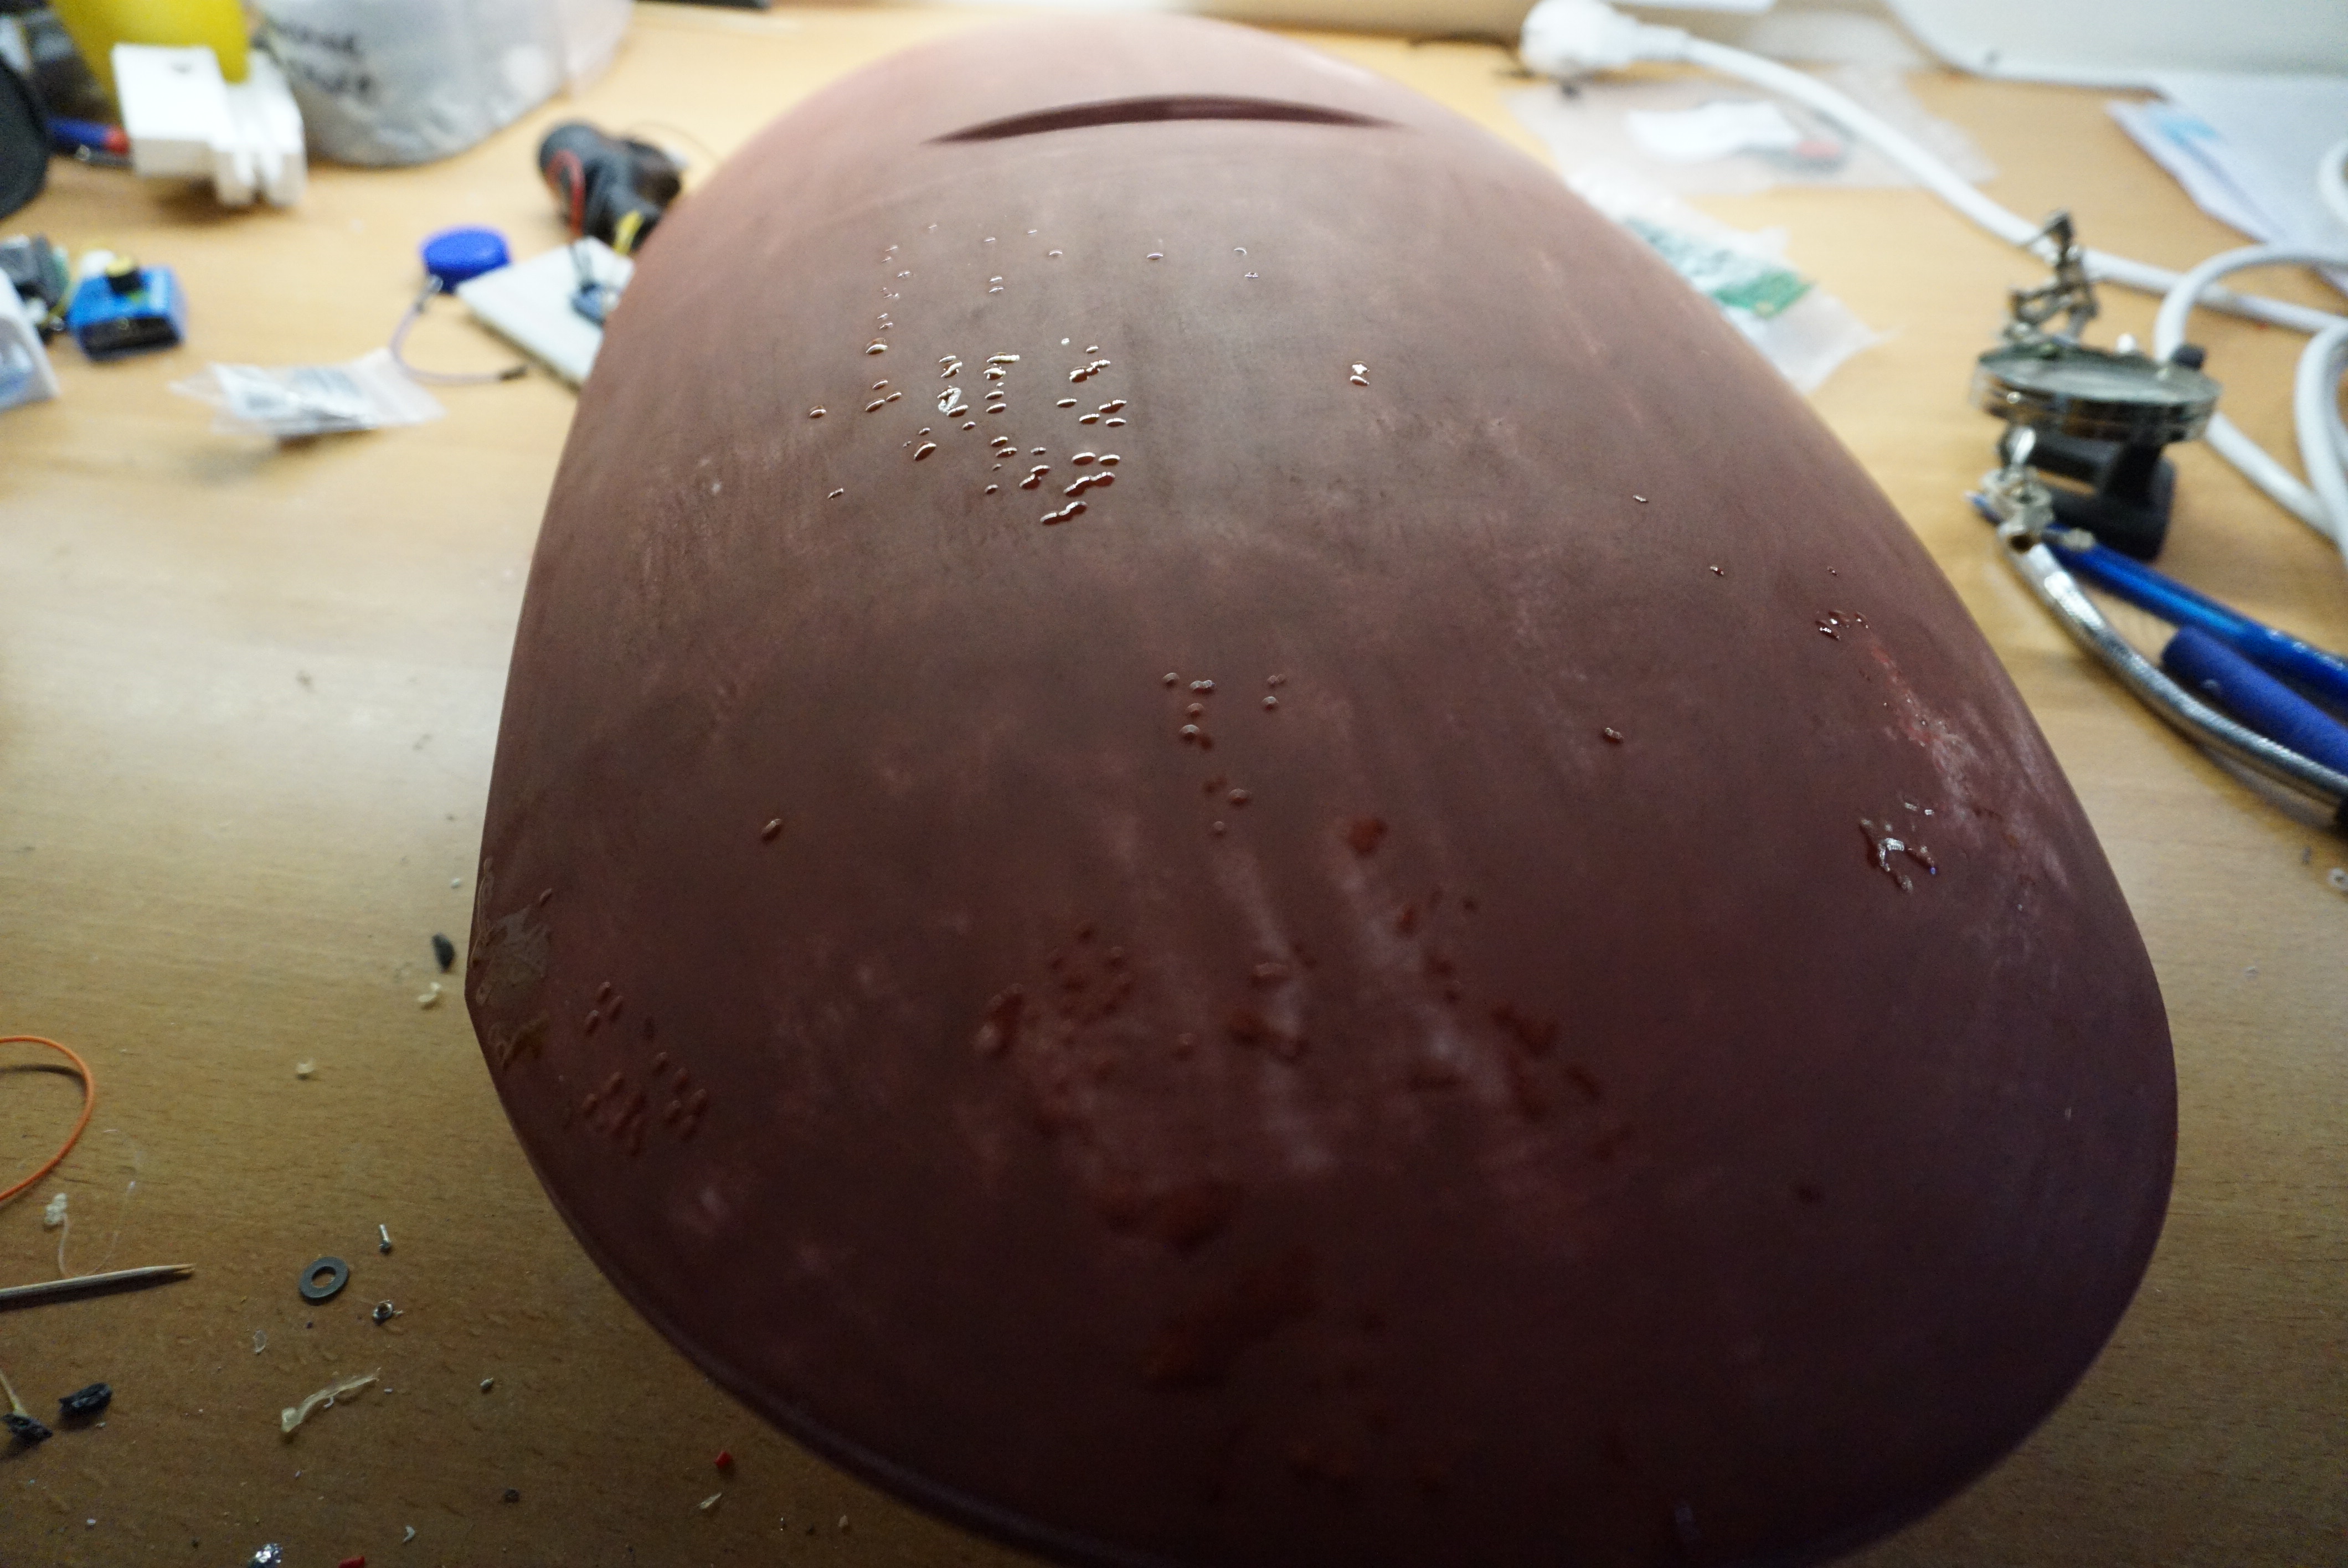
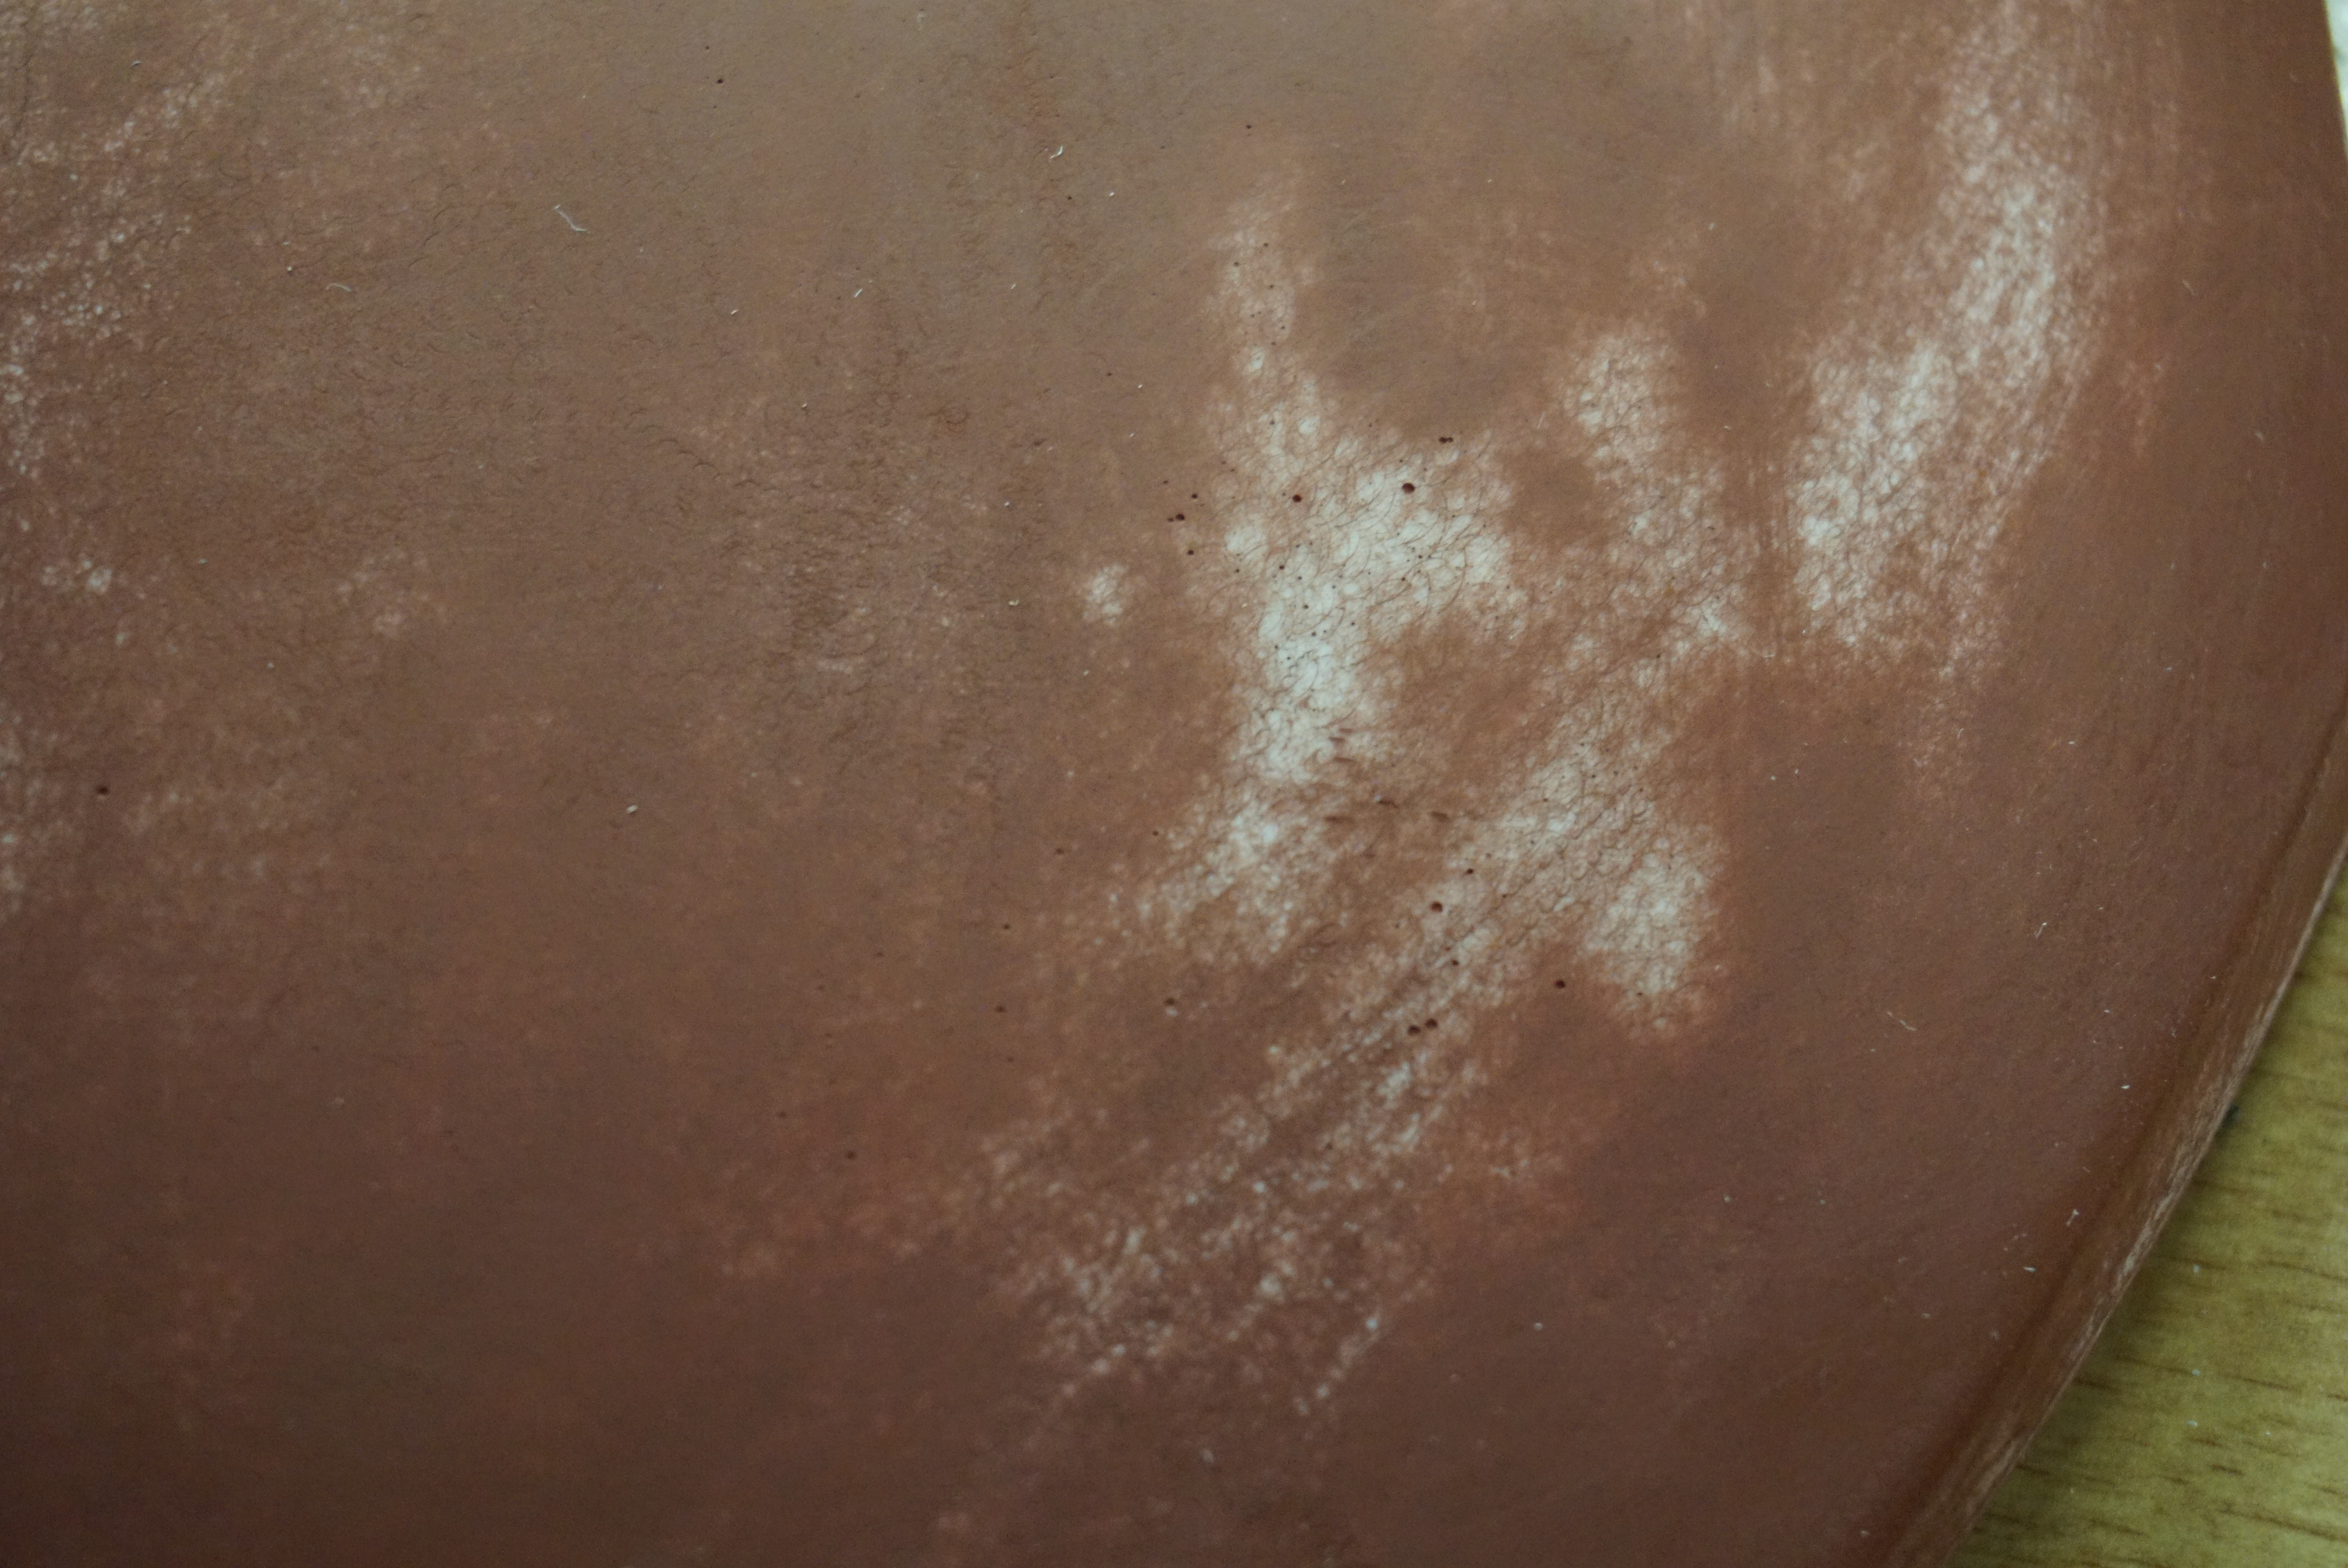
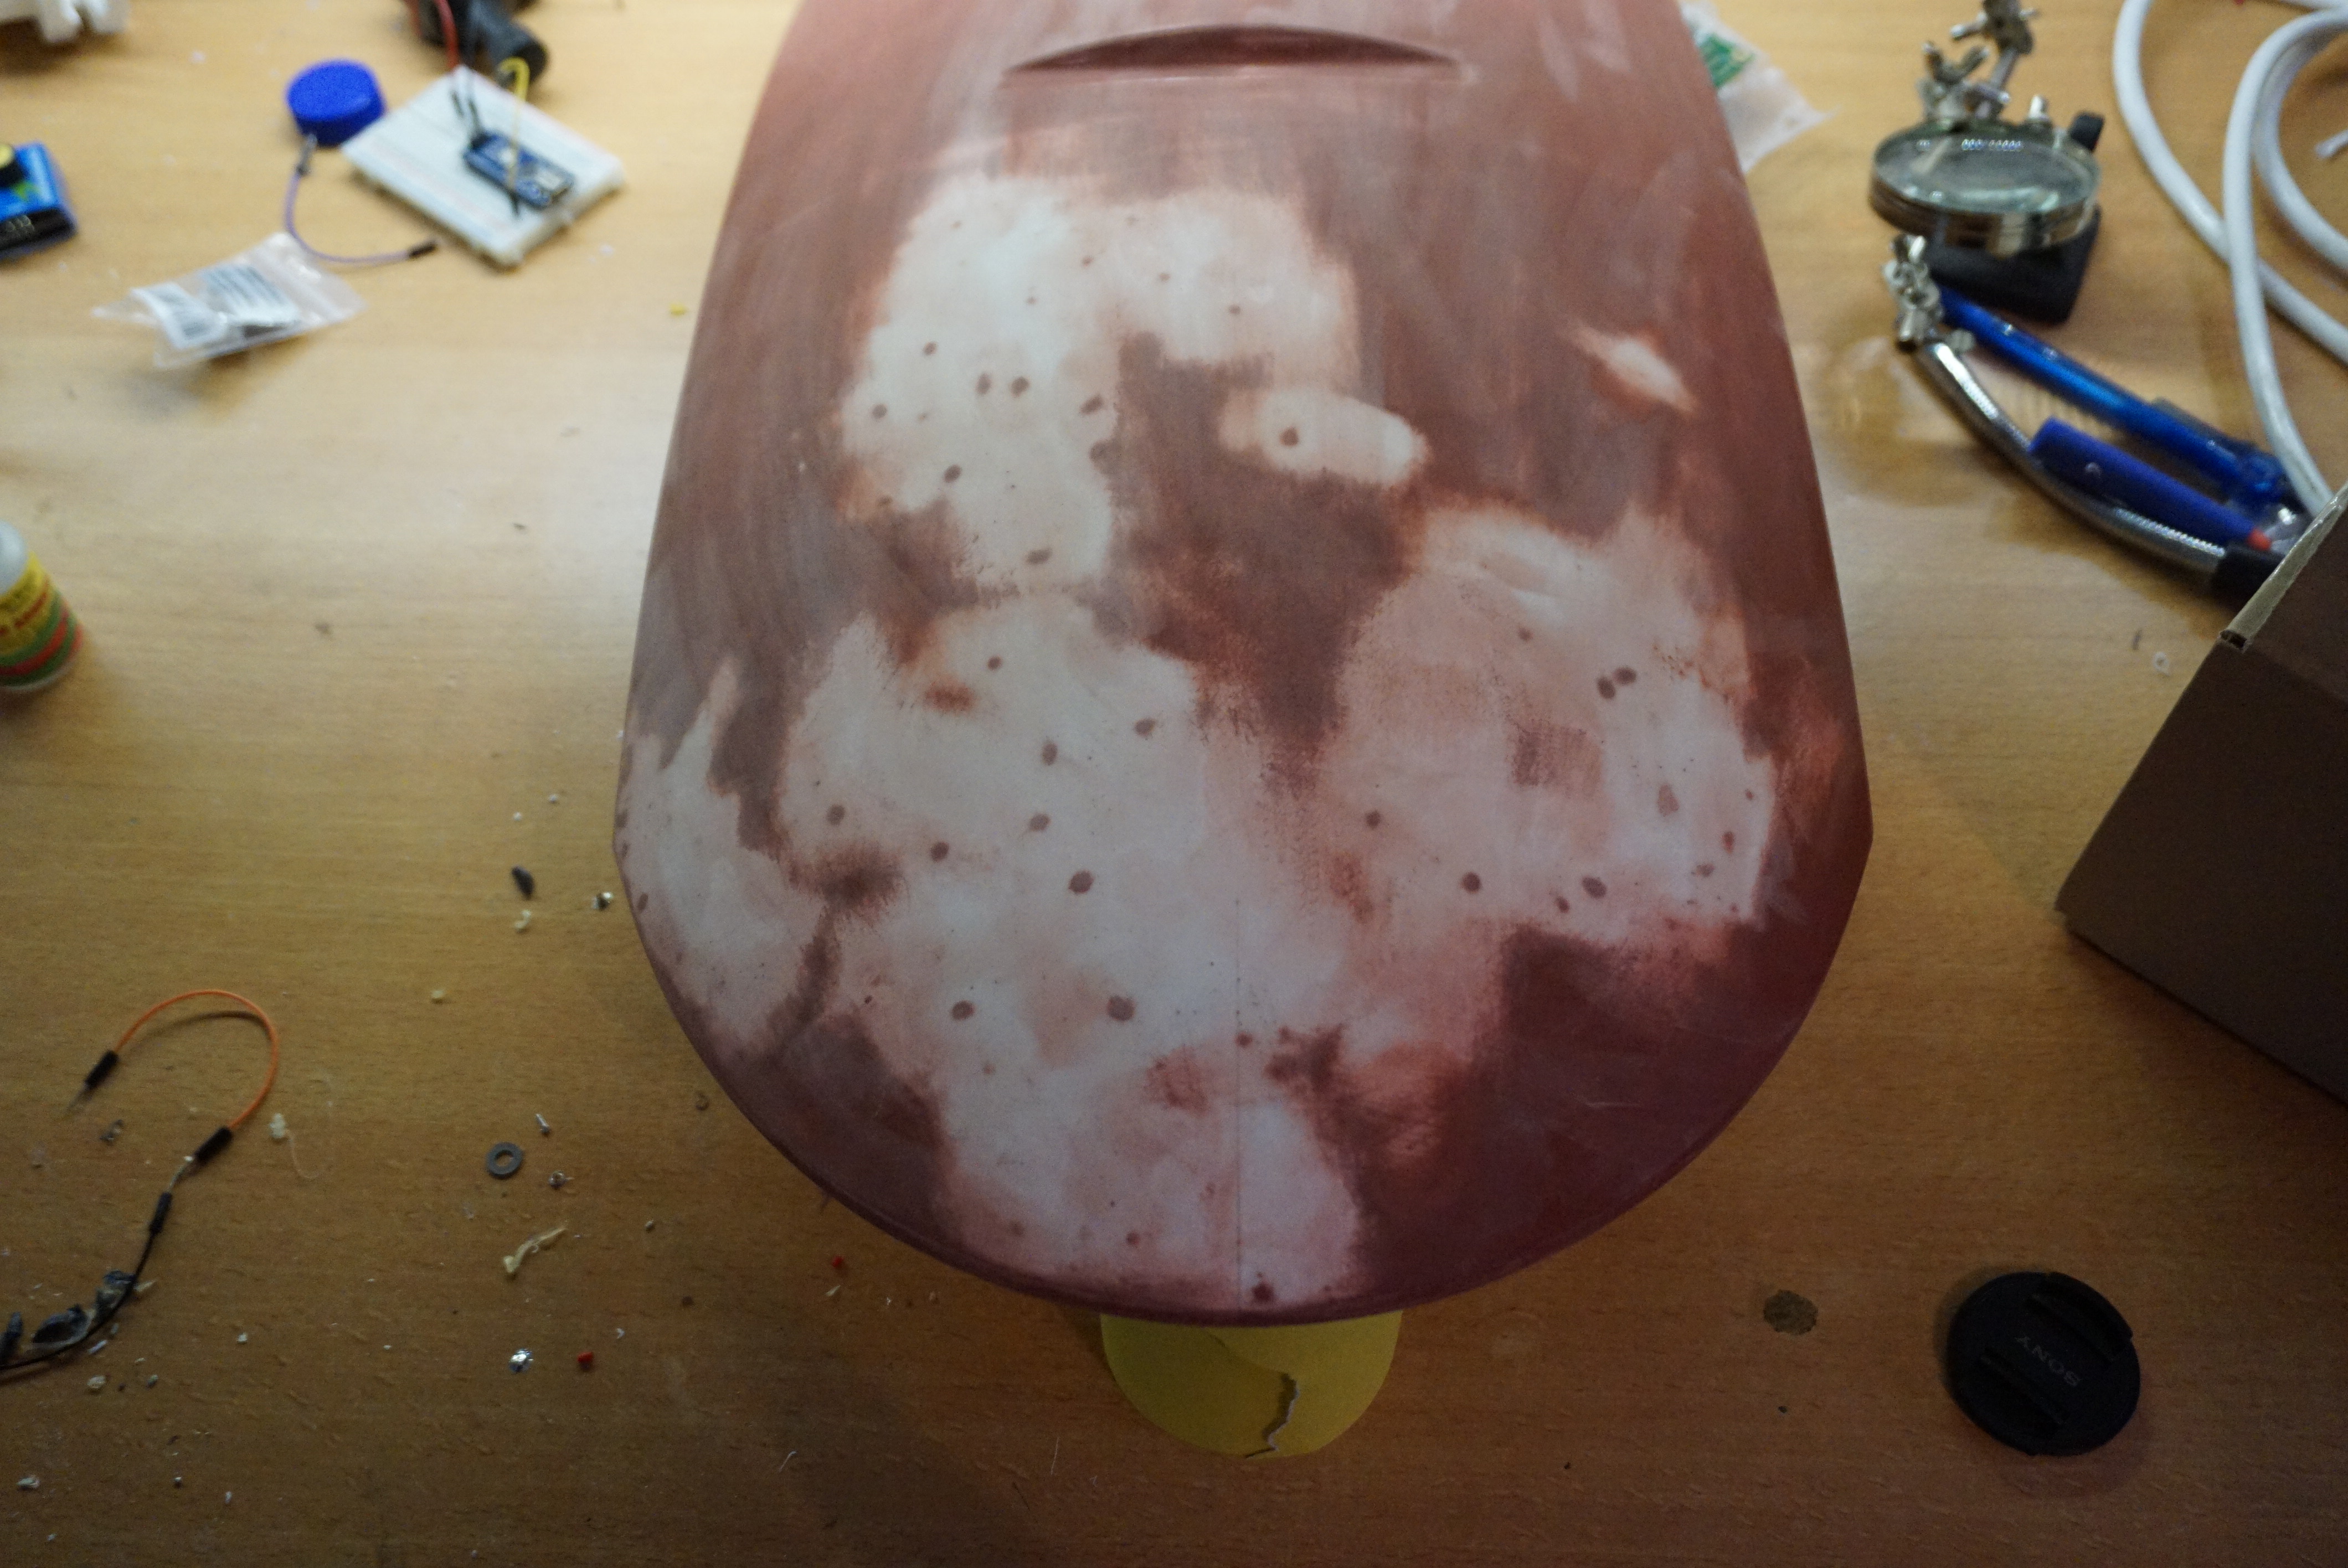
However, during the sanding of the primer, some nasty pits were discovered in the shells. I think these are because of bubbles or contaminants in the epoxy. Whatever the cause, they need to go. Dots of CA were used to fill all the pits. These dots were then sanded back. From here on out I resumed with painting.
Repainting the core
After meticulously painting the shells, it was the moment of truth. Did the shells match the core?
Nope. They did not. Over a year and some events happening over that year meant the core was more yellow than the shells. This was a major setback.
The core was removed for repainting. The core was sanded slightly, and then received multiple layers of white. It then received a layer of clear coat.
Did this fix it? Slightly. It was better, but not perfect. I was running out of time again, and I did not even know if the shells or the core were causing the problem. Finding this out would have taken me weeks I did not have. I begrudgingly accepted the slight mismatch between the core and the shells.


With the core of, I took some effort redoing the leds in the eye. The old ones were shining through the core, and I did not like that. This time, I painted the leds and the mounting points in the core black. The leds no longer shine trough.
Detailing the guns
The guns received some detailing. I wanted the ribs to be silver. Masking tape was used to mask the rest of the shells, and the ribs were painted silver.


Stickers
One of the last details were the stickers for the head covers. In some images of the turret, there is the text: “Live ammunition” and “Multi caliber hopper”. I wanted this on mine. I got my brother who owns a plotter to cut me these stickers. Fixing these to the cover gave me great joy.
Firmware and software
No pretty pictures of this one.
The firmware took way, WAY longer than expected, as per usual. The firmware takes care of everything that is on the turret except the speakers and the camera. It handles the movements, guns and eye. It also handles multiple layers of safety. There are circuits to cut power from everything in the turret. If a gun jams or has a runaway, it cuts power to the feeders. If the movement jams or goes out of bounds, the power is cut. The turret can now run without destroying itself. Does the firmware look good? The first bit does, the rest is a bit of a mess. As a wise person once told. Weeks of coding can save hours of planning.
The software takes the camera image and figures out where a human is. It is actually not really finished, and I will tweak with it some more later, but for now it can move the turret and talk. Everything works, it just needs some more sophistication.
Finally done
And with that, the turret was done. I will not lie. This project took WAY longer than expected, and I already expected months. I am really happy with it though. It looks amazing and it works well enough that I am happy with it. The shells look amazing, the gun mechanisms now run reliably, and if anything goes wrong in the turret, power is simply cut.
Yeah
Wish a company mass produced sentry turrets (life sized)