Table of content:
- Part 1: The beginning
- Part 2: Electric overhaul
- Part 3: (you are already here)
- Part 4: Trying to print
- Part 5: INK!
- Part 6: Leaky pistons
- Part 7: Making printheads
- Part 8: Printing in powder
Last time
The last time I checked the HDD and all power supplies. Everything seemed fine. I then added a transformer to run the printer on the 115V it wants. When we wanted to power the printer, all we got was lights, but no sign of any life from the computer.
Powering the PC (again)
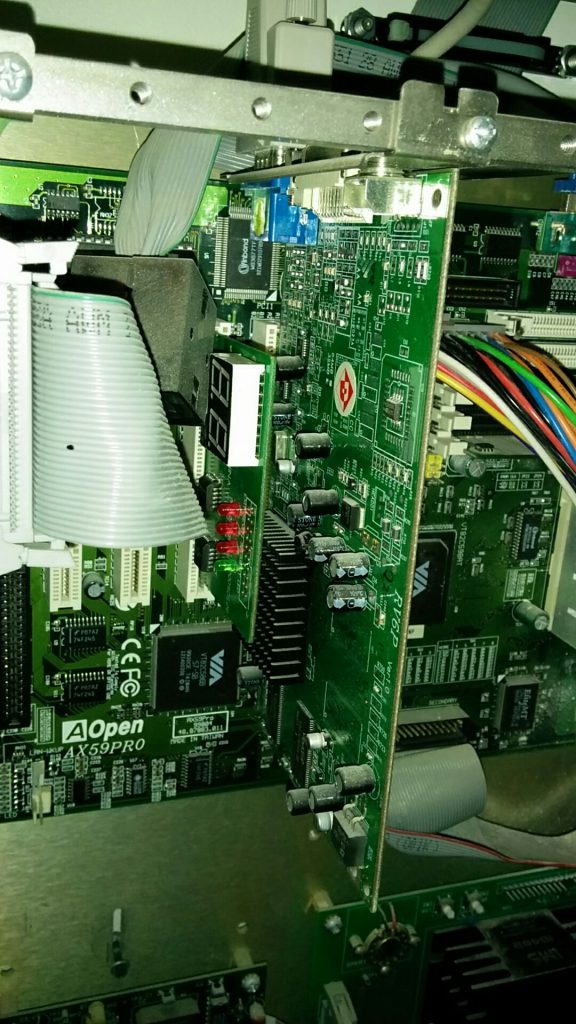
The first task was to see if the motherboard was giving post codes when the printer was being powered. We never heard any beeps, but there might simply not be a buzzer on the motherboard. Getting post codes might give an indication of what is actually missing or wrong on the motherboard. We can then fix these issues and hopefully the printer will boot properly. Armed with a PCI post card, we went back to the printer
We plugged the card in an empty PCI port and powered the machine. The card did light up bug gave no post codes, only some leds and two dots. We then suddenly heard noise. The clicking of a heavy solenoid that turned out to be the binder pump. Then the printer trying to home and running into random parts we still had in the build area.
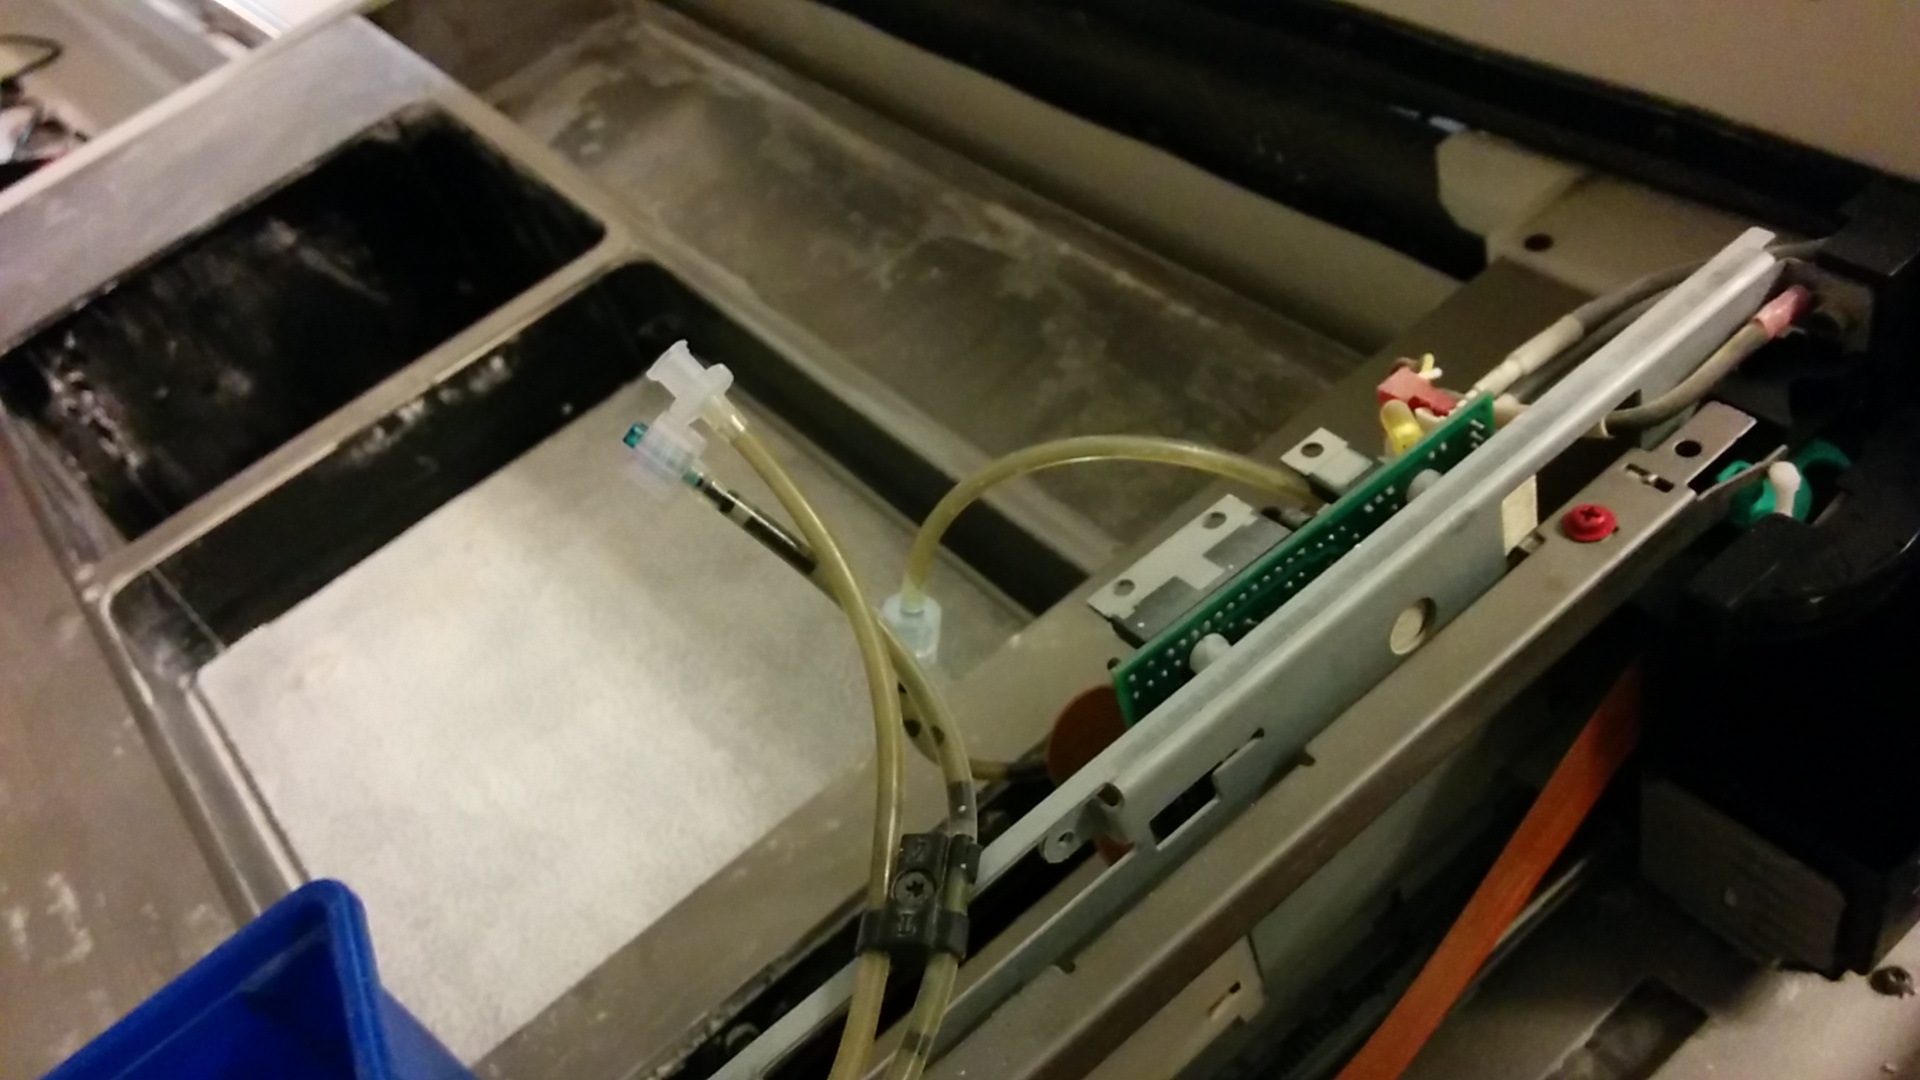
There seemed to be life there. We plugged the PCI post board in another PCI port. We cleared the junk from the build area and tried again. More pumping, homing of all axes and an obnoxious alarm that is a strong contestant for ‘parts that will get bypassed in the future’. It is also at this point we realized that the fluid line was about to pump into open air. We did manage to turn the printer off before there was too much of a mess, but there is now blue ink in one of the corners. The binder line was connected to itself to complete the loop, so the machine would be able to operate as if there was a printhead.
What did I actually do that made the printer work where before it didn’t? What magical combination of actions did I do to make everything start?
I have no clue, but it is working for now. I will keep my eyes open for any odd behavior that might cause the machine to stop working. Computers that magically start working where they did not before are incredibly suspicious, but they are better than computers that are presumed dead and not revivable.
Boot cycle
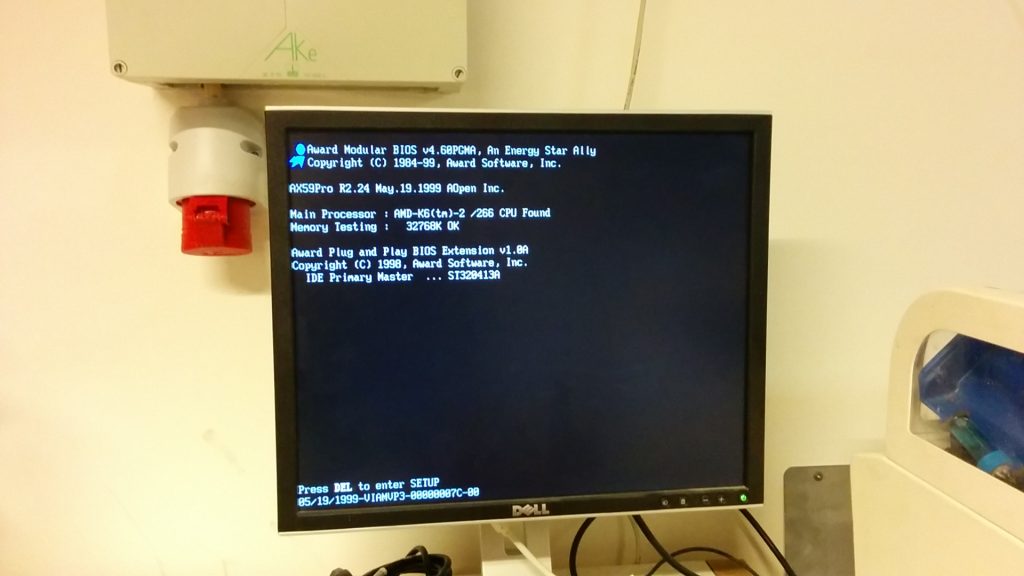
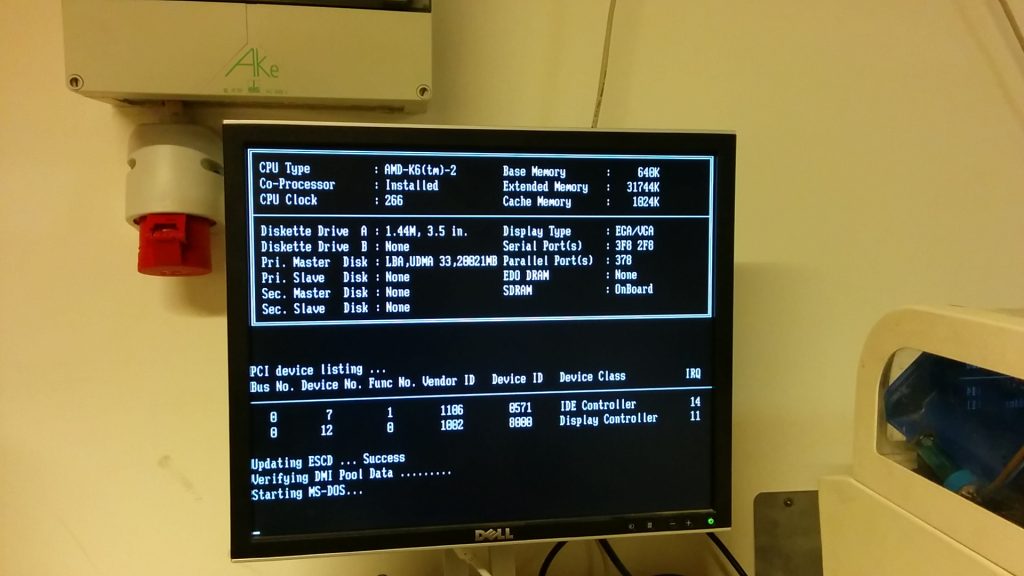
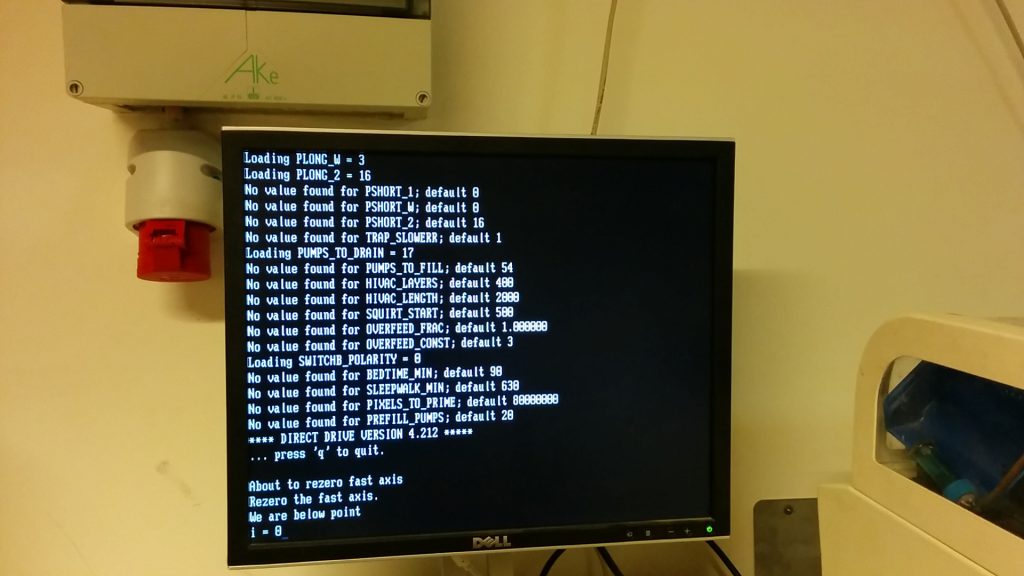
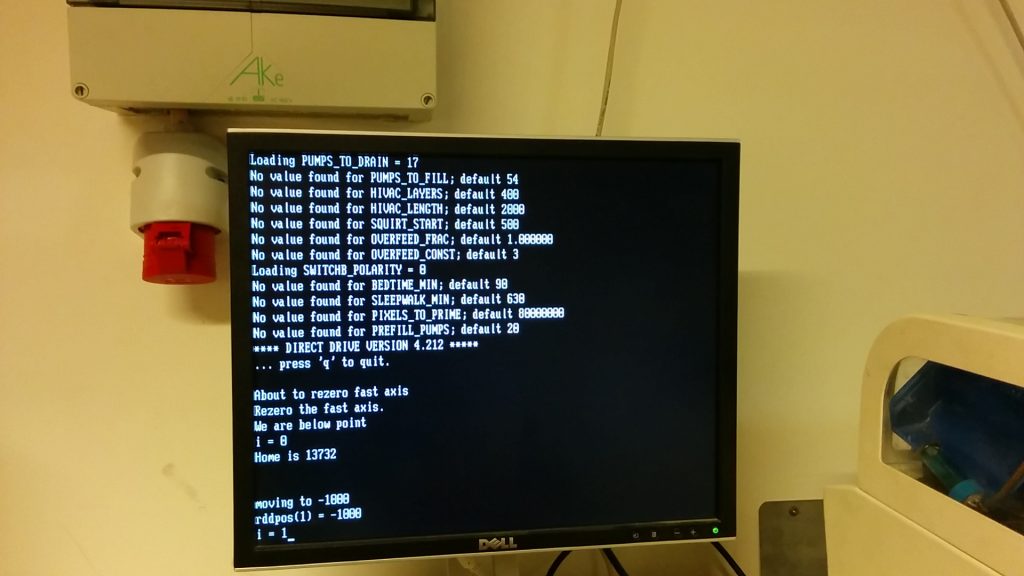
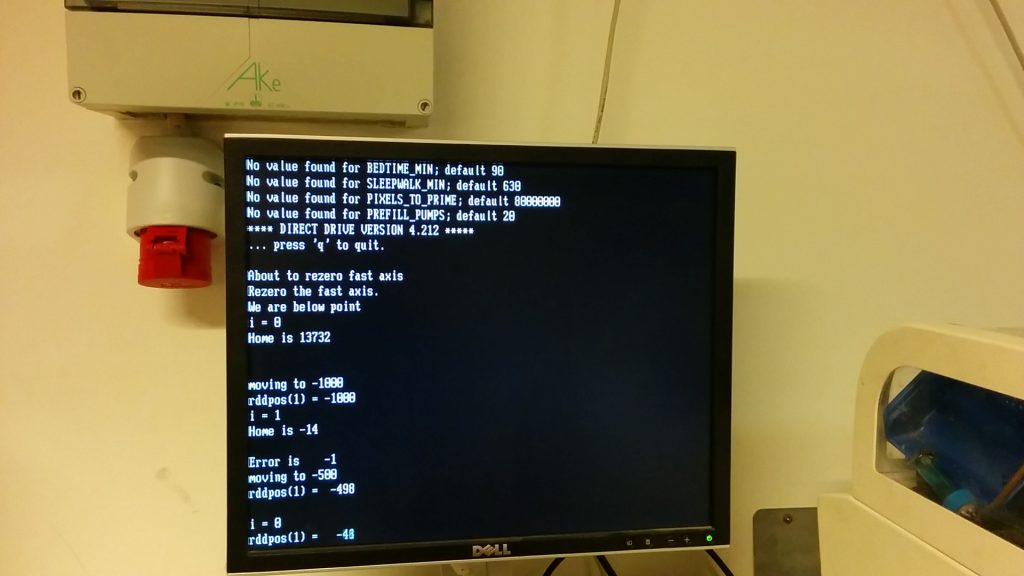
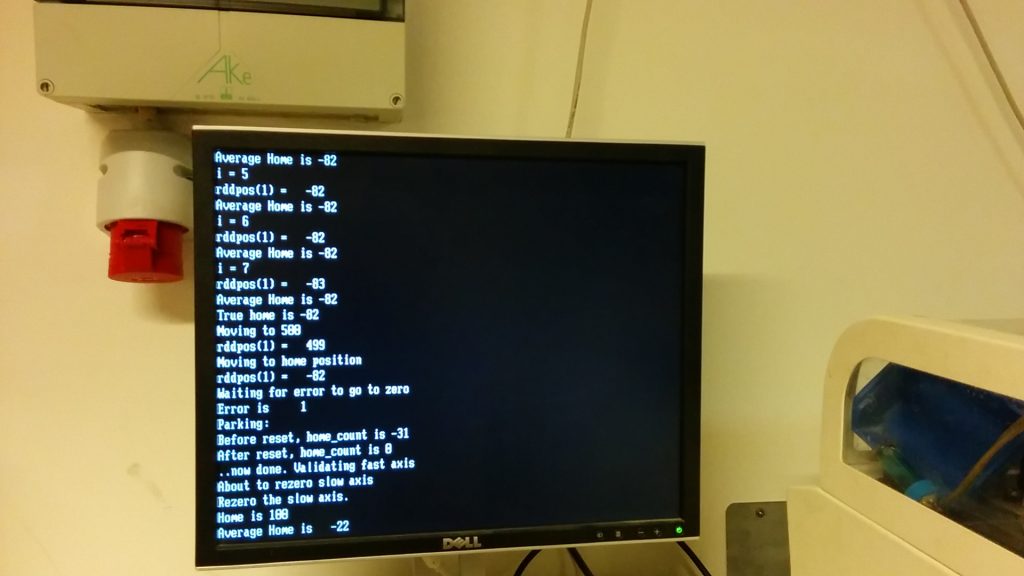
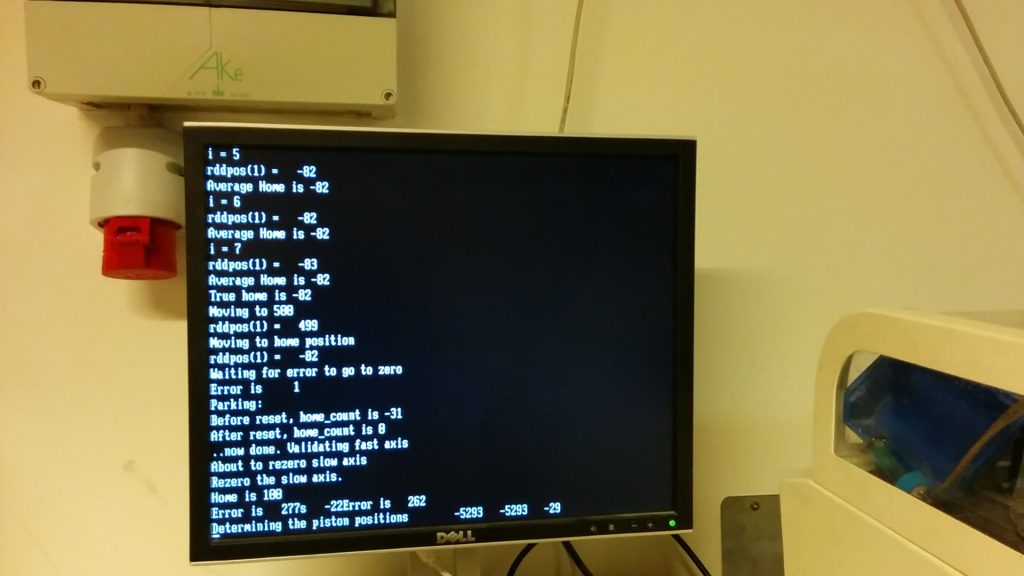
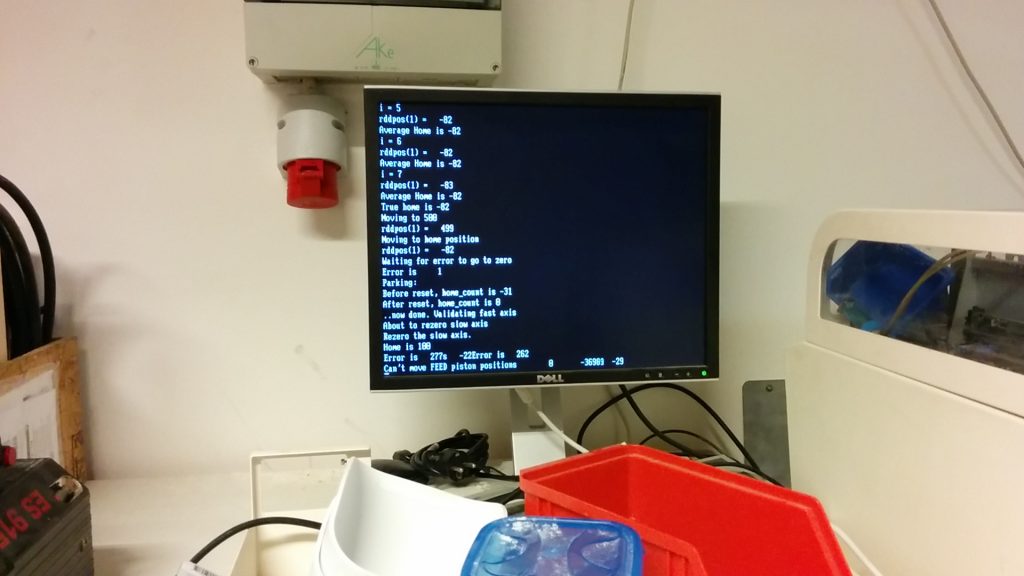
We added a screen. The Z400 has the option of having a screen and PS2 keyboard to debug the PC of the printer itself. I was very curious what the printer was actually doing. As it turns out it writes literally everything that it is doing to this screen. Below photo’s of the screens we saw.
What happens during the startup of the printer
- Binder is pumped around until it reaches sensors;
- The fast and slow axis are homed. The printer wiggles both around a dozen or so times to get an exact position;
- The pistons move all the way down to sensors and then up to their old position (an idea which I like very much);
- The printhead is tested and parked.
Roadmap
Now that the PC seems to be working and all systems can be tested, there is a whole list of items that need to be done.
- See if I can get the software to work: So far I have only had the machine operate standalone.
- Clean ink lines: I had the old, weird ink running through them in a test, clean this with demineralized water and IPA.
- Check timing belts: They seem fine but the machine is getting older;
- Grease/oil axes/screws: The printer has been gathering dust for years. I will check the manual and do whatever seems necessary to make the motions happy;
- Get new printheads: I do need printheads to test printing;
- Check inkjet electronics: See if the inkjet electronics actually work;
- Replace piston seal: Build piston seal has a giant gap in it;
- Actually rebuild a printhead: I will test with ink, but will need a binder head at some point;
- Making a schematic of the binder path: I am curious;
I might get a video of the printer booting, just for reference, but that will be for a future post.
